Salta al contenuto principale

Fitbit Charge HR Screen Replacement

Cosa ti serve

  1. Fitbit Charge HR Screen Replacement, Screen: passo 1, immagine 1 di 1
    • Remove the four 2.9 mm screws from the back of the display using a Torx screwdriver.

    • Remove the back cover from the device.

  2. Fitbit Charge HR Screen Replacement: passo 2, immagine 1 di 3 Fitbit Charge HR Screen Replacement: passo 2, immagine 2 di 3 Fitbit Charge HR Screen Replacement: passo 2, immagine 3 di 3
    • Remove the two 2.9 mm Torx screws holding the circuit board in place.

    • Carefully pry the board out using an opening tool.

  3. Fitbit Charge HR Screen Replacement: passo 3, immagine 1 di 2 Fitbit Charge HR Screen Replacement: passo 3, immagine 2 di 2
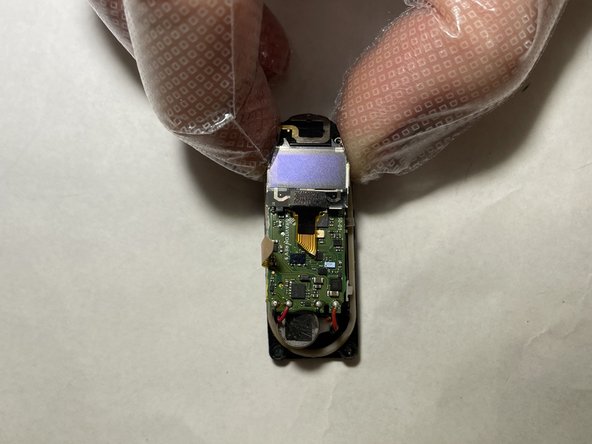
    • Remove the motherboard assembly from the device.

    • Flip the motherboard over so the screen is facing upwards.

  4. Fitbit Charge HR Screen Replacement: passo 4, immagine 1 di 3 Fitbit Charge HR Screen Replacement: passo 4, immagine 2 di 3 Fitbit Charge HR Screen Replacement: passo 4, immagine 3 di 3
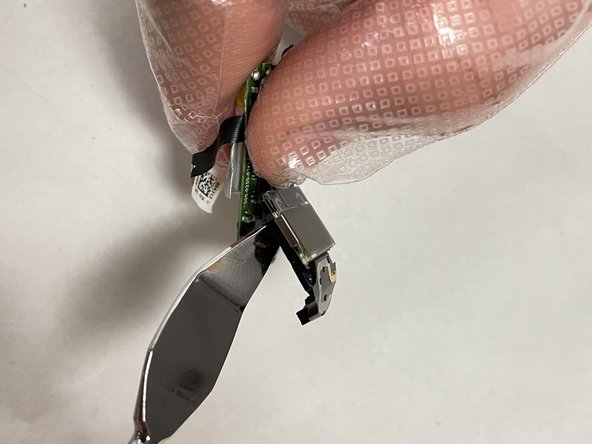
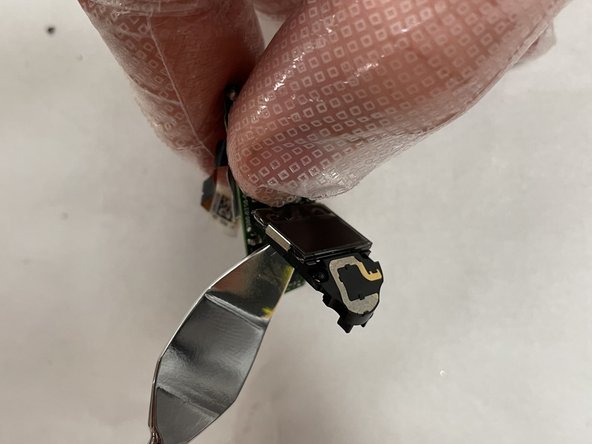
    • Wedge a nylon spudger between the screen and the motherboard.

    • Gently pry the screen up and remove it from the motherboard.

    • Metal spudgers can puncture an unprotected battery and damage components like the motherboard. Always choose a tool that's ESD-safe, such as a nylon spudger or plastic opening tool.

Conclusione

To reassemble your device, follow these instructions in reverse order.

Un'altra persona ha completato questa guida.

0 Commenti

Aggiungi Commento

Visualizza Statistiche:

Ultime 24 Ore: 0

Ultimi 7 Giorni: 1

Ultimi 30 Giorni: 13

Tutti i Tempi: 733