Introduzione
If a stepper motor damper becomes worn or damaged it can cause a misalignment of the stepper motor and can cause the belt to slip. Slipped belts can cause layer shifts and other printing problems. Follow this guide to replace the damaged stepper damper.
Cosa ti serve
-
-
Use 2.5mm hex key to remove 6 screws from base of printer
-
save screws for later
-
-
-
-
use 2mm hex key to remove belt cover
-
remove belt from stepper motor
-
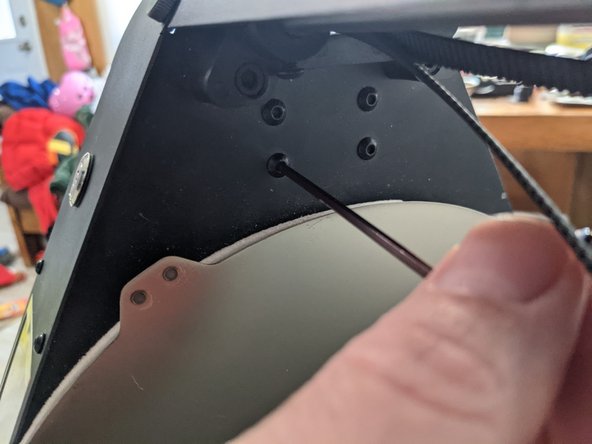
use 2.5mm hex key to remove stepper motor bracket from the top side
-
-
-
use 2.5mm hex key to loosen set screws
-
slide geared pulley off of stepper motor shaft
-
-
-
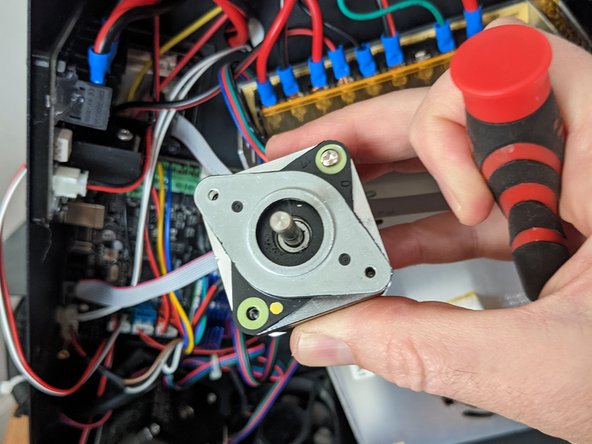
use hex key to remove 2 screws holding the damper to the stepper motor
-
use Phillips #1 to install new damper
-
-
-
re-attach geared pulley
-
re-attach stepper motor mount/bracket to the damper
-
re-attach stepper motor bracket with screws from above
-
re-install pulley / tensioner to top of frame with thumb screw
-
re-tension belt
-
finally re-install the belt cover
-


To reassemble your device, follow these instructions in reverse order. If you have no screws left over, you win!
To reassemble your device, follow these instructions in reverse order. If you have no screws left over, you win!
Annulla: non ho completato questa guida.
Un'altra persona ha completato questa guida.
