Questa versione può contenere modifiche errate. Passa all'ultima istantanea verificata.
Cosa ti serve
-
Questo passaggio è privo di traduzione. Aiuta a tradurlo
-
Unscrew the two 18.1 mm PH2 Phillips head screws on the bottom of the vacuum.
-
-
Questo passaggio è privo di traduzione. Aiuta a tradurlo
-
Pry off the Riser Visor using the plastic opening tool.
-
-
-
Questo passaggio è privo di traduzione. Aiuta a tradurlo
-
Remove the screw cap using the metal spudger.
-
-
Questo passaggio è privo di traduzione. Aiuta a tradurlo
-
Unscrew the 14mm PH2 Phillips head screw.
-
Pull the bottom cover off of the rest of the casing.
-
-
Questo passaggio è privo di traduzione. Aiuta a tradurlo
-
Pull the power switch all the way up and remove the dust cup.
-
-
Questo passaggio è privo di traduzione. Aiuta a tradurlo
-
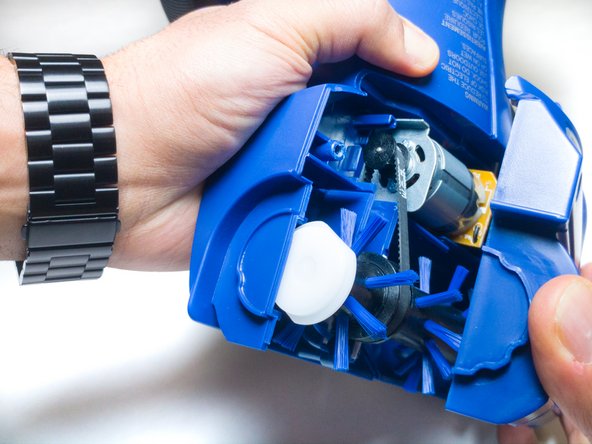
Unscrew the six 18.1mm PH2 Phillips head screws on the side of the vacuum.
-
Pull the casing apart.
-


Annulla: non ho completato questa guida.
Un'altra persona ha completato questa guida.
Team

IUPUI, Team S6-G4, Baechle Fall 2017 Membro di IUPUI, Team S6-G4, Baechle Fall 2017
IUPUI-BAECHLE-F17S6G4
3 Membri
12 Guide realizzate