Salta al contenuto principale

Questa guida ha delle modifiche più recenti. Passa all'ultima versione non verificata.

Eureka EasyClean 71C Brush Roller Replacement

Cosa ti serve

  1. Eureka EasyClean 71C Brush Roller Replacement, Bottom Cover: passo 1, immagine 1 di 1
    • Unscrew the two 18.1 mm PH2 Phillips head screws on the bottom of the vacuum.

  2. Eureka EasyClean 71C Brush Roller Replacement: passo 2, immagine 1 di 1
    • Pry off the Riser Visor using the plastic opening tool.

  3. Eureka EasyClean 71C Brush Roller Replacement: passo 3, immagine 1 di 1
    • Remove the screw cap using the metal spudger.

    • First-time removal of the screw cap can be difficult. The screw cap isn’t vital, so don’t worry about damaging the screw cap and just keep trying until it comes out.

  4. Eureka EasyClean 71C Brush Roller Replacement: passo 4, immagine 1 di 2 Eureka EasyClean 71C Brush Roller Replacement: passo 4, immagine 2 di 2
    • Unscrew the 14mm PH2 Phillips head screw.

    • Pull the bottom cover off of the rest of the casing.

  5. Eureka EasyClean 71C Brush Roller Replacement, Roller: passo 5, immagine 1 di 2 Eureka EasyClean 71C Brush Roller Replacement, Roller: passo 5, immagine 2 di 2
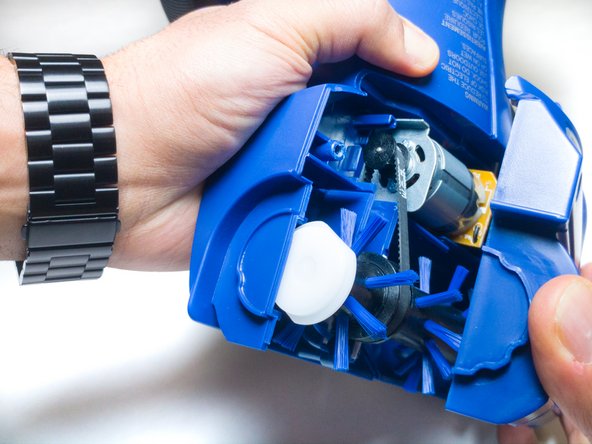
    • Pull the roller, motor, and belt out of the casing.

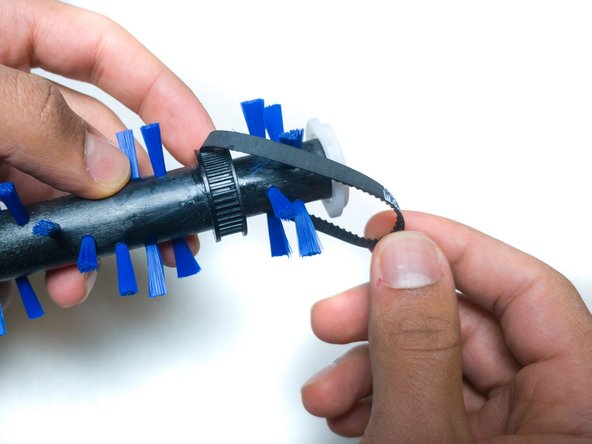
    • Separate the roller from the belt.

Conclusione

To reassemble your device, follow these instructions in reverse order.

Team

IUPUI, Team S6-G4, Baechle Fall 2017 Membro di IUPUI, Team S6-G4, Baechle Fall 2017

IUPUI-BAECHLE-F17S6G4

3 Membri

12 Guide realizzate

0 Commenti

Aggiungi Commento

Visualizza Statistiche:

Ultime 24 Ore: 1

Ultimi 7 Giorni: 4

Ultimi 30 Giorni: 7

Tutti i Tempi: 1,082