Introduzione
Replacing the switches on your Epomaker Shadow-X can help restore or customize the typing experience. Follow this guide to safely remove and replace switches. Note: this process requires the keyboard to be hot-swappable.
Cosa ti serve
-
-
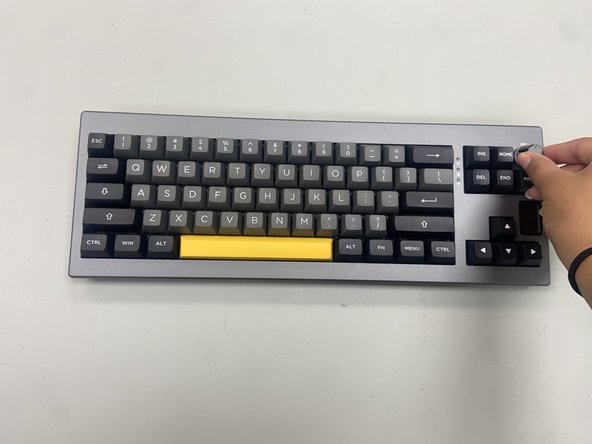
Unplug or disconnect the keyboard from the PC.
-
Turn off and unplug the keyboard if connected via USB-C.
-
If using Bluetooth, disconnect it from all paired devices.
-
-


You’ve completed the switch replacement on your Epomaker Shadow-X keyboard! With new switches installed, your keyboard should offer an improved typing experience. Test each key to ensure they’re responsive, and enjoy the renewed feel of your keyboard.
Annulla: non ho completato questa guida.
Altre 2 persone hanno completato questa guida.

Team

University of North Texas, Team 6-1, Kilpatrick Fall 2024 Membro di University of North Texas, Team 6-1, Kilpatrick Fall 2024
UNT-KILPATRICK-F24S6G1
4 Membri
5 Guide realizzate