Introduzione
This guide will take you through the process of replacing the input jack of a Epiphone Les Paul Special.
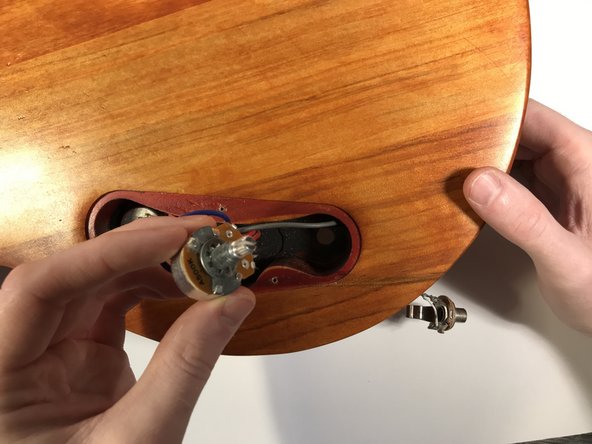
The input jack is the component in which you insert the instrument cable. If your input jack is faulty you may experience the sound cutting in and out as you play or possibly no sound at all.
It should be noted that it may not always be the input jack, but instead the instrument cable. Before trying to replace the jack, try using another cable just to make sure.
Cosa ti serve
-
-
Using a Phillips #1 screwdriver, remove the four 7 mm screws holding the input jack cover.
-
-


To get everything back into its original place, follow steps 1-7 in reverse order.
To get everything back into its original place, follow steps 1-7 in reverse order.
Annulla: non ho completato questa guida.
Altre 2 persone hanno completato questa guida.

Team

University of Memphis, Team S1-G6, Bishop Fall 2020 Membro di University of Memphis, Team S1-G6, Bishop Fall 2020
UM-BISHOP-F20S1G6
1 Membro
2 Guide realizzate