Salta al contenuto principale

Ematic Genesis 2 Charging Port Replacement

Cosa ti serve

  1. Ematic Genesis 2 Charging Port Replacement, Charging Port: passo 1, immagine 1 di 2 Ematic Genesis 2 Charging Port Replacement, Charging Port: passo 1, immagine 2 di 2
    • With your fingers, carefully pry off the back plastic casing. Starting at the corners is usually the easiest.

  2. Ematic Genesis 2 Charging Port Replacement: passo 2, immagine 1 di 3 Ematic Genesis 2 Charging Port Replacement: passo 2, immagine 2 di 3 Ematic Genesis 2 Charging Port Replacement: passo 2, immagine 3 di 3
    • Remove all four screws surrounding the battery with the Phillips head screwdriver.

    • Carefully remove the battery from the device using the Metal Spudger tool to gently separate the battery by wedging it between the device and the battery.

  3. Ematic Genesis 2 Charging Port Replacement: passo 3, immagine 1 di 2 Ematic Genesis 2 Charging Port Replacement: passo 3, immagine 2 di 2
    • Remove both screws on either side of the audio jack using the Philips head screwdriver.

    • Detach audio jack from device.

  4. Ematic Genesis 2 Charging Port Replacement: passo 4, immagine 1 di 2 Ematic Genesis 2 Charging Port Replacement: passo 4, immagine 2 di 2
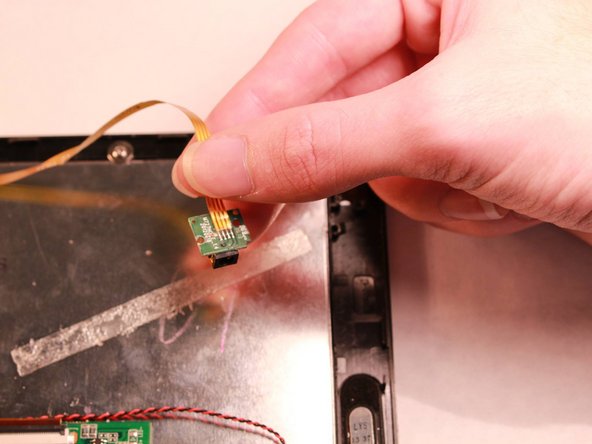
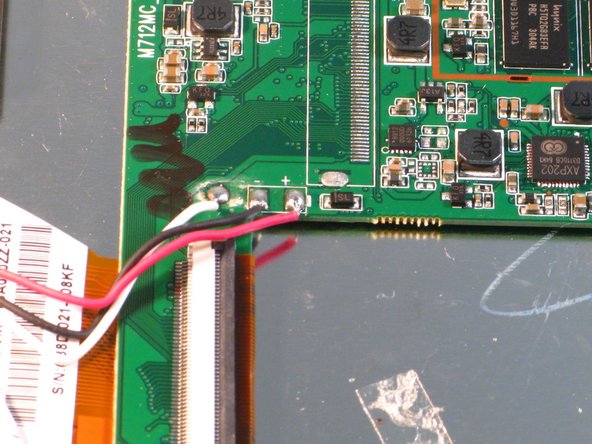
    • Remove the 3 screws surrounding the circuit board using the Philips head screwdriver.

    • Carefully disconnect the circuit board from the device by detaching the copper flexible PCB ribbon cable.

  5. Ematic Genesis 2 Charging Port Replacement: passo 5, immagine 1 di 2 Ematic Genesis 2 Charging Port Replacement: passo 5, immagine 2 di 2
    Attrezzo utilizzato in questo passaggio:
    Tweezers
    $4.99
    Compra
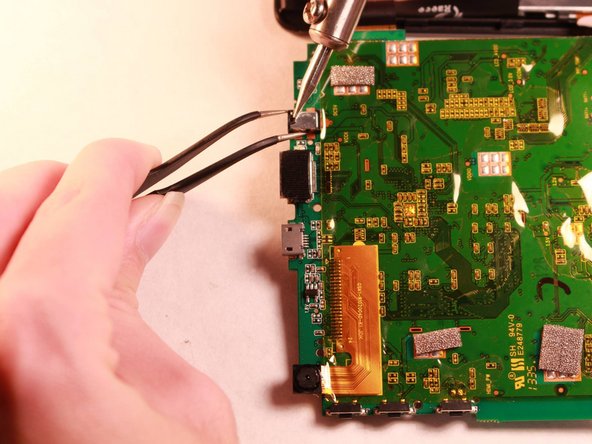
    • Use a soldering iron to heat the solder holding the charging port to the circuit board.

    • Remove the charging port from board using tweezers.

  6. Ematic Genesis 2 Charging Port Replacement: passo 6, immagine 1 di 1
    • Solder replacement port into place.

    • Make sure all connections match original.

Conclusione

To reassemble your device, follow these instructions in reverse order.

Un'altra persona ha completato questa guida.

0 Commenti

Aggiungi Commento

Visualizza Statistiche:

Ultime 24 Ore: 0

Ultimi 7 Giorni: 0

Ultimi 30 Giorni: 2

Tutti i Tempi: 543