Salta al contenuto principale

Questa guida ha delle modifiche più recenti. Passa all'ultima versione non verificata.

Ecovacs DEEBOT D35 Motherboard Replacement

Cosa ti serve

  1. Ecovacs DEEBOT D35 Motherboard Replacement, Motherboard: passo 1, immagine 1 di 1
    • Flip the D35 onto its back.

  2. Ecovacs DEEBOT D35 Motherboard Replacement: passo 2, immagine 1 di 1
    • Remove the 9 screws with a PH2 Phillips screwdriver on the underside of the D35. The screws are:

    • 7 x 14mm screws

    • 2 x 10mm screws

  3. Ecovacs DEEBOT D35 Motherboard Replacement: passo 3, immagine 1 di 1
    • Use spudger or plastic opening tool to separate the Deebot backside

  4. Ecovacs DEEBOT D35 Motherboard Replacement: passo 4, immagine 1 di 1
    • Carefully lift the back cover from the body of the Deebot

  5. Ecovacs DEEBOT D35 Motherboard Replacement: passo 5, immagine 1 di 2 Ecovacs DEEBOT D35 Motherboard Replacement: passo 5, immagine 2 di 2
    • There are 5 cables that need to be carefully disconnected before completely disconnecting the back cover:

    • The 5 cables two blue cables on the front left and right side (located next to the sensor). Represented by the red arrows.

    • Multicolor ribbon in the front center. Represented by the blue arrow.

    • Two (black and red) two prong adapter connected to the motherboard. Represented by the green arrow.

  6. Ecovacs DEEBOT D35 Motherboard Replacement: passo 6, immagine 1 di 3 Ecovacs DEEBOT D35 Motherboard Replacement: passo 6, immagine 2 di 3 Ecovacs DEEBOT D35 Motherboard Replacement: passo 6, immagine 3 di 3
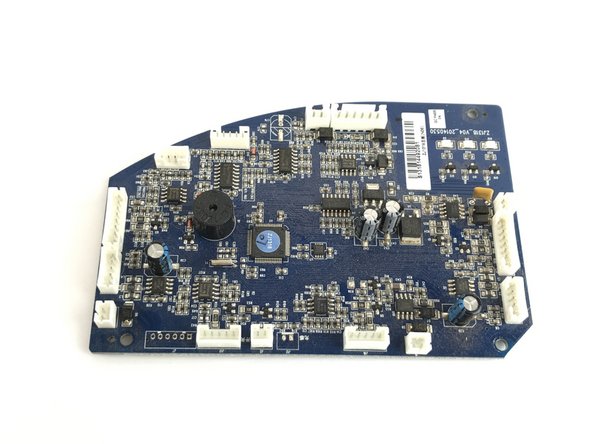
    • Locate the 3 screws on the motherboard:

    • 2 x 14mm screws

    • 1 x 10mm screws

  7. Ecovacs DEEBOT D35 Motherboard Replacement: passo 7, immagine 1 di 1
    • Remove the screws from the motherboard with a PH2 Phillips Head Screwdriver. The screws are:

    • 2 x 14mm screws

    • 1 x 10mm screws

  8. Ecovacs DEEBOT D35 Motherboard Replacement: passo 8, immagine 1 di 2 Ecovacs DEEBOT D35 Motherboard Replacement: passo 8, immagine 2 di 2
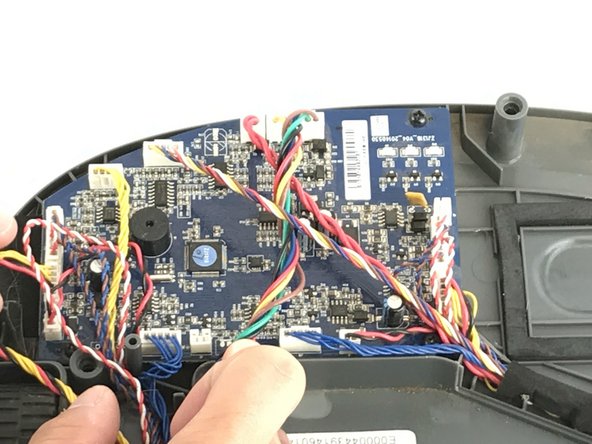
    • Locate and disconnect 12 cables bundles connected on the motherboard

  9. Ecovacs DEEBOT D35 Motherboard Replacement: passo 9, immagine 1 di 1
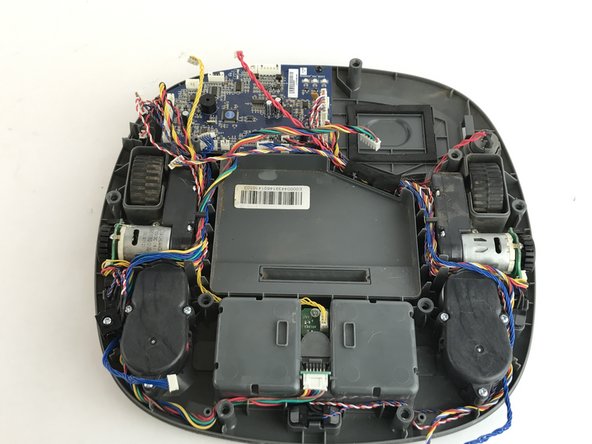
    • Carefully disconnect the motherboard from the Deebot body.

Conclusione

To reassemble your device, follow these instructions in reverse order.

Altre 2 persone hanno completato questa guida.

Team

USF Tampa, Team 12-2, Eyestone Spring 2017 Membro di USF Tampa, Team 12-2, Eyestone Spring 2017

USFT-EYESTONE-S17S12G2

4 Membri

4 Guide realizzate

0 Commenti

Aggiungi Commento

Visualizza Statistiche:

Ultime 24 Ore: 0

Ultimi 7 Giorni: 1

Ultimi 30 Giorni: 8

Tutti i Tempi: 2,704