Questa versione può contenere modifiche errate. Passa all'ultima istantanea verificata.
Cosa ti serve
-
Questo passaggio è privo di traduzione. Aiuta a tradurlo
-
Remove the four 5mm Phillips #1 screws that connect the black outer shell to the silver back of the device.
-
-
Questo passaggio è privo di traduzione. Aiuta a tradurlo
-
Remove the two 5mm screws on the left and right side panels.
-
-
Questo passaggio è privo di traduzione. Aiuta a tradurlo
-
Lift the black cover to a 45 degree angle from the rear of the device and pull the cover away entirely.
-
-
-
Questo passaggio è privo di traduzione. Aiuta a tradurlo
-
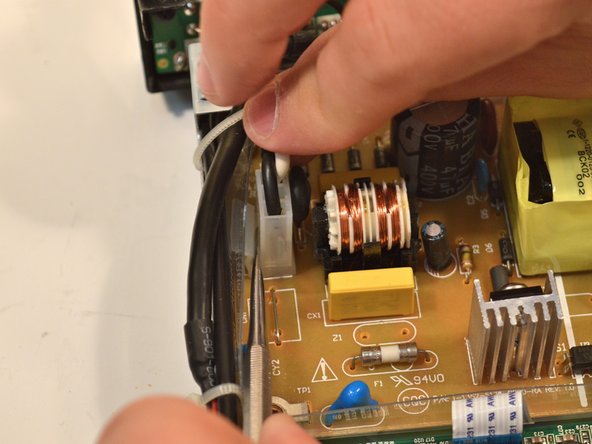
Remove the 9-pin white wire from the power board (brown) that connects to the motherboard (green).
-
-
Questo passaggio è privo di traduzione. Aiuta a tradurlo
-
Remove the front plate of the device by removing the top two screws on either side and pulling the plate away.
-
-
Questo passaggio è privo di traduzione. Aiuta a tradurlo
-
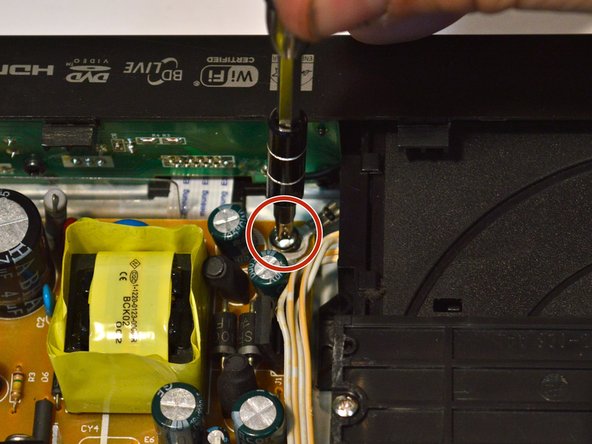
Remove the 4 screws holding the power board to the body of the device.
-
-
Questo passaggio è privo di traduzione. Aiuta a tradurlo
-
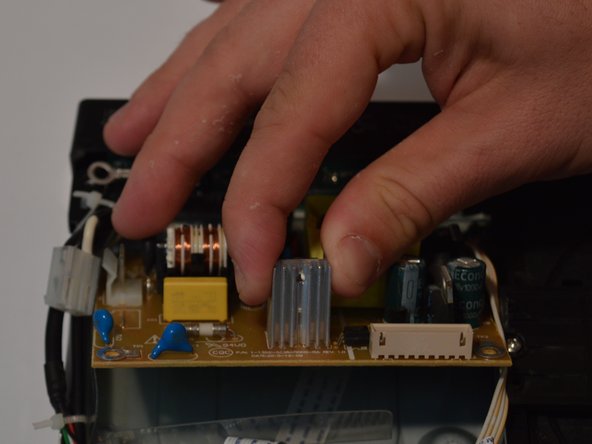
Press down on the plastic flap to unlatch the white clip on the edge of the power supply board.
-


Annulla: non ho completato questa guida.
Altre 3 persone hanno completato questa guida.
Team

Linn Benton Community College, Team S1-G2, Johnson Spring 2018 Membro di Linn Benton Community College, Team S1-G2, Johnson Spring 2018
LBCC-JOHNSON-S18S1G2
4 Membri
6 Guide realizzate