Salta al contenuto principale

Questa guida ha delle modifiche più recenti. Passa all'ultima versione non verificata.

Dynex DX-WBRDVD1 Power Supply Board Replacement

Cosa ti serve

  1. Dynex DX-WBRDVD1 Power Supply Board Replacement, Top Cover: passo 1, immagine 1 di 2 Dynex DX-WBRDVD1 Power Supply Board Replacement, Top Cover: passo 1, immagine 2 di 2
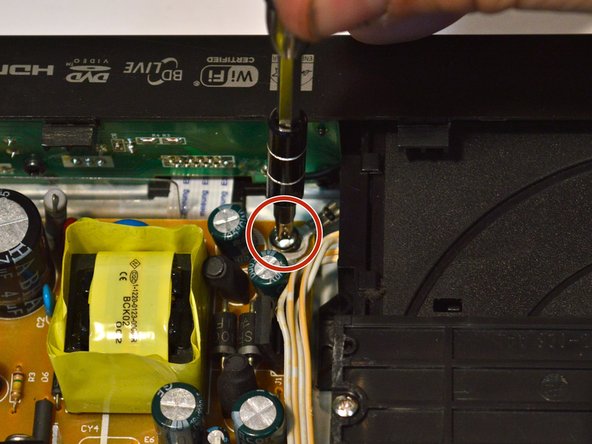
    • Remove the four 5mm Phillips #1 screws that connect the black outer shell to the silver back of the device.

  2. Dynex DX-WBRDVD1 Power Supply Board Replacement: passo 2, immagine 1 di 1
    • Remove the two 5mm screws on the left and right side panels.

    • There is one screw on each side that secures the cover to the body of the device.

  3. Dynex DX-WBRDVD1 Power Supply Board Replacement: passo 3, immagine 1 di 1
    • Lift the black cover to a 45 degree angle from the rear of the device and pull the cover away entirely.

    • Check that the power cord is not preventing the device from opening or closing.

  4. Dynex DX-WBRDVD1 Power Supply Board Replacement, Power Supply Board: passo 4, immagine 1 di 2 Dynex DX-WBRDVD1 Power Supply Board Replacement, Power Supply Board: passo 4, immagine 2 di 2
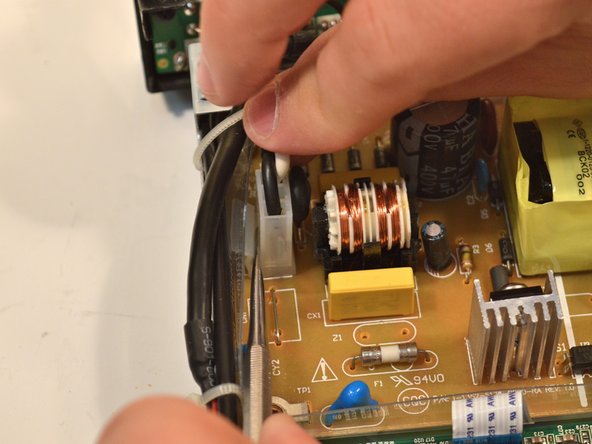
    • Remove the 9-pin white wire connecting the power board to the mother board.

  5. Dynex DX-WBRDVD1 Power Supply Board Replacement: passo 5, immagine 1 di 2 Dynex DX-WBRDVD1 Power Supply Board Replacement: passo 5, immagine 2 di 2
    • Remove the front of the device by removing the two screws, holding it the the body of the device.

    • Make sure to place the grounding wire between the screw and the device when reassembling.

  6. Dynex DX-WBRDVD1 Power Supply Board Replacement: passo 6, immagine 1 di 2 Dynex DX-WBRDVD1 Power Supply Board Replacement: passo 6, immagine 2 di 2
    • Remove the 4 screws holding the power board the the body of the device.

    • Remember to connect the grounding wire to the screw next to the front panel and optical drive when reassembling.

  7. Dynex DX-WBRDVD1 Power Supply Board Replacement: passo 7, immagine 1 di 2 Dynex DX-WBRDVD1 Power Supply Board Replacement: passo 7, immagine 2 di 2
    • Remove the white clip.

  8. Dynex DX-WBRDVD1 Power Supply Board Replacement: passo 8, immagine 1 di 1
    • Remove the power supply board.

Conclusione

To reassemble your device, follow these instructions in reverse order.

Altre 3 persone hanno completato questa guida.

0 Commenti

Aggiungi Commento

Visualizza Statistiche:

Ultime 24 Ore: 1

Ultimi 7 Giorni: 1

Ultimi 30 Giorni: 9

Tutti i Tempi: 674