Questa versione può contenere modifiche errate. Passa all'ultima istantanea verificata.
Cosa ti serve
-
-
Svita le quattro viti da 6.5 mm, usando un cacciavite con la punta Phillips.
-
Fai leva sulle due metà della scocca usando uno strumento di apertura in plastica.
-
-
Questo passaggio è privo di traduzione. Aiuta a tradurlo
-
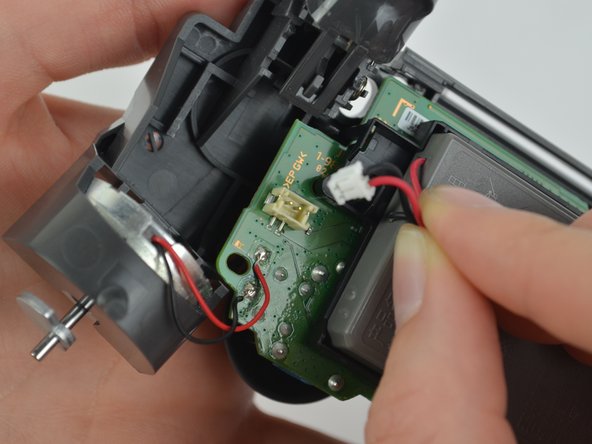
Unplug the black and red wires from the power port located on the motherboard.
-
Remove the old battery from the controller.
-
-
-
Questo passaggio è privo di traduzione. Aiuta a tradurlo
-
Remove the 6.43mm screw connecting the motherboard to the inner workings of the controller, using a Phillips-Head screwdriver.
-
-
Questo passaggio è privo di traduzione. Aiuta a tradurlo
-
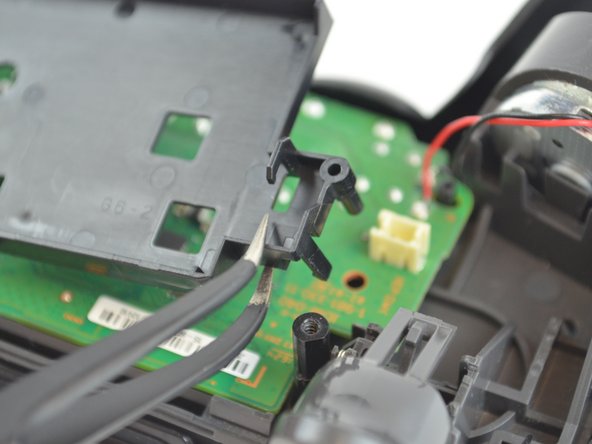
Unhook the battery case from the motherboard, and pull it off.
-
-
Questo passaggio è privo di traduzione. Aiuta a tradurlo
-
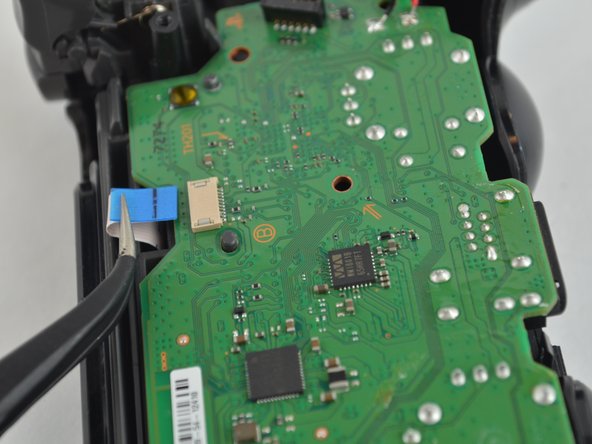
Pull out the second CPU ribbon to separate the inner workings from the top of the outer shell.
-
-
Questo passaggio è privo di traduzione. Aiuta a tradurlo
-
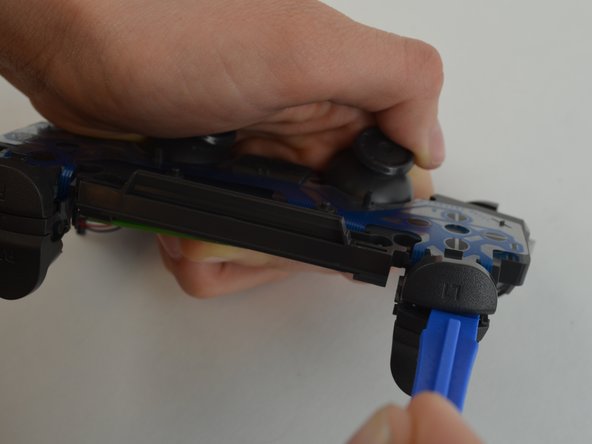
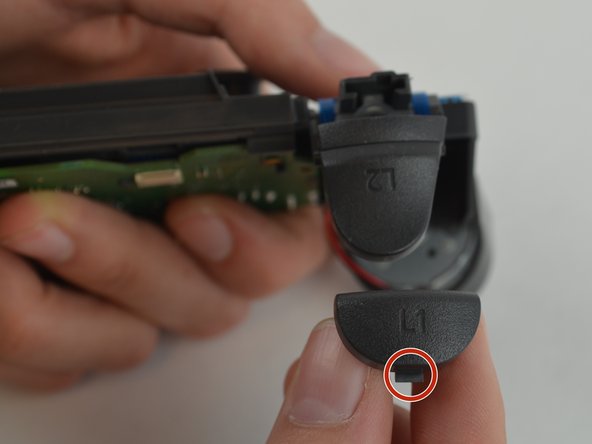
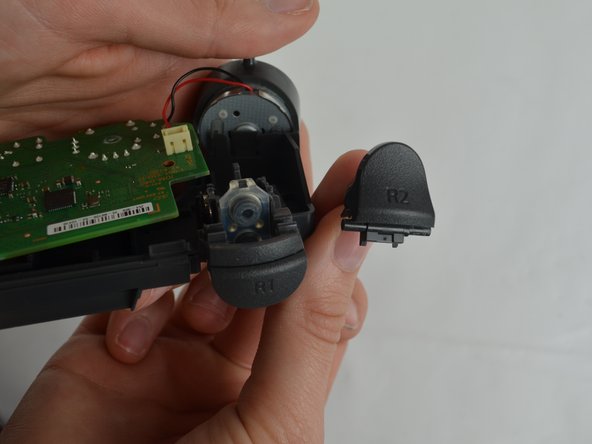
Pry the button from the controller using the plastic opening tool. Slide the tool between the buttons. There will be a tab you can push in to remove the button.
-
-
Questo passaggio è privo di traduzione. Aiuta a tradurlo
-
Insert the plastic opening tool into the space created when the button is pressed down. Make sure the tool is situated directly in the center of the space, before attempting to pry the button out.
-
Annulla: non ho completato questa guida.
Altre 26 persone hanno completato questa guida.
4 Commenti
Is it possible to replace the zct2u triggers with custom 1st gen triggers? It seems like the only major difference is the extra piece on the latest models to prevent losing the trigger.
Does this stops the issue I have that is when I press L2, my character sometimes goes forward, like the L2 would be creating contact with the left directional going forward option.
My controller lost the R1, so I need to buy one to replace it. After pulling apart my controller, I noticed the back of the L1 button looks different (the plastic connection pieces are completely different) than the photos in your directions. Are there different types of shoulder buttons available? Or is it that my controller is a different generation? If so, do you supply the pieces for this controller type?
Hey, can you explain the differences between the V1 and V2 Trigger buttons, they are different. I stepped on the R2 button and it ripped out the R2 button and damaged the housing (my father is the trades guy, obviously).
I don’t know if it’s worth fixing, or if I should just buy a new controller.


