Salta al contenuto principale

Dremel 4000 Power Cord Replacement

Cosa ti serve

  1. Dremel 4000 Power Cord Replacement, Back Case: passo 1, immagine 1 di 2 Dremel 4000 Power Cord Replacement, Back Case: passo 1, immagine 2 di 2
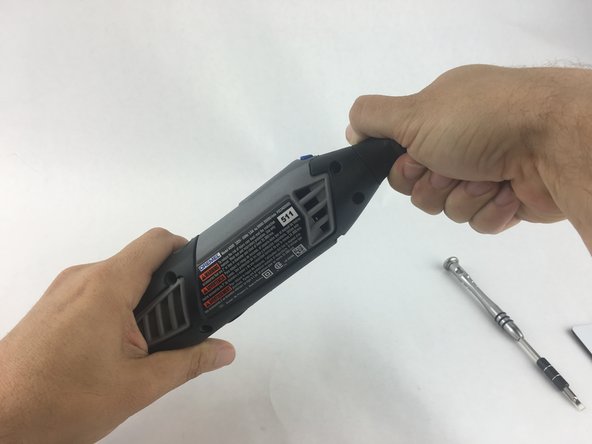
    • Start by removing the housing cap by unscrewing it.

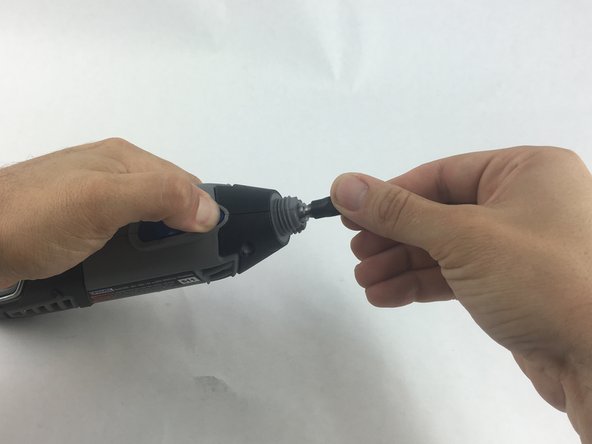
    • Next, unscrew the now exposed collet nut while holding down the shaft lock button.

    • To remove the collet nut, you may need to use the small open-end wrench provided with the Dremel.

  2. Dremel 4000 Power Cord Replacement: passo 2, immagine 1 di 1
    • Using your hands, carefully remove hanger from casing.

  3. Dremel 4000 Power Cord Replacement: passo 3, immagine 1 di 2 Dremel 4000 Power Cord Replacement: passo 3, immagine 2 di 2
    • Remove the brush caps (one on each side) by using a flathead screwdriver bit.

    • The brush caps are spring loaded.

  4. Dremel 4000 Power Cord Replacement: passo 4, immagine 1 di 1
    • Using the Torx 15 screwdriver tip, remove the 5 screws (12.5 mm) that hold the casing together.

  5. Dremel 4000 Power Cord Replacement: passo 5, immagine 1 di 1
    • Use a plastic opening tool to gently wedge apart the hard plastic threads.

  6. Dremel 4000 Power Cord Replacement: passo 6, immagine 1 di 1
    • Use your hands to carefully remove the back casing so that none of the components fall out.

  7. Dremel 4000 Power Cord Replacement, Power Cord: passo 7, immagine 1 di 2 Dremel 4000 Power Cord Replacement, Power Cord: passo 7, immagine 2 di 2
    • To clear access to the electrical assembly, remove the variable speed dial cap and blue power lever, and set them aside.

  8. Dremel 4000 Power Cord Replacement: passo 8, immagine 1 di 1
    • Using your fingers, carefully pull the circuit board from the casing. This will make it easier to remove the power cord.

  9. Dremel 4000 Power Cord Replacement: passo 9, immagine 1 di 1
    • Each wire is fed through a small opening on the circuit board and held with a flat head screw.

    • Loosen the screw just enough to remove the wire by gently pulling it with your hand.

  10. Dremel 4000 Power Cord Replacement: passo 10, immagine 1 di 1
    • Carefully remove both wires from circuit board with your hands.

    • Take careful note of which side has the black wire and which has the white wire.

Conclusione

To reassemble your device, follow these instructions in reverse order.

Altre 5 persone hanno completato questa guida.

John Cobb

Membro da: 01/20/16

1.689 Reputazione

4 Guide realizzate

Team

USF Tampa, Team 15-4, Remmell Spring 2016 Membro di USF Tampa, Team 15-4, Remmell Spring 2016

USFT-REMMELL-S16S15G4

4 Membri

13 Guide realizzate

Un commento

Super handy guide after my guide dog decided to chew through the cable!

Geoff Palmer - Replica

Aggiungi Commento

Visualizza Statistiche:

Ultime 24 Ore: 0

Ultimi 7 Giorni: 4

Ultimi 30 Giorni: 38

Tutti i Tempi: 5,641