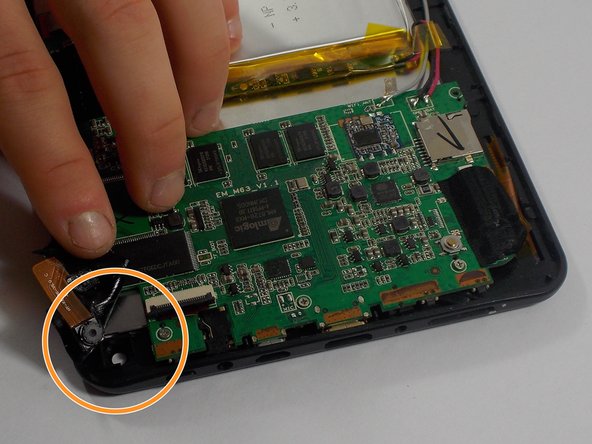
Salta al contenuto principale

Dopo Double Power 7 Camera Replacement

Cosa ti serve

  1. Dopo Double Power 7 Camera Replacement, Rear Panel: passo 1, immagine 1 di 1
    • The rear panel is secured to the front case and can simply be pried apart without damage.

  2. Dopo Double Power 7 Camera Replacement: passo 2, immagine 1 di 1
    • Carefully, wedge the plastic opening tool in-between the seam that separates both halves of the tablet.

  3. Dopo Double Power 7 Camera Replacement: passo 3, immagine 1 di 1
    • Run the plastic opening tool along the seam looking for the clips and lift up on the rear panel.

  4. Dopo Double Power 7 Camera Replacement: passo 4, immagine 1 di 1
    • The rear panel should come completely off.

  5. Dopo Double Power 7 Camera Replacement, Camera: passo 5, immagine 1 di 1
    • Remove any black static tape that may be covering the motherboard.

  6. Dopo Double Power 7 Camera Replacement: passo 6, immagine 1 di 2 Dopo Double Power 7 Camera Replacement: passo 6, immagine 2 di 2
    • The camera is taped in place.

    • Use the flat end of a spudger to disconnect the front-facing camera cable from its socket on the motherboard.

    • Our cable had previously been cut but yours can be disconnected by lifting up on the black section of the socket, as shown by the arrow, and pulling the cable out.

    • Simply, pull back the tape and remove the camera.

Conclusione

To reassemble your device, follow these instructions in reverse order.

Un'altra persona ha completato questa guida.

mike pelosi

Membro da: 10/30/15

682 Reputazione

6 Guide realizzate

Team

UMass Dartmouth, Team 1-2, Miles Fall 2015 Membro di UMass Dartmouth, Team 1-2, Miles Fall 2015

UMASSD-MILES-F15S1G2

4 Membri

12 Guide realizzate

0 Commenti

Aggiungi Commento

Visualizza Statistiche:

Ultime 24 Ore: 0

Ultimi 7 Giorni: 3

Ultimi 30 Giorni: 3

Tutti i Tempi: 157