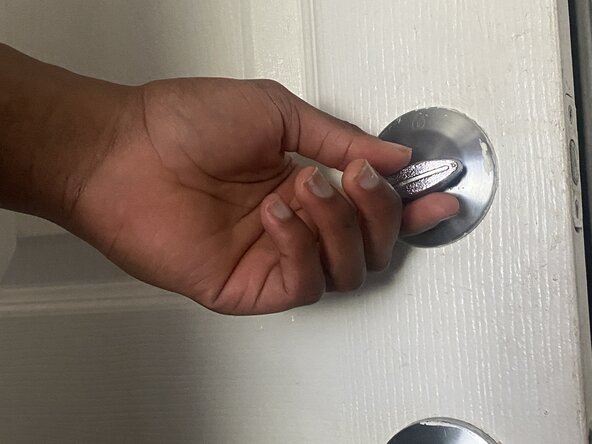
Salta al contenuto principale
Unisciti alla Community delle riparazioni - Crea un account

Doorknob Privacy Pin Replacement

Cosa ti serve

  1. Doorknob Privacy Pin Replacement, Doorknob Privacy Pin: passo 1, immagine 1 di 3 Doorknob Privacy Pin Replacement, Doorknob Privacy Pin: passo 1, immagine 2 di 3 Doorknob Privacy Pin Replacement, Doorknob Privacy Pin: passo 1, immagine 3 di 3
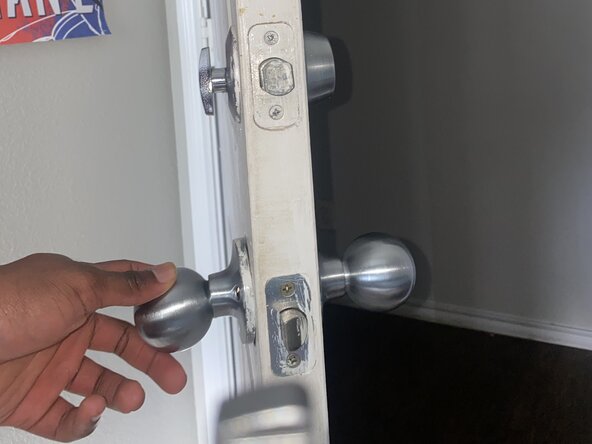
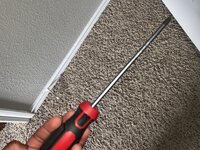
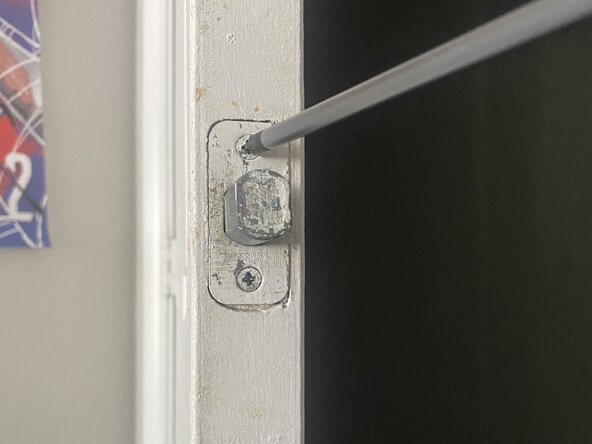
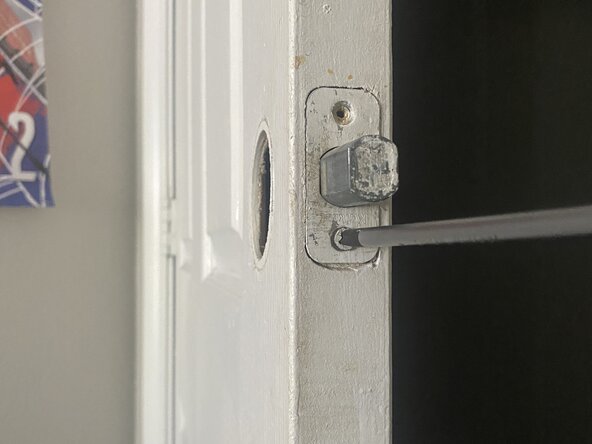
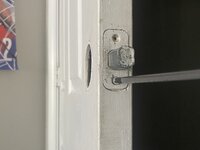
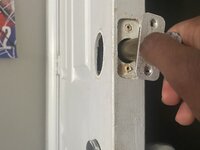
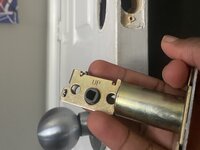
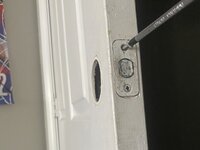
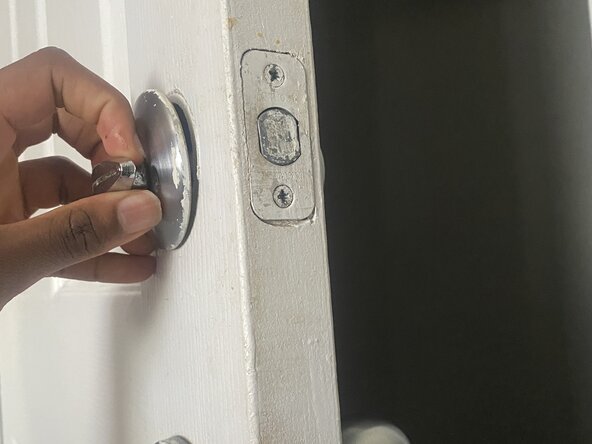
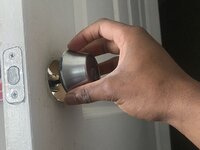
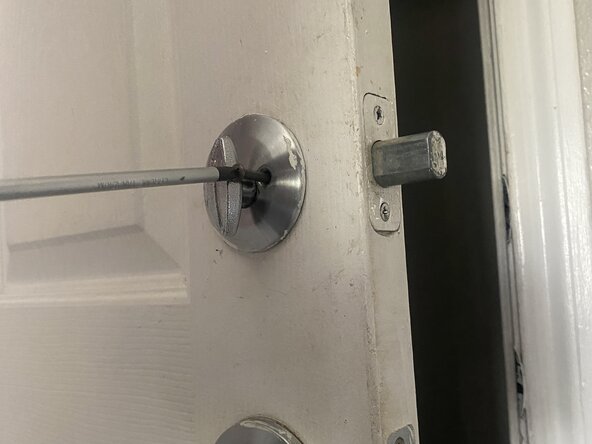
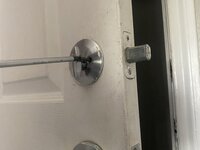
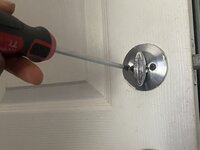
    • Use a Phillips #1 screwdriver to remove the two screws holding the interior and exterior doorknob halves together.

  2. Doorknob Privacy Pin Replacement: passo 2, immagine 1 di 2 Doorknob Privacy Pin Replacement: passo 2, immagine 2 di 2
    • Carefully pull the doorknob halves apart.

    • The spindle and the latch mechanism should now be accessible.

  3. Doorknob Privacy Pin Replacement: passo 3, immagine 1 di 3 Doorknob Privacy Pin Replacement: passo 3, immagine 2 di 3 Doorknob Privacy Pin Replacement: passo 3, immagine 3 di 3
    • Use the Phillips #1 screwdriver to remove the privacy pin.

    • It is a small, threaded pin that screws into a hole on the latch mechanism itself or on the interior doorknob assembly.

  4. Doorknob Privacy Pin Replacement: passo 4, immagine 1 di 1
    • Remove the old/ damaged privacy pin.

  5. Doorknob Privacy Pin Replacement: passo 5, immagine 1 di 3 Doorknob Privacy Pin Replacement: passo 5, immagine 2 di 3 Doorknob Privacy Pin Replacement: passo 5, immagine 3 di 3
    • Screw the new privacy pin into the corresponding hole.

    • Ensure it's securely tightened but don't overtighten, as this could strip the threads.

  6. Doorknob Privacy Pin Replacement: passo 6, immagine 1 di 3 Doorknob Privacy Pin Replacement: passo 6, immagine 2 di 3 Doorknob Privacy Pin Replacement: passo 6, immagine 3 di 3
    • Align the spindle with the latch mechanism, then bring the two doorknob halves back together.

    • Make sure all parts are properly seated.

  7. Doorknob Privacy Pin Replacement: passo 7, immagine 1 di 3 Doorknob Privacy Pin Replacement: passo 7, immagine 2 di 3 Doorknob Privacy Pin Replacement: passo 7, immagine 3 di 3
    • Securely fasten the two screws with the Phillips #1 screwdriver.

    • Snap or twist the decorative covers back into place (If applicable).

    • Test the privacy pin several times to ensure it engages and disengages smoothly.

Conclusione

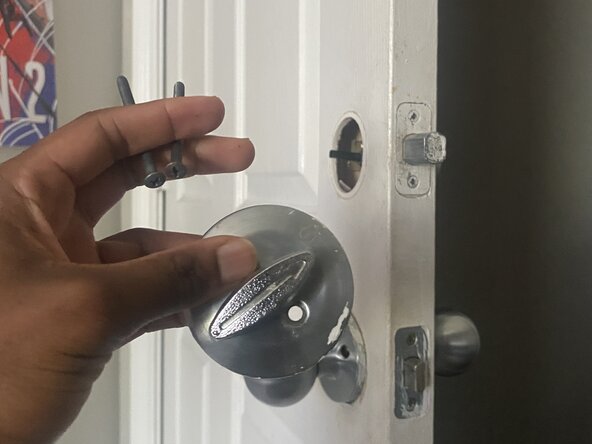
To reassemble your device, follow these instructions in reverse order.

Elias Moseri

Membro da: 06/15/25

145 Reputazione

1 Guida realizzata

0Commenti sulla guida

Aggiungi Commento

Visualizza Statistiche:

Ultime 24 Ore: 1

Ultimi 7 Giorni: 9

Ultimi 30 Giorni: 29

Tutti i Tempi: 180