Salta al contenuto principale

Door Hinge Replacement

Cosa ti serve

  1. Door Hinge Replacement, Hinge: passo 1, immagine 1 di 2 Door Hinge Replacement, Hinge: passo 1, immagine 2 di 2
    • Take measurements of the door hinge using a tape measure and use the measurements to find a replacement door hinge.

  2. Door Hinge Replacement: passo 2, immagine 1 di 2 Door Hinge Replacement: passo 2, immagine 2 di 2
    • Use two sturdy pieces of wood or cardboard that can keep the door in place and put them underneath the door.

    • Make sure that the door isn’t slanted or tilted to make it easier to replace the new door hinge.

  3. Door Hinge Replacement: passo 3, immagine 1 di 2 Door Hinge Replacement: passo 3, immagine 2 di 2
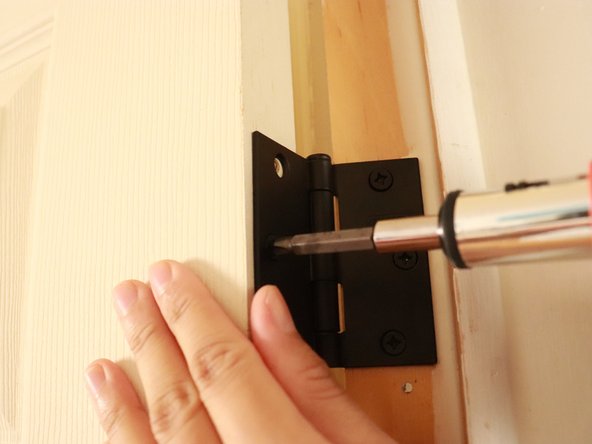
    • Remove the three screws from the hinge that are connected to the door by using a Phillips 1 screwdriver.

    • Remove the three screws from the hinge that are connected to the door frame using a Phillips #1 screwdriver.

  4. Door Hinge Replacement: passo 4, immagine 1 di 2 Door Hinge Replacement: passo 4, immagine 2 di 2
    • Repeat Step 3 with the bottom hinge on the door.

  5. Door Hinge Replacement: passo 5, immagine 1 di 2 Door Hinge Replacement: passo 5, immagine 2 di 2
    • Rub sandpaper on the areas where the new hinges will be.

    • This makes sure that splinters or any wood debris from both the frame and the door will be removed.

  6. Door Hinge Replacement: passo 6, immagine 1 di 2 Door Hinge Replacement: passo 6, immagine 2 di 2
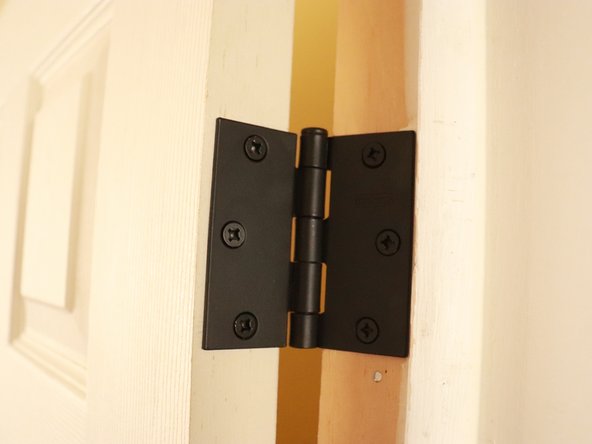
    • When replacing your new door hinge, make sure that the hinge that is facing towards you can be fully closed

  7. Door Hinge Replacement: passo 7, immagine 1 di 3 Door Hinge Replacement: passo 7, immagine 2 di 3 Door Hinge Replacement: passo 7, immagine 3 di 3
    • Align the new door hinge with the screw holes in the frame and screw in the new door hinge in the frame.

    • Repeat this with the bottom area of the door.

  8. Door Hinge Replacement: passo 8, immagine 1 di 3 Door Hinge Replacement: passo 8, immagine 2 di 3 Door Hinge Replacement: passo 8, immagine 3 di 3
    • Align the new door hinge with the screw holes in the door and screw in the new door hinge.

    • Repeat this with the bottom area of the door.

  9. Door Hinge Replacement: passo 9, immagine 1 di 2 Door Hinge Replacement: passo 9, immagine 2 di 2
    • Spray a small amount of WD-40 at the back top and bottom hinge and wipe it down with an old rag.

Linea Traguardo

Un'altra persona ha completato questa guida.

0 Commenti

Aggiungi Commento

Visualizza Statistiche:

Ultime 24 Ore: 0

Ultimi 7 Giorni: 6

Ultimi 30 Giorni: 29

Tutti i Tempi: 591