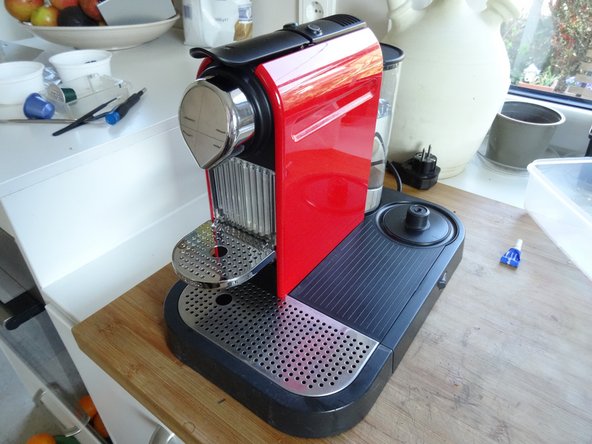
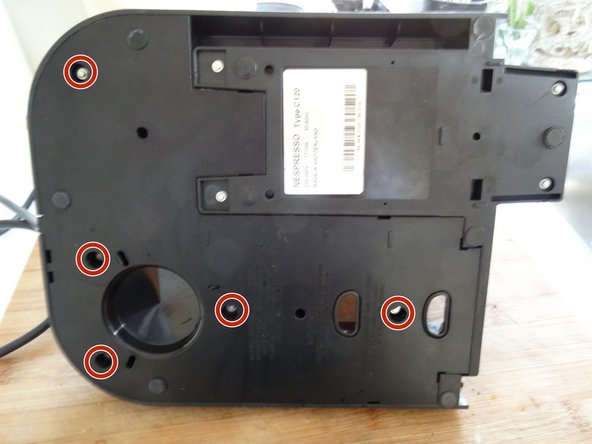
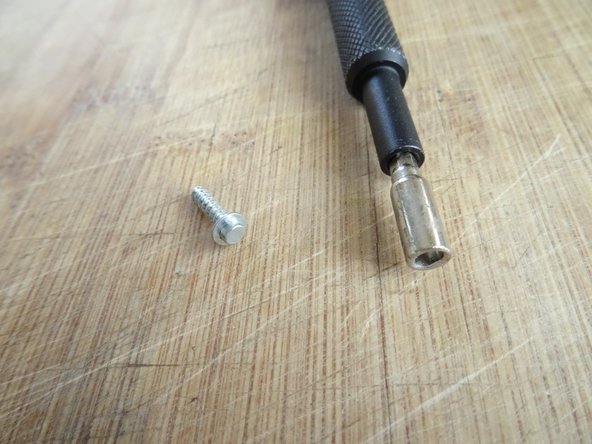
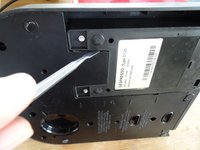
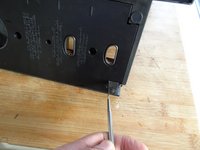
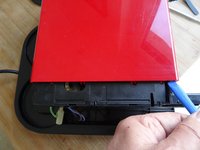
Salta al contenuto principale

Dismantle Nespresso CitiZ

Cosa ti serve

  1. Dismantle Nespresso CitiZ, Dismantle Nespresso CitiZ: passo 1, immagine 1 di 1
    • Never forget: pull the plug!

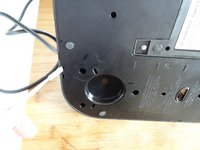
    • Remove all attachments: Water tank, capsule and cup drawer, drip tray.

    • The model shown is also equipped with a milk frother, remove that too.

  2. Dismantle Nespresso CitiZ: passo 2, immagine 1 di 2 Dismantle Nespresso CitiZ: passo 2, immagine 2 di 2
    Attrezzo utilizzato in questo passaggio:
    iFixit Precision 4 mm Screwdriver Bit
    $2.99
    Compra
    • The bottom is secured by oval head screws.

    • These screws have an oval head that makes them look like rivets (picture 2). You need to use a special bit - also available at iFixit - for their removal. Here a DIY guide. If the right bit is not available, it could be done with a pair of needle nose pliers. Nespresso wants to keep us out of our own machines!!!

    • Remove five oval head screws securing the large bottom panel.

    • Note: this panel is smaller on models without milk frother.

  3. Dismantle Nespresso CitiZ: passo 3, immagine 1 di 3 Dismantle Nespresso CitiZ: passo 3, immagine 2 di 3 Dismantle Nespresso CitiZ: passo 3, immagine 3 di 3
    • The bottom panel is just snapped into place. Insert a metal spudger into the slots and lift the panel out. It sits quite tightly and you might use some force to get it out.

  4. Dismantle Nespresso CitiZ: passo 4, immagine 1 di 1
    • Remove the large bottom panel.

  5. Dismantle Nespresso CitiZ: passo 5, immagine 1 di 1
    • Use a spudger to slide off the two silicon tubes.

  6. Dismantle Nespresso CitiZ: passo 6, immagine 1 di 2 Dismantle Nespresso CitiZ: passo 6, immagine 2 di 2
    • Disconnect the two spade plugs on the blue and brown wires from the power switch. The two left ones remain.

  7. Dismantle Nespresso CitiZ: passo 7, immagine 1 di 1
    • Remove four oval head screws from the small bottom panel.

    • Remove the main device from the base. It´s still connected with some wires, but this doesn´t bother much.

  8. Dismantle Nespresso CitiZ: passo 8, immagine 1 di 3 Dismantle Nespresso CitiZ: passo 8, immagine 2 di 3 Dismantle Nespresso CitiZ: passo 8, immagine 3 di 3
    • The two colored side panels are only snapped into place. However, the latches sit very tight. You really need a lot of force. First lift the lower edge using a plastic opening tool.

    • Depending from the model it might help, when you first pry off the coffee spout. (See next step)

    • Unfold each of the side panels upwards and remove them.

  9. Dismantle Nespresso CitiZ: passo 9, immagine 1 di 1
    • Insert a opening tool in the gap on the bottom of the coffee spout. Pry it off carefully.

Conclusione

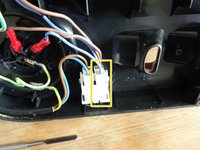
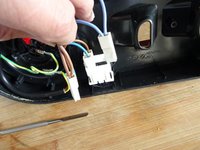
To reassemble your device, follow these instructions in reverse order.

Altre 4 persone hanno completato questa guida.

Un ringraziamento speciale a questi traduttori:

de en

100%

VauWeh ci sta aiutando ad aggiustare il mondo! Vuoi partecipare?
Inizia a tradurre ›

VauWeh

Membro da: 10/19/15

202.869 Reputazione

246 Guide realizzate

Team

Repair is War on Entropy Membro di Repair is War on Entropy

Community

25 Membri

1.111 Guide realizzate

2 Commenti

Wie geht es weiter um an die Heizung zu kommen? Vermutlich ist eine Reperatur nicht möglich.

Martin Gastberger - Replica

Ich denke der Teardown zeigt es: Nespresso CitiZ Teardown

VauWeh -

Aggiungi Commento

Visualizza Statistiche:

Ultime 24 Ore: 26

Ultimi 7 Giorni: 149

Ultimi 30 Giorni: 609

Tutti i Tempi: 9,553