Salta al contenuto principale
Unisciti alla Community delle riparazioni - Crea un account
Disassembling the Root Coding Robot

Disassembling the Root Coding Robot

Alexandre Aires Viegas

Alexandre Aires Viegas e un altro collaboratore

Ultimo aggiornamento il 2 giu 2025

20 - 40 minuti
Moderato
Guida fornita dalla comunità

Introduzione

Vai al passo 1

Welcome to the Root Coding Robot disassembly guide. In this guide, we'll disassemble this curious, whiteboard-navigating robot completely to get a good sense of the inner workings of this robot.

Let's get right into it!

Cosa ti serve

Strumenti

  • Phillips #0 Screwdriver
    Phillips #0 Screwdriver
  • Spudger
    Spudger

Mostra di più…

  1. Disassembling the Root Coding Robot, Removing the bottom screws: passo 1, immagine 1 di 1
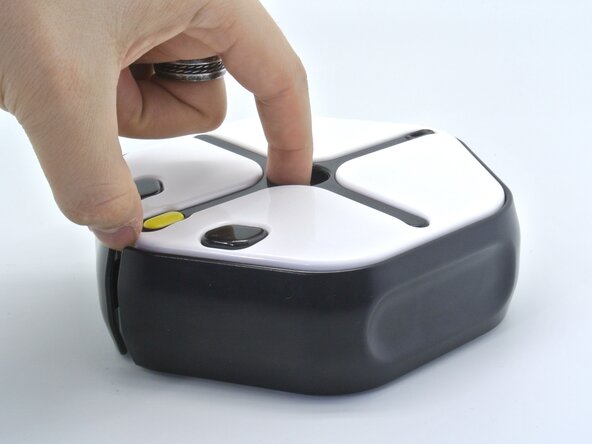
    • The first step in our disassembly is to remove the four bottom Phillips screws.

  2. Disassembling the Root Coding Robot, Opening up the Root: passo 2, immagine 1 di 3 Disassembling the Root Coding Robot, Opening up the Root: passo 2, immagine 2 di 3 Disassembling the Root Coding Robot, Opening up the Root: passo 2, immagine 3 di 3
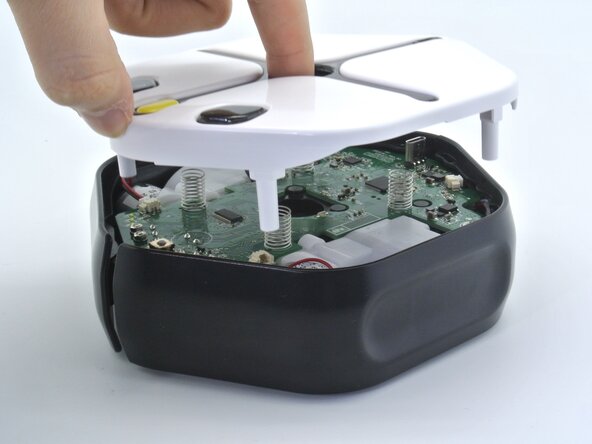
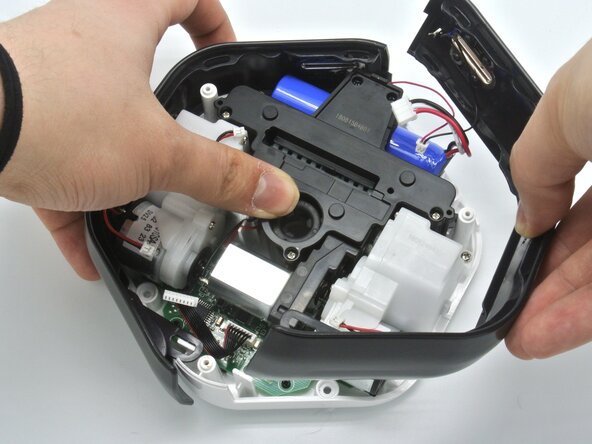
    • Once the screws are removed, simply flip the robot face up and lift the top cover. This will expose the Root's motherboard.

  3. Disassembling the Root Coding Robot, Disconnecting some cables: passo 3, immagine 1 di 3 Disassembling the Root Coding Robot, Disconnecting some cables: passo 3, immagine 2 di 3 Disassembling the Root Coding Robot, Disconnecting some cables: passo 3, immagine 3 di 3
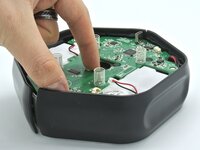
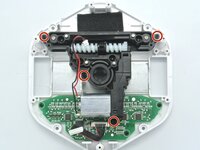
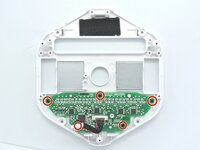
    • Remove the three screws holding the motherboard in place.

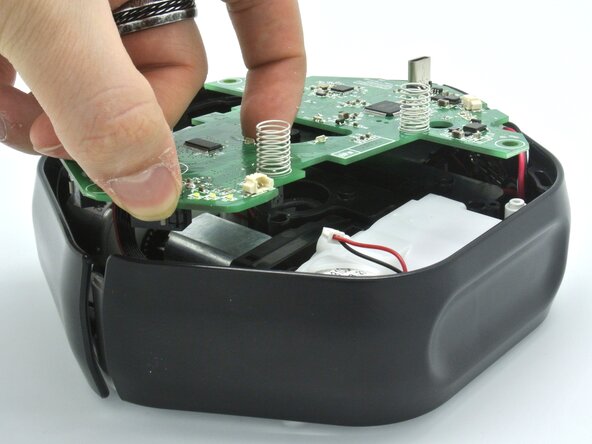
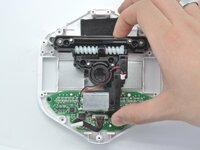
    • With a spudger, remove the four cables connected to the motherboard. This will allow us to lift it but there's still a couple of connectors to disconnect.

    • Don't force the motherboard out as the erasing mechanisms and color sensors are still connected to it.

  4. Disassembling the Root Coding Robot, Removing the motherboard: passo 4, immagine 1 di 2 Disassembling the Root Coding Robot, Removing the motherboard: passo 4, immagine 2 di 2
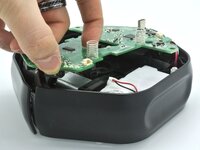
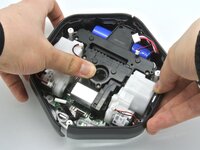
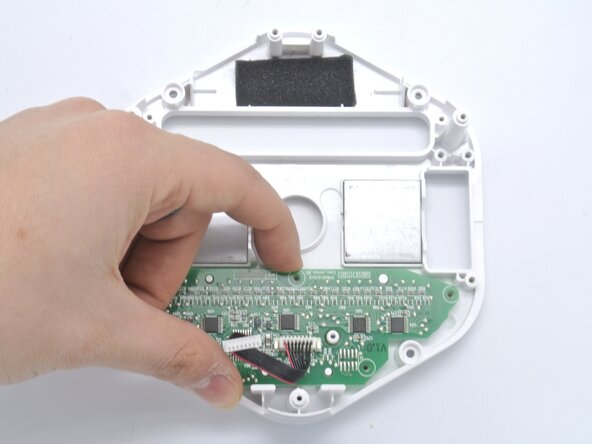
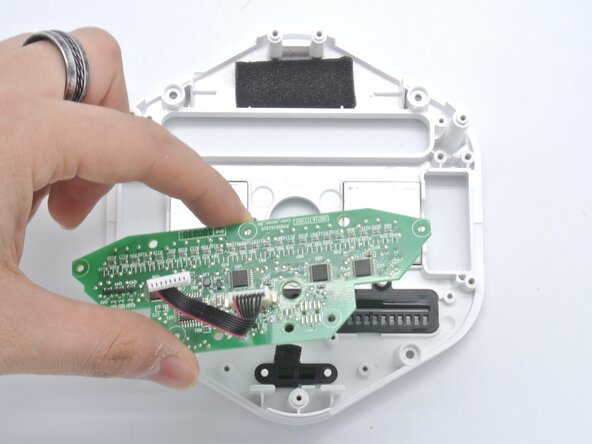
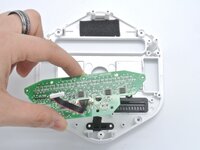
    • Now you can see both connectors still attached to the motherboard, remove them and simply set the motherboard aside.

  5. Disassembling the Root Coding Robot, Side buttons: passo 5, immagine 1 di 2 Disassembling the Root Coding Robot, Side buttons: passo 5, immagine 2 di 2
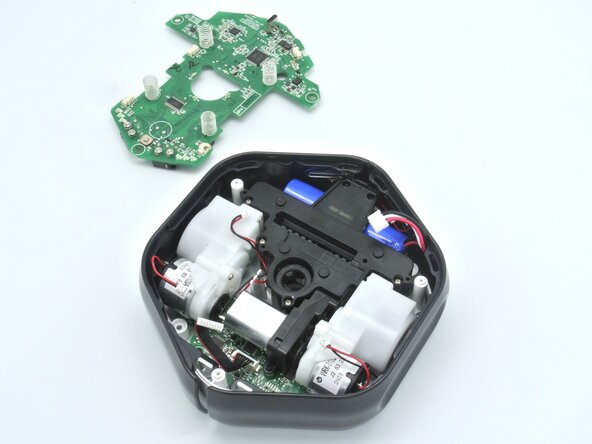
    • With the motherboard out of the way, we can simply lift the side buttons and remove them.

  6. Disassembling the Root Coding Robot, Motors: passo 6, immagine 1 di 3 Disassembling the Root Coding Robot, Motors: passo 6, immagine 2 di 3 Disassembling the Root Coding Robot, Motors: passo 6, immagine 3 di 3
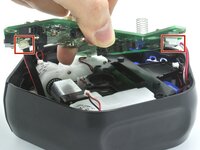
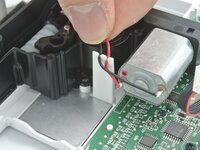
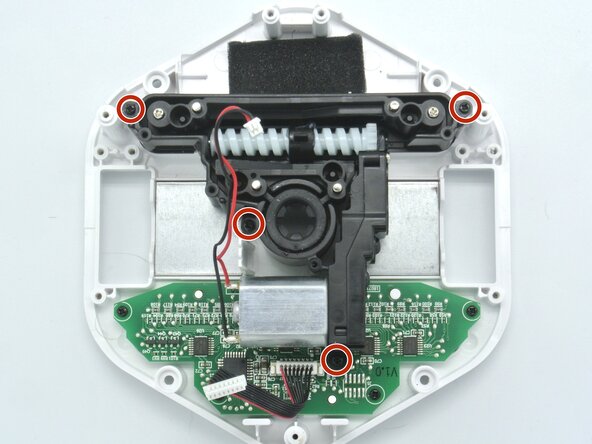
    • Without the side buttons we can now easily access the three Phillips screws holding down the motors.

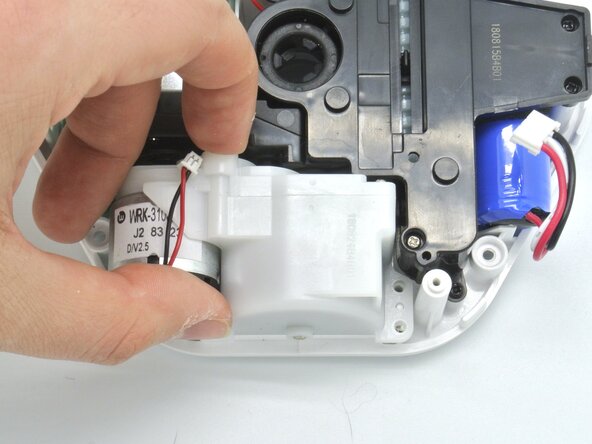
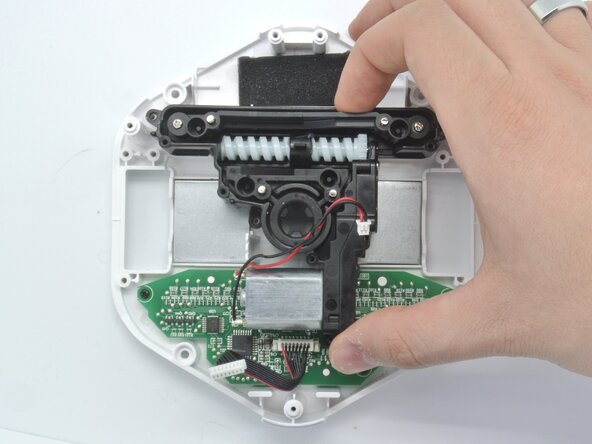
    • Unscrew them and remove the motors.

  7. Disassembling the Root Coding Robot, Accessing the battery: passo 7, immagine 1 di 2 Disassembling the Root Coding Robot, Accessing the battery: passo 7, immagine 2 di 2
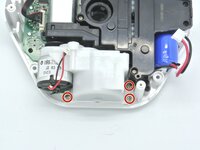
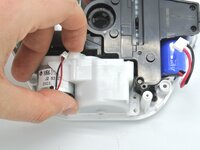
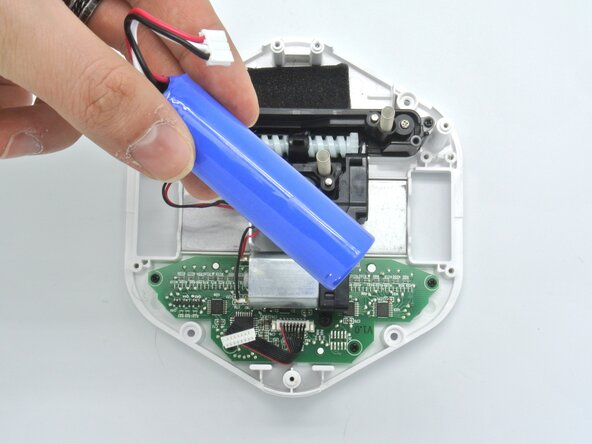
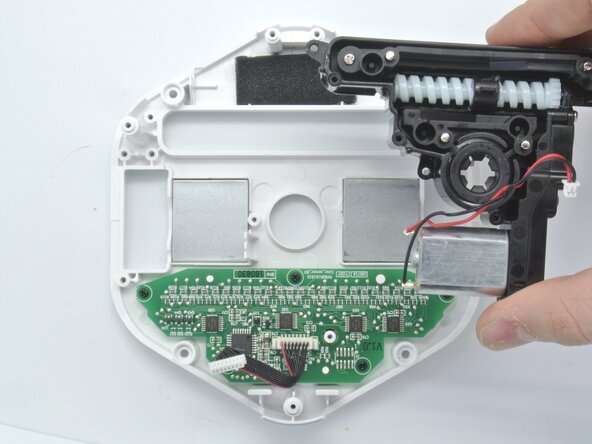
    • To access the battery, unscrew the 6 Phillips screws and remove the plastic piece.

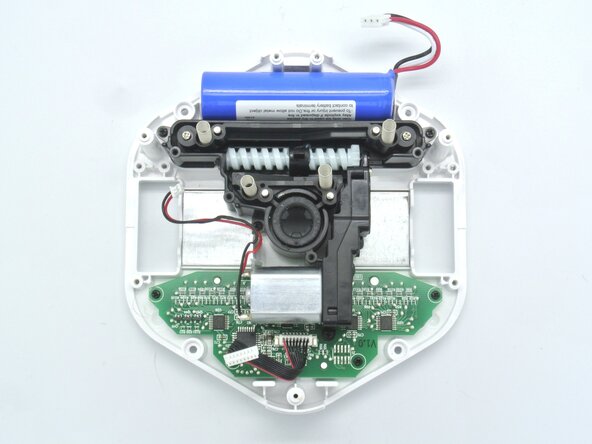
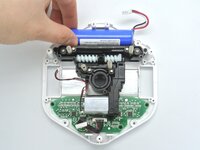
    • With motors removed you can now see thge powerful magnets that hold this robot fixed on a whiteboard.

  8. Disassembling the Root Coding Robot, Battery: passo 8, immagine 1 di 2 Disassembling the Root Coding Robot, Battery: passo 8, immagine 2 di 2
    • With access to the battery, you can simply take it out.

  9. Disassembling the Root Coding Robot, Repositionning some cables: passo 9, immagine 1 di 2 Disassembling the Root Coding Robot, Repositionning some cables: passo 9, immagine 2 di 2
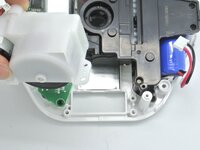
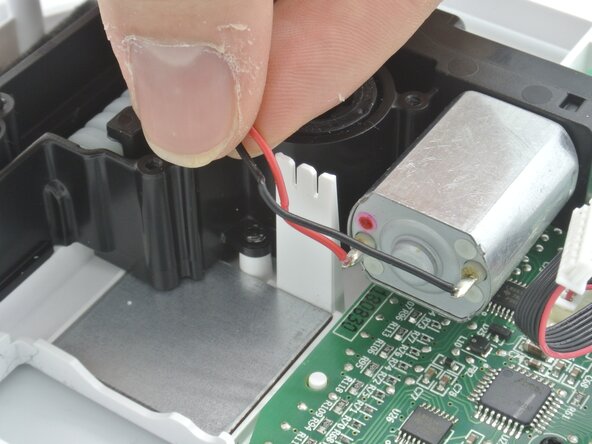
    • There's a little cable holder that makes sure the motor cables don't go everywhere, make sure to remove the cables from there.

  10. Disassembling the Root Coding Robot, Erasing mechanism: passo 10, immagine 1 di 3 Disassembling the Root Coding Robot, Erasing mechanism: passo 10, immagine 2 di 3 Disassembling the Root Coding Robot, Erasing mechanism: passo 10, immagine 3 di 3
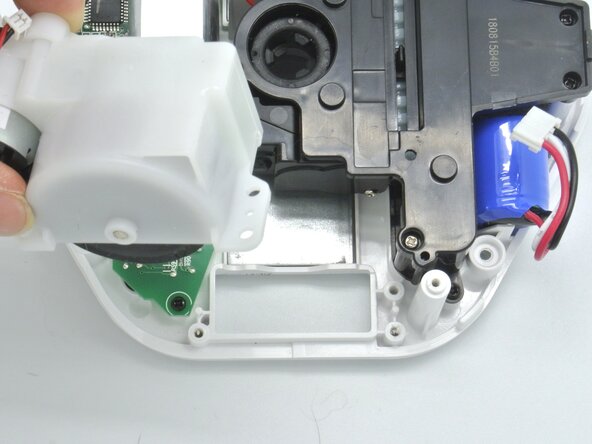
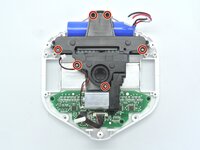
    • The cool thing about the Root robot is that it can go on a white board and it can erase stuff. That mechanism is shown here and it can be remove by unscrewing these four screws.

    • Once that's done, remove the erasing mechanism.

  11. Disassembling the Root Coding Robot, Color sensor board: passo 11, immagine 1 di 3 Disassembling the Root Coding Robot, Color sensor board: passo 11, immagine 2 di 3 Disassembling the Root Coding Robot, Color sensor board: passo 11, immagine 3 di 3
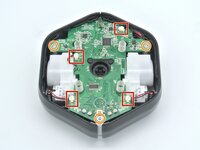
    • To recognize colors, the Root uses a color sensor board at the bottom of the robot. Unscrew the five screws holding the board to the chassis.

    • Remove the board.

Conclusione

Congratulations, you've made it to the end of the guide, and that concludes the Root Coding robot disassembly.

To reassemble your device, follow these instructions in reverse order.

0Commenti sulla guida

Aggiungi Commento

Visualizza Statistiche:

Ultime 24 Ore: 0

Ultimi 7 Giorni: 0

Ultimi 30 Giorni: 8

Tutti i Tempi: 36