Salta al contenuto principale
Unisciti alla Community delle riparazioni - Crea un account

Disassembling UPS OVISLINK TRACITE CUBE or CUBO All

Cosa ti serve

    1. Disassembling UPS OVISLINK TRACITE CUBE or CUBO All, Unscrew the front panel: passo 1, immagine 1 di 3 Disassembling UPS OVISLINK TRACITE CUBE or CUBO All, Unscrew the front panel: passo 1, immagine 2 di 3 Disassembling UPS OVISLINK TRACITE CUBE or CUBO All, Unscrew the front panel: passo 1, immagine 3 di 3
      • Before you begin, be sure to shut off the UPS and unplug it. You do not want the UPS to kick in while you're performing the procedure.

      • Remove the screws (2) under the device

      Chiedi a FixBot

      Aggiungi Commento

    2. Disassembling UPS OVISLINK TRACITE CUBE or CUBO All, Open the front pannel: passo 2, immagine 1 di 3 Disassembling UPS OVISLINK TRACITE CUBE or CUBO All, Open the front pannel: passo 2, immagine 2 di 3 Disassembling UPS OVISLINK TRACITE CUBE or CUBO All, Open the front pannel: passo 2, immagine 3 di 3
      • Slide the front pannel up

      Chiedi a FixBot

      Aggiungi Commento

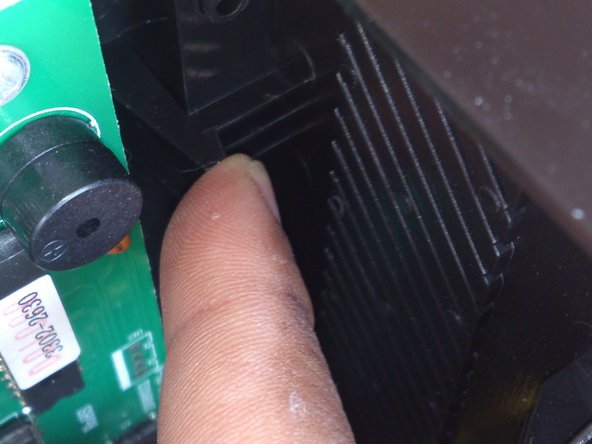
    3. Disassembling UPS OVISLINK TRACITE CUBE or CUBO All, Remove the Bottom pannel: passo 3, immagine 1 di 3 Disassembling UPS OVISLINK TRACITE CUBE or CUBO All, Remove the Bottom pannel: passo 3, immagine 2 di 3 Disassembling UPS OVISLINK TRACITE CUBE or CUBO All, Remove the Bottom pannel: passo 3, immagine 3 di 3
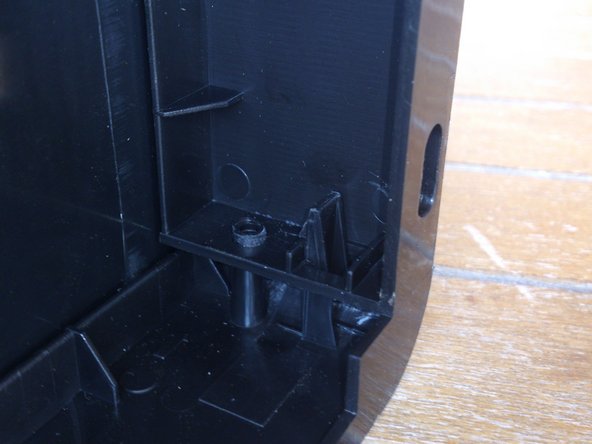
      • Remove left/right clips. And remove the bottom pannel

      Chiedi a FixBot

      Aggiungi Commento

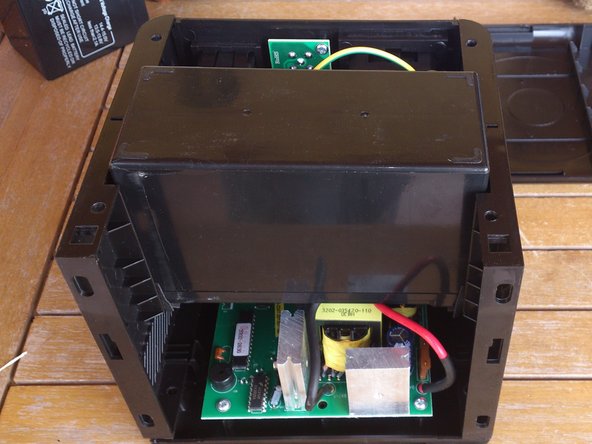
    4. Disassembling UPS OVISLINK TRACITE CUBE or CUBO All, Remove the Battery: passo 4, immagine 1 di 1
      • Be careful

      Chiedi a FixBot

      Aggiungi Commento

    5. Disassembling UPS OVISLINK TRACITE CUBE or CUBO All, Remove the left side: passo 5, immagine 1 di 3 Disassembling UPS OVISLINK TRACITE CUBE or CUBO All, Remove the left side: passo 5, immagine 2 di 3 Disassembling UPS OVISLINK TRACITE CUBE or CUBO All, Remove the left side: passo 5, immagine 3 di 3
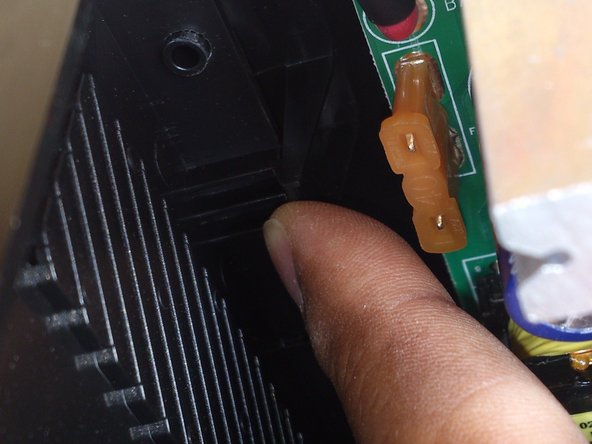
      • Unclip the left pannel

      Chiedi a FixBot

      Aggiungi Commento

    6. Disassembling UPS OVISLINK TRACITE CUBE or CUBO All, Remove the right side: passo 6, immagine 1 di 3 Disassembling UPS OVISLINK TRACITE CUBE or CUBO All, Remove the right side: passo 6, immagine 2 di 3 Disassembling UPS OVISLINK TRACITE CUBE or CUBO All, Remove the right side: passo 6, immagine 3 di 3
      • Unclip the right pannel

      Chiedi a FixBot

      Aggiungi Commento

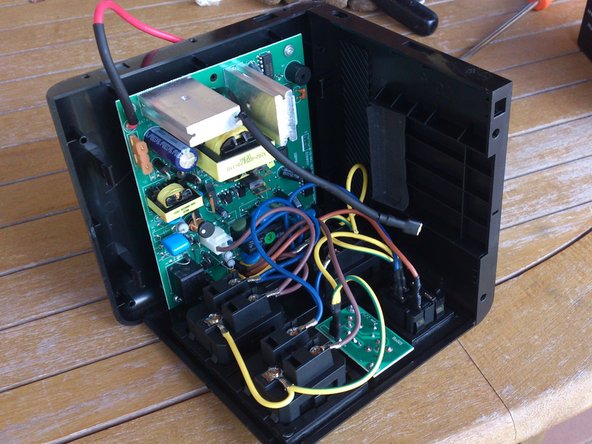
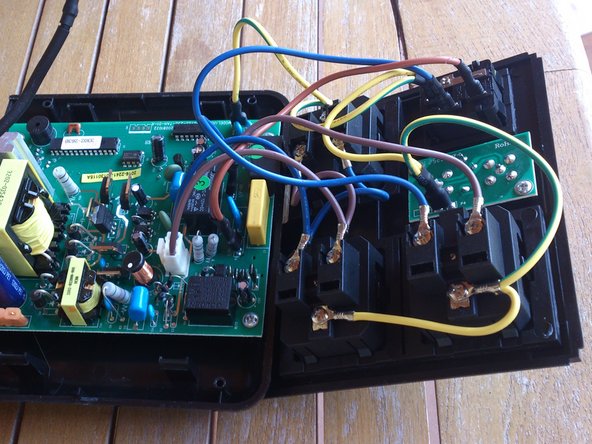
    7. Disassembling UPS OVISLINK TRACITE CUBE or CUBO All, Remove the rear pannel: passo 7, immagine 1 di 1
      • Caution when pluging the rear pannel...

      • -blue for neutral.

      • -yelow/green for earth

      • -brown for phase

      Chiedi a FixBot

      Aggiungi Commento

Conclusione

To reassemble your device, follow these instructions in reverse order.

Annulla: non ho completato questa guida.

Altre 2 persone hanno completato questa guida.

pldestin

Membro da: 04/20/15

128 Reputazione

Una guida realizzata

0Commenti sulla guida

Aggiungi Commento

Visualizza statistiche:

Ultime 24 ore: 4

Ultimi 7 giorni: 16

Ultimi 30 giorni: 42

Tutti i Tempi: 1,852