Questa guida ha delle modifiche più recenti. Passa all'ultima versione non verificata.
Introduzione
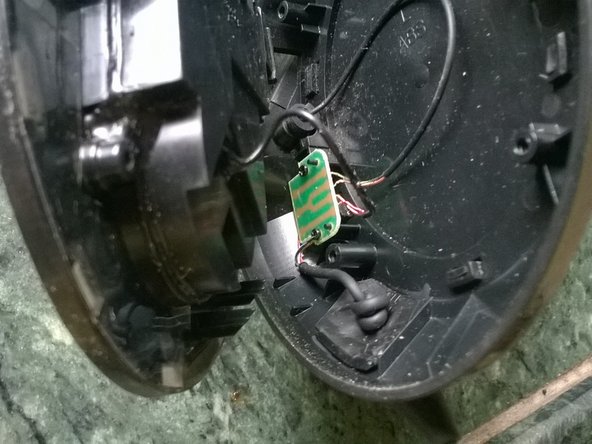
By far the commonest fault with headphones is a broken lead. If the break is within the headphones themselves or at that end of the lead you will need to disassemble them in order to replace the lead or shorten it to eliminate the break.
Cosa ti serve
-
-
Use two or three fingers slowly pull the cushion.
-
-


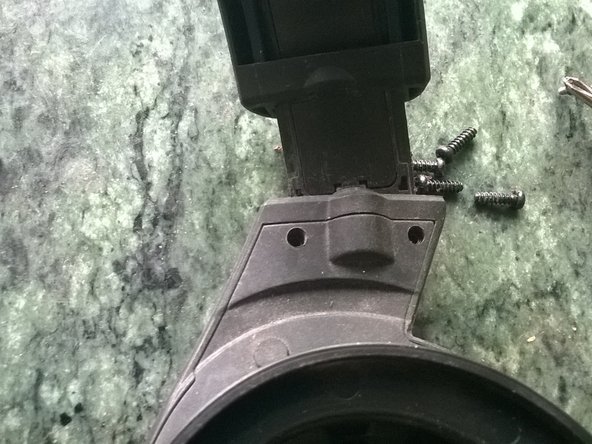

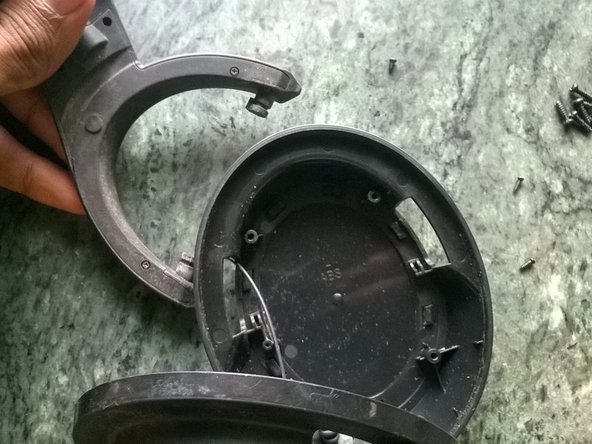

To reassemble your device, follow these instructions in reverse order.
Camera used : lumia 520
To reassemble your device, follow these instructions in reverse order.
Camera used : lumia 520
Annulla: non ho completato questa guida.
Altre 7 persone hanno completato questa guida.
Un commento
Hola Buenas, gracias por las fotos y la información. Te quiero hacer una consulta por si me puedes ayudar, quiero instalar un circuito de Bluetooth a los cascos, lo pondría entre el cable de salida del jack y el circuito verde? Supongo que el circuito sirve para unir los cables de ambos altavoces en una sola salida.
Muchas gracias de antemano