Questa versione può contenere modifiche errate. Passa all'ultima istantanea verificata.
Cosa ti serve
-
Questo passaggio è privo di traduzione. Aiuta a tradurlo
-
With the needle removed, open the device by pulling up on the handle.
-
-
Questo passaggio è privo di traduzione. Aiuta a tradurlo
-
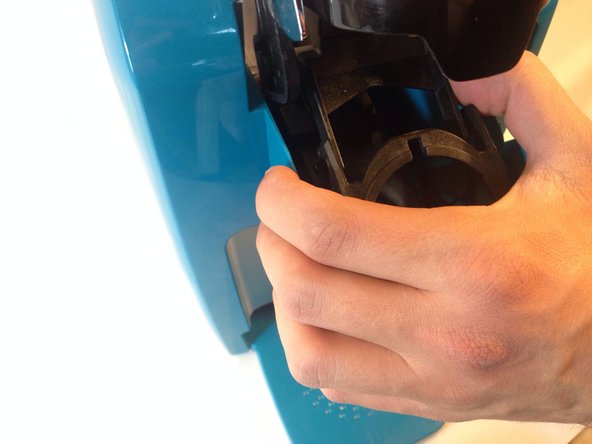
Push in on one of the arms attached to the K-cup holder plastic housing to remove it from its rails. The arms are identical for both sides so once one side is free repeat the process for the second side.
-
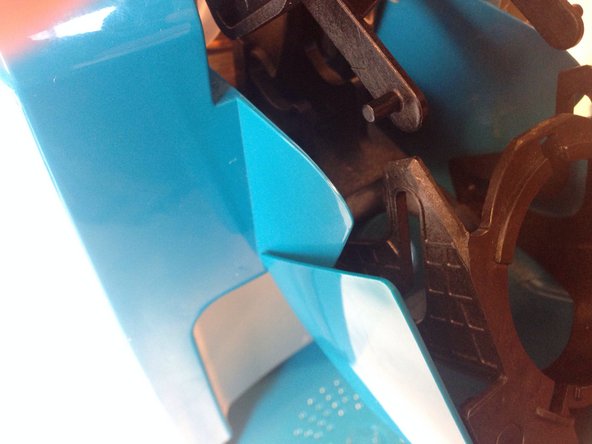
Once the arms are removed, the configuration should look like the picture. The K-cup holder housing should be separated from the arms.
-
-
-
Questo passaggio è privo di traduzione. Aiuta a tradurlo
-
Use a Phillips #1 screw driver to remove the four 12 mm screws that hold the arm assembly in place.
-
-
Questo passaggio è privo di traduzione. Aiuta a tradurlo
-
Lift up the arm and pull up the handle assembly. It should easily come off.
-
This white tab falls off easily, remove it and set it aside to ensure it is not lost.
-


