Questa versione può contenere modifiche errate. Passa all'ultima istantanea verificata.
Cosa ti serve
-
Questo passaggio è privo di traduzione. Aiuta a tradurlo
-
Turn the phone over to expose the battery cover.
-
Apply pressure to the back of the battery cover to slide it down.
-
The battery cover is now separate from the phone.
-
-
Questo passaggio è privo di traduzione. Aiuta a tradurlo
-
Remove the battery by pushing it up and out from the bottom.
-
The battery, cover, and phone should now be separated.
-
-
Questo passaggio è privo di traduzione. Aiuta a tradurlo
-
Remove the four screws with the Y0 screwdriver.
-
-
Questo passaggio è privo di traduzione. Aiuta a tradurlo
-
Remove the black, rubber screw caps towards the top of the back of the phone to reveal two additional screws.
-
Remove the two screws with a Y0 screwdriver.
-
-
-
Questo passaggio è privo di traduzione. Aiuta a tradurlo
-
Rotate the phone 180 degrees.
-
Carefully separate the back plate from the remainder of the phone.
-
The back plate should now be detached from the rest of the phone.
-
-
Questo passaggio è privo di traduzione. Aiuta a tradurlo
-
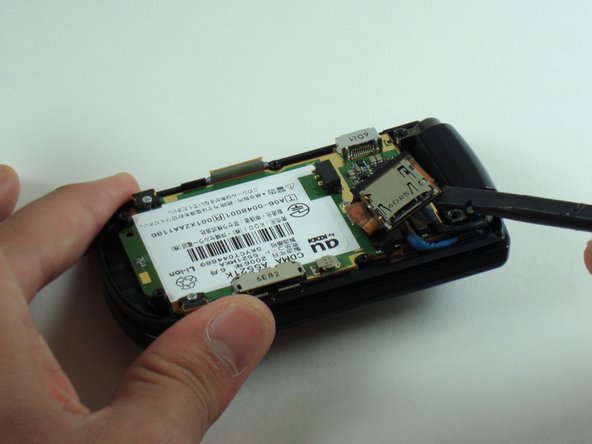
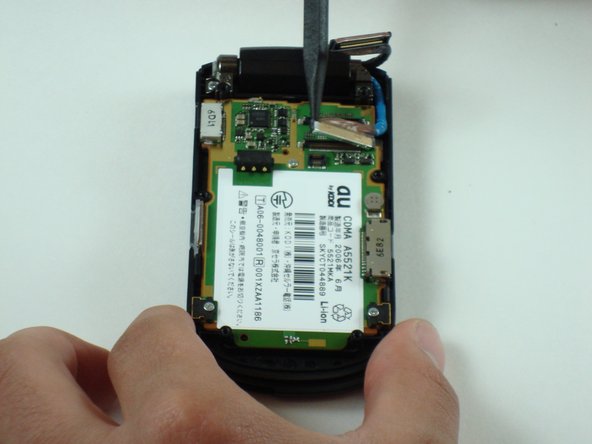
Rotate the phone approximately 45 degrees to the right.
-
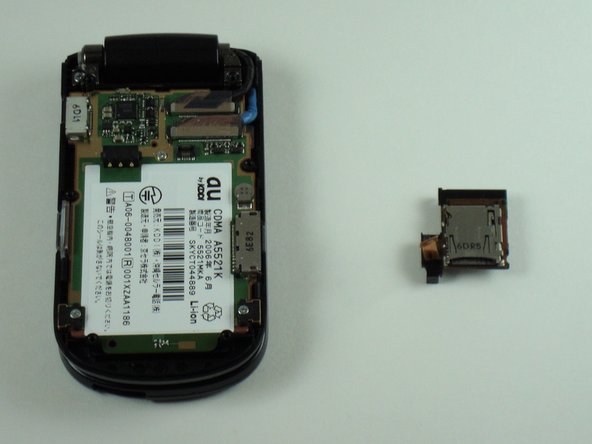
Gently pry up the SD card slot with a spudger.
-
-
Questo passaggio è privo di traduzione. Aiuta a tradurlo
-
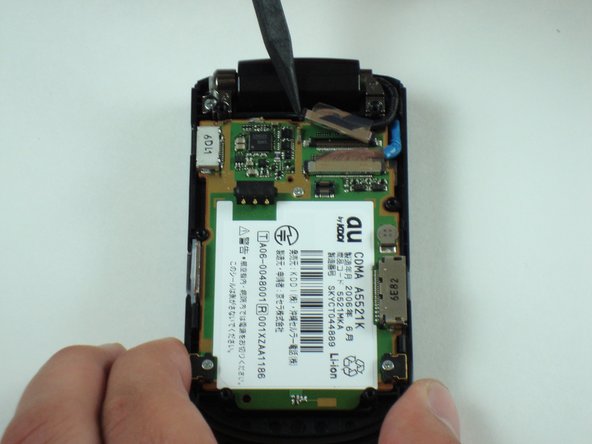
Lift up on the first connection shown using a pair of pliers.
-
Disconnect the first connection between the logic board and the wire using the pair of pliers.
-
-
Questo passaggio è privo di traduzione. Aiuta a tradurlo
-
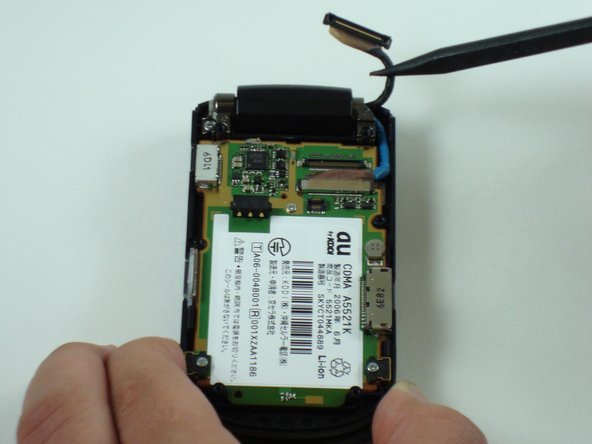
Repeat the above steps for the second connection.
-
Use the pliers to pry up the connection.
-
Use the pliers to disconnect the connection between the logic board and the wire.
-
-
Questo passaggio è privo di traduzione. Aiuta a tradurlo
-
Lift up on the bottom of the logic board with a spudger.
-
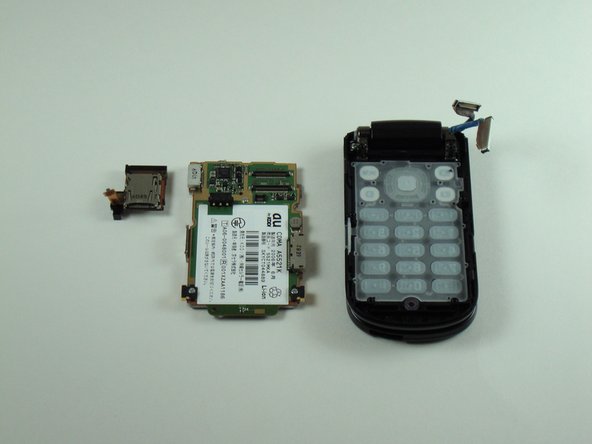
Gently remove the rest of the logic board from the phone.
-
-
Questo passaggio è privo di traduzione. Aiuta a tradurlo
-
The logic board should now be completely disconnected from the phone.
-


Team

Cal Poly, Team 28-25, Regan Spring 2010 Membro di Cal Poly, Team 28-25, Regan Spring 2010
CPSU-REGAN-S10S28G25
4 Membri
20 Guide realizzate