Salta al contenuto principale

DigiLand DL8006 Motherboard Replacement

Cosa ti serve

  1. DigiLand DL8006 Motherboard Replacement, Motherboard: passo 1, immagine 1 di 2 DigiLand DL8006 Motherboard Replacement, Motherboard: passo 1, immagine 2 di 2
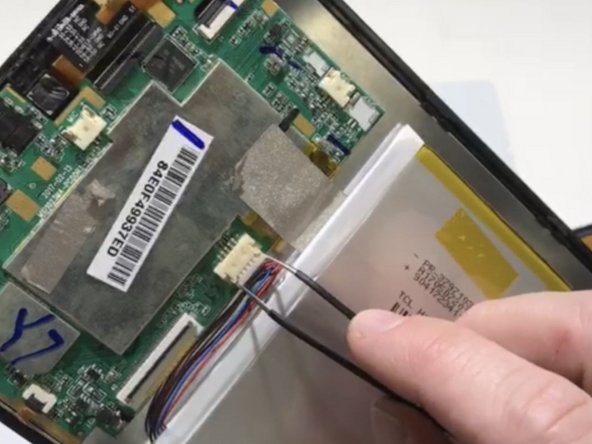
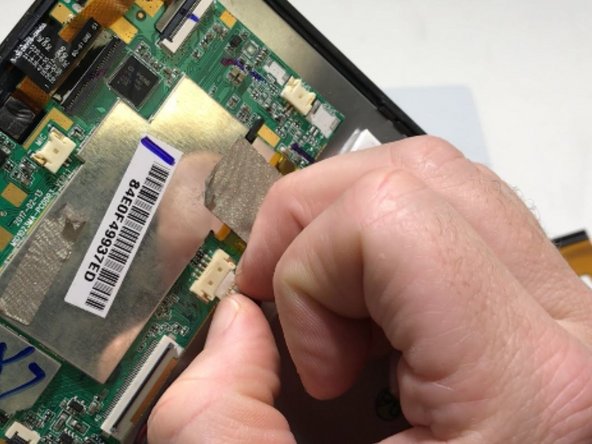
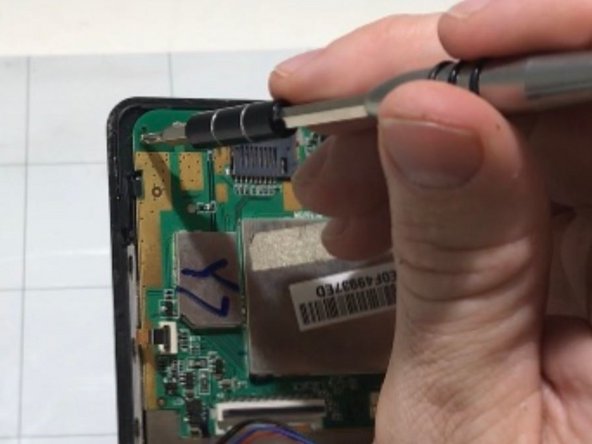
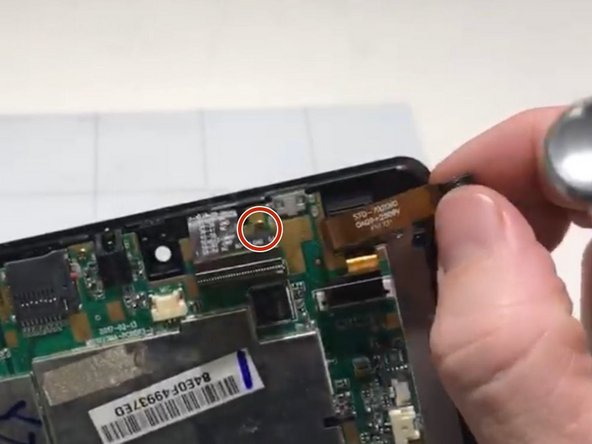
    • Remove the backing of the tablet to reveal the internal components using a plastic opening tool.

  2. DigiLand DL8006 Motherboard Replacement: passo 2, immagine 1 di 1
    • Peel back the metallic tape connecting the motherboard to the tablet body with your fingers.

  3. DigiLand DL8006 Motherboard Replacement: passo 3, immagine 1 di 3 DigiLand DL8006 Motherboard Replacement: passo 3, immagine 2 di 3 DigiLand DL8006 Motherboard Replacement: passo 3, immagine 3 di 3
    • Remove the battery plug from the motherboard.

    • Fingers may be used to gently wiggle the connector out if it becomes stuck.

    • If battery wires are under the ribbon, Do Step #4 first.

  4. DigiLand DL8006 Motherboard Replacement: passo 4, immagine 1 di 2 DigiLand DL8006 Motherboard Replacement: passo 4, immagine 2 di 2
    • Opening the locking tab of the ZIF connector and carefully remove the upper section of the ribbon cable from the motherboard using tweezers.

  5. DigiLand DL8006 Motherboard Replacement: passo 5, immagine 1 di 2 DigiLand DL8006 Motherboard Replacement: passo 5, immagine 2 di 2
    • Disconnect the three remaining ribbons by opening the locking tabs of the ZIF connectors and gently pulling the cables out.

    • Use tweezers to manipulate the connectors and ribbons to prevent damage.

  6. DigiLand DL8006 Motherboard Replacement: passo 6, immagine 1 di 3 DigiLand DL8006 Motherboard Replacement: passo 6, immagine 2 di 3 DigiLand DL8006 Motherboard Replacement: passo 6, immagine 3 di 3
    • Remove the 3 mounting screws from the motherboard with a Phillips #0 screwdriver.

    • One of the screws is located under a ribbon. You will need to gently peel back the cable to access it (see image 3).

  7. DigiLand DL8006 Motherboard Replacement: passo 7, immagine 1 di 1
    • Gently remove the motherboard from the case.

Conclusione

To reassemble your device, follow these instructions in reverse order.

Un'altra persona ha completato questa guida.

0 Commenti

Aggiungi Commento

Visualizza Statistiche:

Ultime 24 Ore: 0

Ultimi 7 Giorni: 0

Ultimi 30 Giorni: 0

Tutti i Tempi: 174