Introduzione
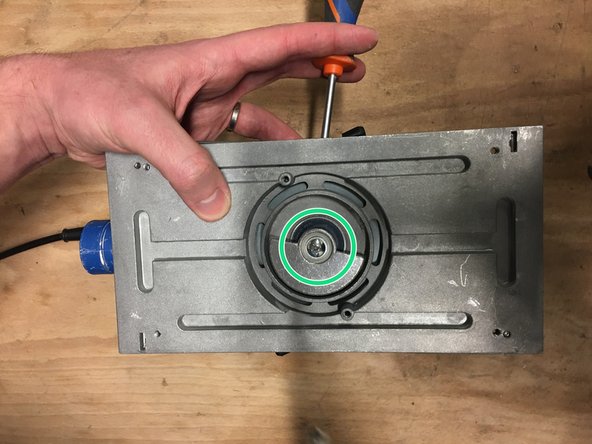
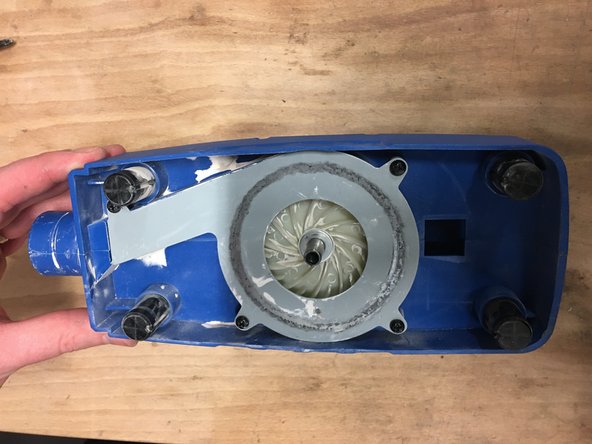
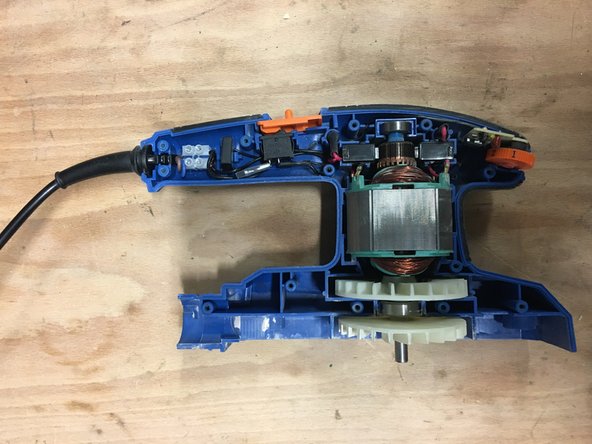
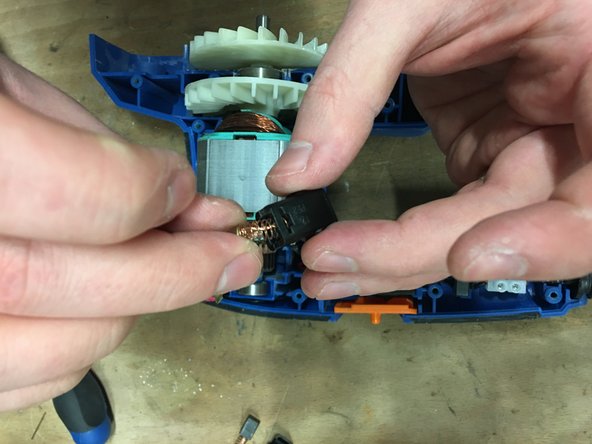
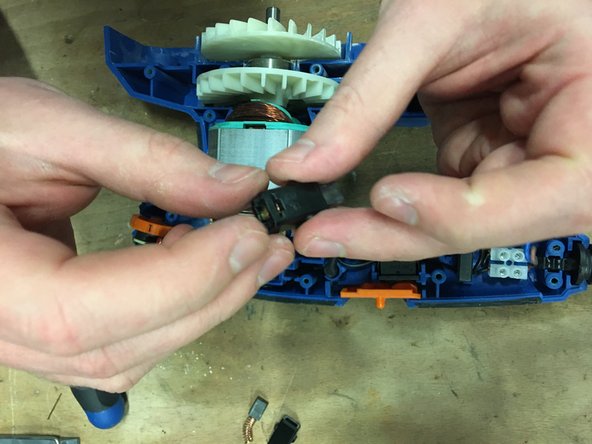
This tutorial shows you the change of a single carbon, to change the second you just have to follow the same method.
Cosa ti serve


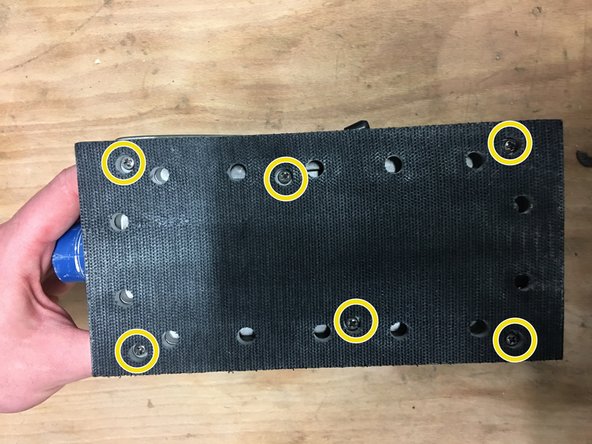

Quasi finito!
Linea Traguardo
Un ringraziamento speciale a questi traduttori:
fr en
100%

HelloMacOS ci sta aiutando ad aggiustare il mondo! Vuoi partecipare?
Inizia a tradurre ›
Team
