Questa guida ha delle modifiche più recenti. Passa all'ultima versione non verificata.
Introduzione
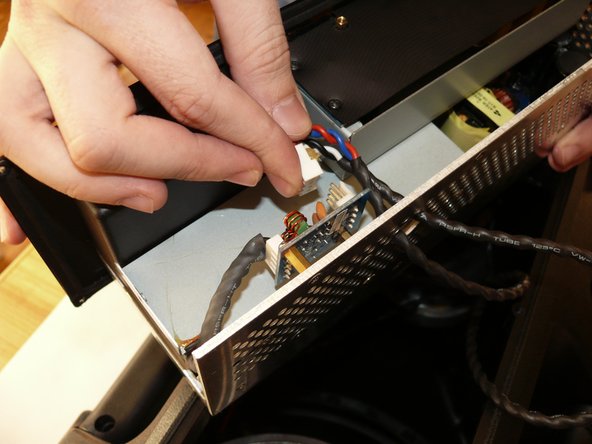
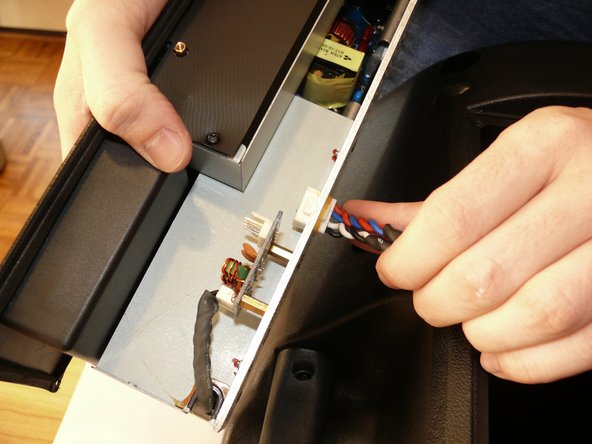
This is a prerequisite for working any further on the electronics box. It is far easier to set aside the speaker casing and work on the electronics box alone.
Cosa ti serve
-
-
Remove the 8 Phillips screws from the back of the speaker.
-
-
-
-
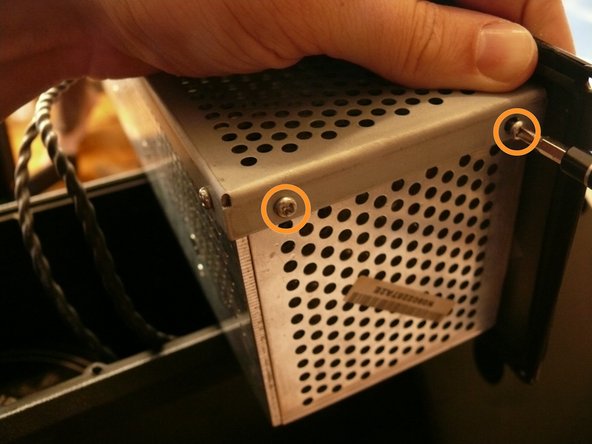
There are two silver, 6 mm-long machine screws with two 1/8" inner-diameter washers on the exterior of the metal electronics box; remove these first using a #2 philips screwdriver.
-
There are five of the same type of machine screw (silver, 6 mm-long) remaining around the metal electronics box's exterior; remove these as well.
-


To reassemble your device, follow these instructions in reverse order.
To reassemble your device, follow these instructions in reverse order.
Annulla: non ho completato questa guida.
Altre 4 persone hanno completato questa guida.