Salta al contenuto principale

Dell XPS 13 Display Assembly Replacement

Guida Archiviata
Questa guida è mantenuta solo per scopi storici. Usa la versione aggiornata della guida per eseguire la riparazione.

Cosa ti serve

  1. Dell XPS 13 Display Assembly Replacement, Back Cover: passo 1, immagine 1 di 2 Dell XPS 13 Display Assembly Replacement, Back Cover: passo 1, immagine 2 di 2
    • Remove the eight 4 mm T5 Torx screws from the bottom cover.

  2. Dell XPS 13 Display Assembly Replacement: passo 2, immagine 1 di 2 Dell XPS 13 Display Assembly Replacement: passo 2, immagine 2 di 2
    • Use a plastic opening tool to pry open the 'XPS' flap in the middle.

  3. Dell XPS 13 Display Assembly Replacement: passo 3, immagine 1 di 1
    • Remove the single Phillips screw hidden beneath the flap.

  4. Dell XPS 13 Display Assembly Replacement: passo 4, immagine 1 di 1
    • Use opening picks or a plastic pry tool to pry open the case clips, beginning from the back edge.

  5. Dell XPS 13 Display Assembly Replacement: passo 5, immagine 1 di 1
    • Remove the bottom cover.

  6. Dell XPS 13 Display Assembly Replacement, Battery Disconnection: passo 6, immagine 1 di 2 Dell XPS 13 Display Assembly Replacement, Battery Disconnection: passo 6, immagine 2 di 2
    • Pull the battery cable connector towards the battery to disconnect it from its socket.

    • If the connector is stubborn, push a little at one side, then the other, to "walk" it out of its socket.

    • If you have trouble walking the connector out of the socket, use the point of a spudger to gently push on the connector indent to slide the connector out.

    • Do not pull up.

    • Open the display and press the power button for five seconds to drain any remaining charge from the system.

  7. Dell XPS 13 Display Assembly Replacement, Battery: passo 7, immagine 1 di 2 Dell XPS 13 Display Assembly Replacement, Battery: passo 7, immagine 2 di 2
    • Remove the four 3 mm Phillips #0 screws located on each corner of the battery.

  8. Dell XPS 13 Display Assembly Replacement: passo 8, immagine 1 di 2 Dell XPS 13 Display Assembly Replacement: passo 8, immagine 2 di 2
    • Pull the battery cable connector towards the battery to disconnect it from its socket.

    • Do not pull up.

  9. Dell XPS 13 Display Assembly Replacement: passo 9, immagine 1 di 1
    • Peel up any tape securing the speaker cables to the battery.

    • You do not need to remove the speakers, only the tape, allowing the battery to be removed out under the speaker cables.

  10. Dell XPS 13 Display Assembly Replacement: passo 10, immagine 1 di 1
    • Remove the battery.

  11. Dell XPS 13 Display Assembly Replacement, Display Assembly: passo 11, immagine 1 di 3 Dell XPS 13 Display Assembly Replacement, Display Assembly: passo 11, immagine 2 di 3 Dell XPS 13 Display Assembly Replacement, Display Assembly: passo 11, immagine 3 di 3
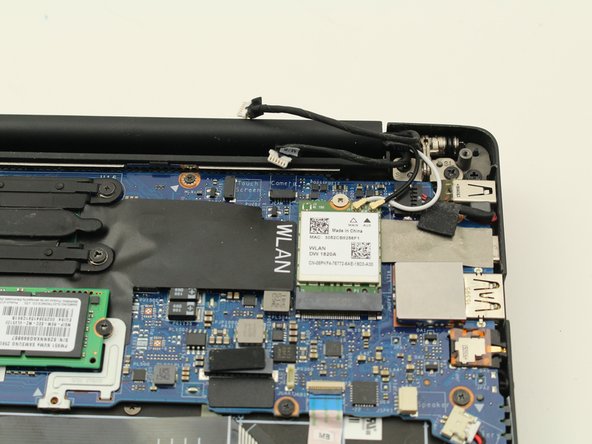
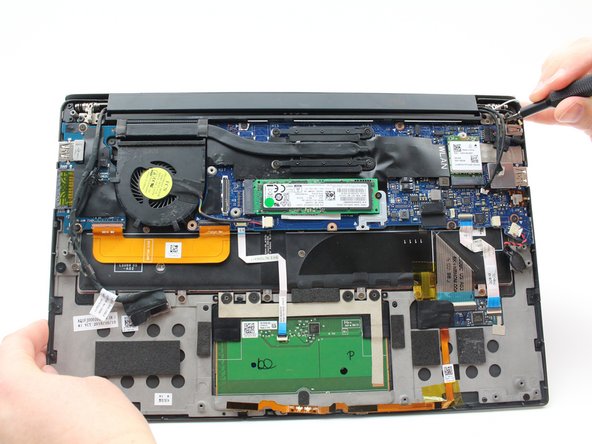
    • Pull the sliding touchscreen connector gently to the right and out of the motherboard.

  12. Dell XPS 13 Display Assembly Replacement: passo 12, immagine 1 di 2 Dell XPS 13 Display Assembly Replacement: passo 12, immagine 2 di 2
    • Use your fingers to remove the sliding camera connector out from the motherboard.

  13. Dell XPS 13 Display Assembly Replacement: passo 13, immagine 1 di 2 Dell XPS 13 Display Assembly Replacement: passo 13, immagine 2 di 2
    • Pop the coaxial antenna cables up from the wireless card with the flat end of the spudger.

  14. Dell XPS 13 Display Assembly Replacement: passo 14, immagine 1 di 3 Dell XPS 13 Display Assembly Replacement: passo 14, immagine 2 di 3 Dell XPS 13 Display Assembly Replacement: passo 14, immagine 3 di 3
    • Using a spudger, pry up the press fit connector on the end of the left cable bundle.

    • Gently remove the sliding cable connector from its port to the left of the fan.

  15. Dell XPS 13 Display Assembly Replacement: passo 15, immagine 1 di 3 Dell XPS 13 Display Assembly Replacement: passo 15, immagine 2 di 3 Dell XPS 13 Display Assembly Replacement: passo 15, immagine 3 di 3
    • Remove the four, black 4.6 mm screws from the display mounts using a Phillips #0 screwdriver.

    • The laptop needs to be open for the display to clear the cutouts of the bottom case, so you may find it easier to remove the screws while already in an open configuration.

    • Remove the display assembly.

Conclusione

To reassemble your device, follow these instructions in reverse order.

Altre 10 persone hanno completato questa guida.

Austin Blakely

Membro da: 03/11/19

19.479 Reputazione

53 Guide realizzate

Team

iFixit Membro di iFixit

Staff

135 Membri

16.732 Guide realizzate

2 Commenti

After disassembling the screen, how do I peel it off the metal screen cover?

Jon - Replica

I need to find out what screen model I have to buy a display controller to re-use the screen on a different project, but I’m not able to see behind the screen to find out the exact model.

Jon - Replica

Aggiungi Commento

Visualizza Statistiche:

Ultime 24 Ore: 15

Ultimi 7 Giorni: 95

Ultimi 30 Giorni: 393

Tutti i Tempi: 27,564