Salta al contenuto principale

Dell VRP100 HDMI/USB Cable Replacement

Cosa ti serve

  1. Dell VRP100 HDMI/USB Cable Replacement, Cover Panel: passo 1, immagine 1 di 3 Dell VRP100 HDMI/USB Cable Replacement, Cover Panel: passo 1, immagine 2 di 3 Dell VRP100 HDMI/USB Cable Replacement, Cover Panel: passo 1, immagine 3 di 3
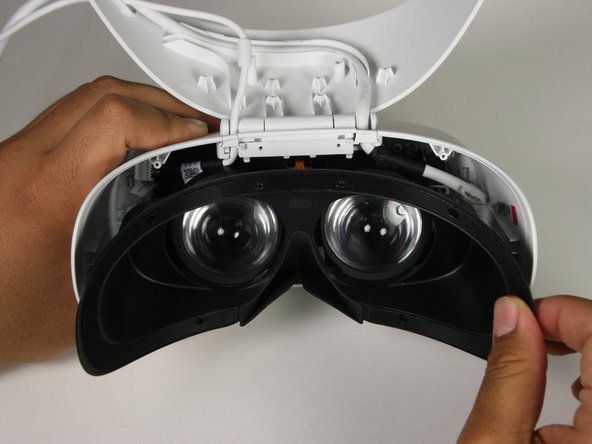
    • Remove the black foam padding by peeling away slowly.

    • Remove the front and back padding from the headset by peeling away slowly.

  2. Dell VRP100 HDMI/USB Cable Replacement: passo 2, immagine 1 di 1
    • Remove the six 5.5mm PH000 screws from the cover by rotating counter-clockwise.

    • Cover panel may need to be pushed in before inserting screws.

  3. Dell VRP100 HDMI/USB Cable Replacement: passo 3, immagine 1 di 3 Dell VRP100 HDMI/USB Cable Replacement: passo 3, immagine 2 di 3 Dell VRP100 HDMI/USB Cable Replacement: passo 3, immagine 3 di 3
    • Remove the cover using one of the plastic opening tools, and then carefully pull it from the casing.

  4. Dell VRP100 HDMI/USB Cable Replacement: passo 4, immagine 1 di 3 Dell VRP100 HDMI/USB Cable Replacement: passo 4, immagine 2 di 3 Dell VRP100 HDMI/USB Cable Replacement: passo 4, immagine 3 di 3
    • Remove the six 5.5mm PH000 screws from the cover by rotating counter-clockwise.

    • Carefully remove the lens and motherboard assembly from the white casing.

  5. Dell VRP100 HDMI/USB Cable Replacement, HDMI/USB Cable: passo 5, immagine 1 di 2 Dell VRP100 HDMI/USB Cable Replacement, HDMI/USB Cable: passo 5, immagine 2 di 2
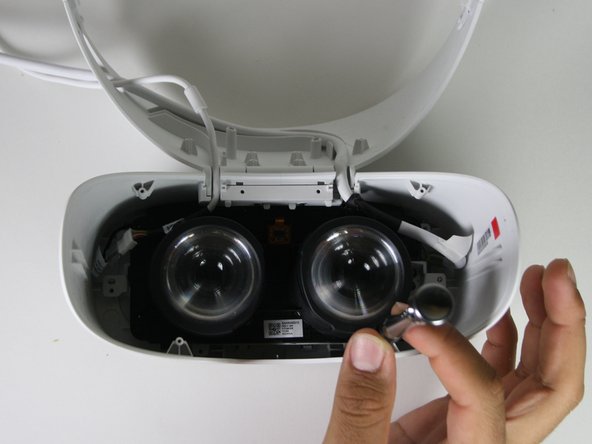
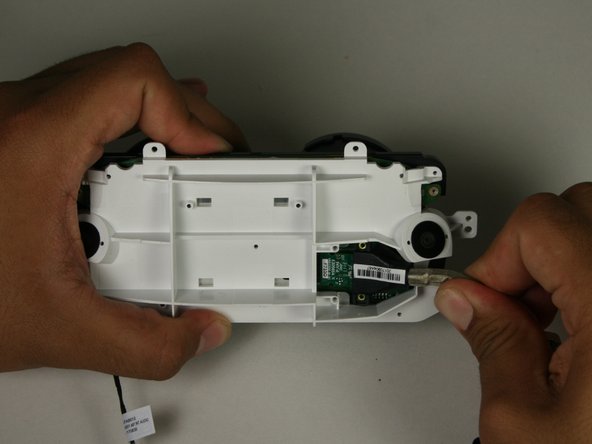
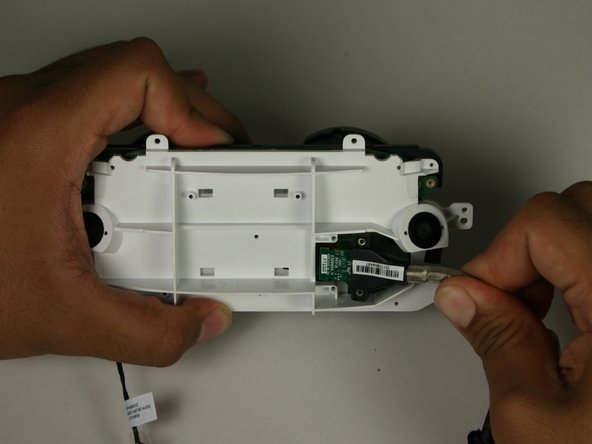
    • Remove the two 3.4mm PH000 screws from the cover by rotating counter-clockwise.

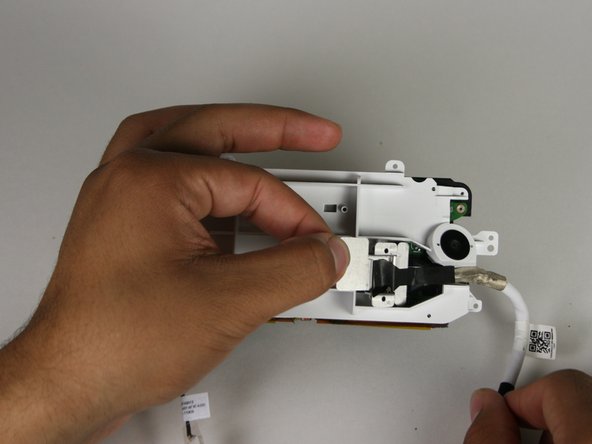
    • Peel off the tape using your hands or the blunt nose tweezers.

  6. Dell VRP100 HDMI/USB Cable Replacement: passo 6, immagine 1 di 3 Dell VRP100 HDMI/USB Cable Replacement: passo 6, immagine 2 di 3 Dell VRP100 HDMI/USB Cable Replacement: passo 6, immagine 3 di 3
    • Remove the two 5.5mm PH000 screws from the cover by rotating counter-clockwise.

    • Hold the HDMI/USB cable and remove from the connection.

Conclusione

To reassemble your device, follow these instructions in reverse order.

Altre 5 persone hanno completato questa guida.

Marco Salazar

Membro da: 10/08/18

375 Reputazione

2 Guide realizzate

Team

Cal Poly, Team S17-G1, White Fall 2018 Membro di Cal Poly, Team S17-G1, White Fall 2018

CPSU-WHITE-F18S17G1

4 Membri

12 Guide realizzate

6 Commenti

Hi

Nice breakdown. Would you know where I can purchase a spare cable (I’m in the UK) as I can find nothing online regarding where to buy one.

Thanks

Jason

jason.d.spiller - Replica

Me too, looking for a cable replacement.

Filipi Nascimento Silva - Replica

also looking for replacement cable as mine has twisted up so bad that there is no longer and picture coming through when can i buy the replacement

Tom Powell - Replica

I am also looking for a replacement cable. Could it be soldered on from another cable?

Peter Hindes - Replica

Me too for replacement cable specs please

geebee800 - Replica

Aggiungi Commento

Visualizza Statistiche:

Ultime 24 Ore: 0

Ultimi 7 Giorni: 0

Ultimi 30 Giorni: 12

Tutti i Tempi: 1,499