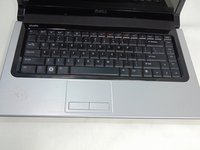
Salta al contenuto principale

Dell Studio 1555 Keyboard Replacement

Cosa ti serve

  1. Dell Studio 1555 Keyboard Replacement, Battery: passo 1, immagine 1 di 1
    • Turn off and unplug the laptop.

    • Failure to properly turn off device before handling the battery could result in electrical shock.

    • Flip the laptop so the underside is facing up with the battery closest to you.

  2. Dell Studio 1555 Keyboard Replacement: passo 2, immagine 1 di 3 Dell Studio 1555 Keyboard Replacement: passo 2, immagine 2 di 3 Dell Studio 1555 Keyboard Replacement: passo 2, immagine 3 di 3
    • Slide the locking switch to the left to release the battery.

  3. Dell Studio 1555 Keyboard Replacement: passo 3, immagine 1 di 1
    • Gently pull the battery away from the device.

  4. Dell Studio 1555 Keyboard Replacement, Keyboard: passo 4, immagine 1 di 1
    • Remove the single 3mm screw underneath the battery with a #1 Phillips screw driver, which holds the media control cover.

  5. Dell Studio 1555 Keyboard Replacement: passo 5, immagine 1 di 2 Dell Studio 1555 Keyboard Replacement: passo 5, immagine 2 di 2
    • Flip the laptop over and flatten it out as much as possible.

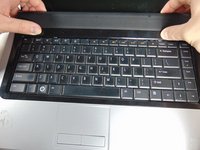
    • Unsnap the media control cover from the laptop starting nearest to the display.

  6. Dell Studio 1555 Keyboard Replacement: passo 6, immagine 1 di 2 Dell Studio 1555 Keyboard Replacement: passo 6, immagine 2 di 2
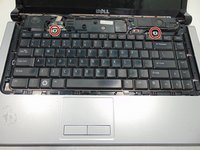
    • Remove the two 3mm screws with a #1 Phillips screwdriver, holding down the keyboard.

  7. Dell Studio 1555 Keyboard Replacement: passo 7, immagine 1 di 1
    • Slowly lift the keyboard away from the base.

    • If you pull to hard you risk breaking the keyboard cable connector from the motherboard.

  8. Dell Studio 1555 Keyboard Replacement: passo 8, immagine 1 di 3 Dell Studio 1555 Keyboard Replacement: passo 8, immagine 2 di 3 Dell Studio 1555 Keyboard Replacement: passo 8, immagine 3 di 3
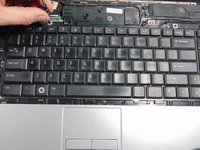
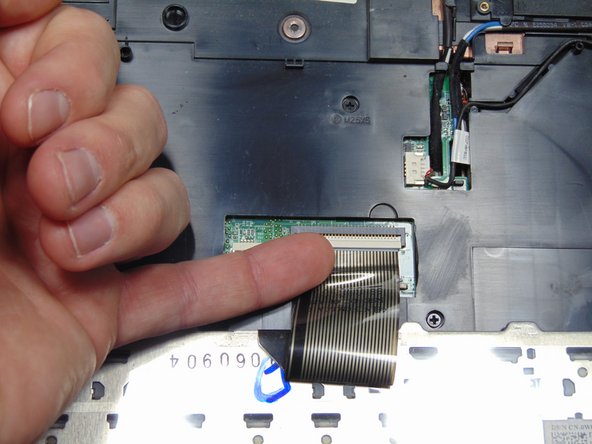
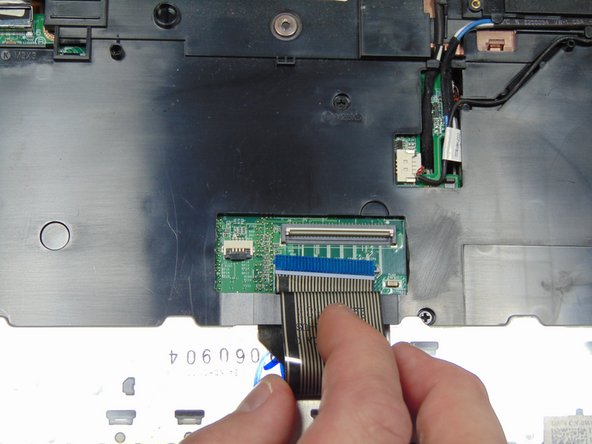
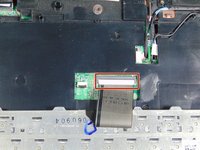
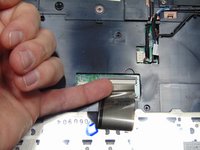
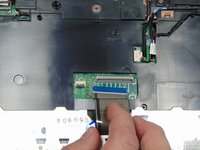
    • Flip up the black tab on the keyboard ZIF connector and unplug the cable.

  9. Dell Studio 1555 Keyboard Replacement: passo 9, immagine 1 di 1
    • Remove the keyboard

Conclusione

To reassemble your device, follow these instructions in reverse order.

Altre 2 persone hanno completato questa guida.

0 Commenti

Aggiungi Commento

Visualizza Statistiche:

Ultime 24 Ore: 0

Ultimi 7 Giorni: 0

Ultimi 30 Giorni: 9

Tutti i Tempi: 902