Questa versione può contenere modifiche errate. Passa all'ultima istantanea verificata.
Cosa ti serve
-
Questo passaggio è privo di traduzione. Aiuta a tradurlo
-
Slide the battery release latch into the unlock position.
-
Remove the battery from the system.
-
-
Questo passaggio è privo di traduzione. Aiuta a tradurlo
-
Remove the screws that secure the base cover to the computer.
-
Press the rubber feet towards the rear of the system to disengage the bottom door.
-
Remove the base cover from the computer.
-
-
Questo passaggio è privo di traduzione. Aiuta a tradurlo
-
Using a plastic scribe, pry under the keyboard trim to release it from the computer.
-
Work your way around the sides and bottom edge of the keyboard trim.
-
Lift up to remove the keyboard trim from the unit.
-
-
-
Questo passaggio è privo di traduzione. Aiuta a tradurlo
-
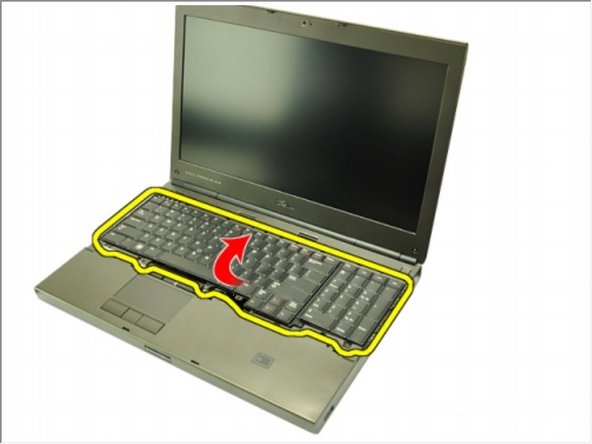
Remove the screws securing the keyboard in place.
-
Starting from the bottom of the keyboard, separate the keyboard from the system and turn the keyboard over.
-
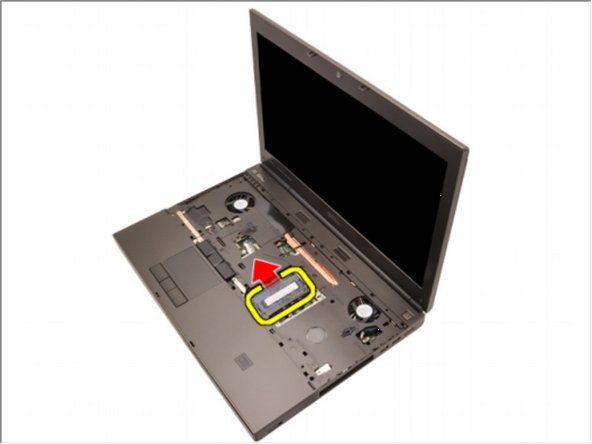
Disconnect the keyboard data cable from the system board.
-
-
Questo passaggio è privo di traduzione. Aiuta a tradurlo
-
Remove the keyboard.
-
Peel back the adhesive tape securing the keyboard data cable to the back of the keyboard.
-
Disconnect the keyboard data cable from the back of the keyboard.
-
-
Questo passaggio è privo di traduzione. Aiuta a tradurlo
-
Peel the keyboard data cable away from the keyboard and remove.
-
-
Questo passaggio è privo di traduzione. Aiuta a tradurlo
-
Flip the the Bottom
-
Gently pry the retention clips away from the memory modules.
-
Remove the memory modules from the computer.
-
-
Questo passaggio è privo di traduzione. Aiuta a tradurlo
-
Flip to the Top.
-
Gently pry the retention clips away from the memory module.
-
Remove the memory module from the computer.
-


Team
