Introduzione
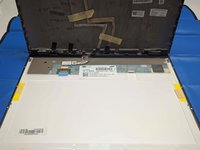
This guide will walk you through replacing the LCD screen for the Dell Latitude E6410. This guide is for replacing the display panel ONLY and not the entire lid / screen assembly. This is useful as the panel is often cheaper than the entire lid assembly.
Cosa ti serve
-
-
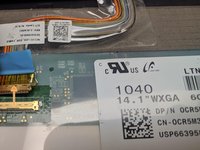
This computer has two possible screen models. They are similar, but one is 1280x800 in resolution and the other is 1440x900.
-
They are the same physical size and have the same connector, so either will work, but if you replace a 1440x900 screen with a 1280x800 screen, you will have a lower resolution than expected.
-
You can find your model prior to disassembly by looking up your Service Tag on the Dell support site.
-
Visit http://support.dell.com
-
Enter the Service Tag of this computer.
-
Go to the System configuration and then choose to look at the Original configuration of the system.
-
Find the line for the 14.1" screen and the resolution should be listed, allowing you to purchase the proper replacement screen.
-
-
-
Remove the AC power cord from the computer.
-
Remove the battery by moving both sliders towards the center of the computer pulling the battery out.
-
-
-
-
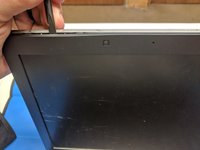
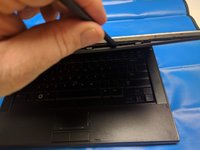
Use a Spudger to work your way into one of the top areas of the bezel trim surrounding the LCD panel.
-
Work your way around the entire outside rim of the bezel, prying gently to pop the bezel loose from the screen assembly.
-
Some of the clips are tougher to remove than others, be careful not to bend one area of plastic too far. You may have more luck coming from the other side for some clips.
-
-
-
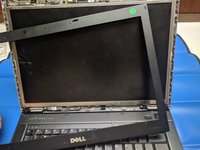
Remove the four Phillips #0 screws in the four corners of the display bracket.
-
-
-
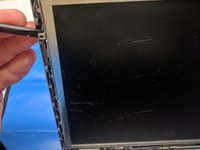
Use a Spudger to gently lift on one of the metal taps to help lift the screen away from the lip.
-
-
-
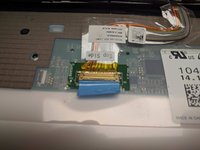
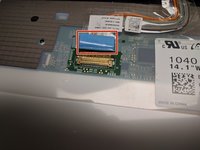
The display cable is held in place by a small metal bar that has a blue tab attached to it.
-
Lift the blue tab up to lift the metal bar up and over the connector.
-
Slide the cable out, horizontally, once the bar is lifted.
-


To reassemble your device, follow these instructions in reverse order.
Annulla: non ho completato questa guida.
Altre 7 persone hanno completato questa guida.