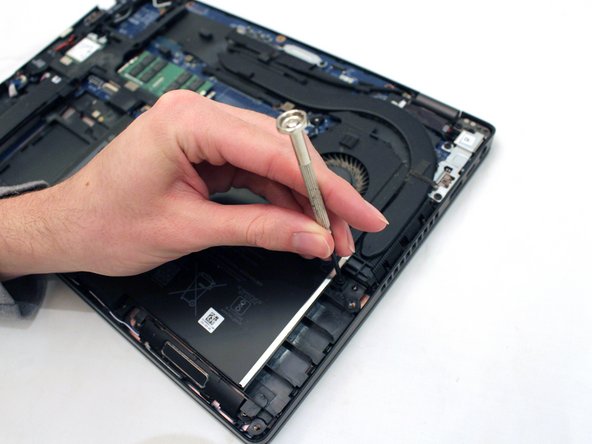
Salta al contenuto principale

Dell Latitude 5401 RAM Replacement

Cosa ti serve

  1. Dell Latitude 5401 RAM Replacement, RAM: passo 1, immagine 1 di 2 Dell Latitude 5401 RAM Replacement, RAM: passo 1, immagine 2 di 2
    • Disconnect any devices plugged into the computer.

    • Hold the power button down for 5-10 seconds to shutdown the laptop.

    • Note that during installation or removal of any hardware ensure all data has been backed up properly.

  2. Dell Latitude 5401 RAM Replacement: passo 2, immagine 1 di 2 Dell Latitude 5401 RAM Replacement: passo 2, immagine 2 di 2
    • Flip the laptop so the bottom is facing up.

    • Use a small Phillips screwdriver to loosen the eight screws on the back case.

    • The screws are captive and will remain attached loosely to the lower case.

  3. Dell Latitude 5401 RAM Replacement: passo 3, immagine 1 di 3 Dell Latitude 5401 RAM Replacement: passo 3, immagine 2 di 3 Dell Latitude 5401 RAM Replacement: passo 3, immagine 3 di 3
    Attrezzo utilizzato in questo passaggio:
    Plastic Cards
    $2.99
    Compra
    • Expose the seam that connects the laptop case by pulling on a corner screw while holding the base.

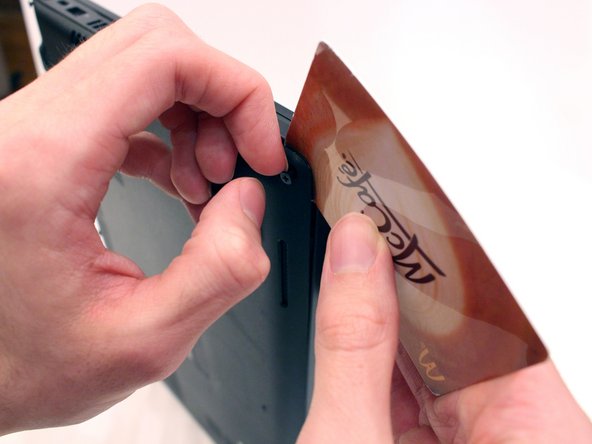
    • Insert a plastic card into the gap.

    • Slide the card around the perimeter of the case to release the clips.

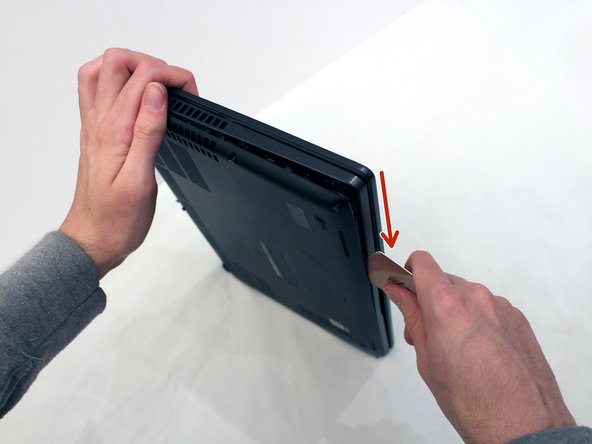
    • Gently pry the laptop apart.

    • This step can be difficult and will take some time and strength!

  4. Dell Latitude 5401 RAM Replacement: passo 4, immagine 1 di 3 Dell Latitude 5401 RAM Replacement: passo 4, immagine 2 di 3 Dell Latitude 5401 RAM Replacement: passo 4, immagine 3 di 3
    • Use a small Phillips screwdriver to loosen the two screws securing the battery.

    • These screws are captive and should not be removed.

    • If the battery is swollen, be very careful and follow these safety suggestions.

  5. Dell Latitude 5401 RAM Replacement: passo 5, immagine 1 di 2 Dell Latitude 5401 RAM Replacement: passo 5, immagine 2 di 2
    • Carefully remove the battery from the case.

    • Flip the battery over.

    • Grip the battery cable tab and pull the cable from the battery to separate it from the device.

    • Do not bend or twist the battery during the removal.

  6. Dell Latitude 5401 RAM Replacement: passo 6, immagine 1 di 3 Dell Latitude 5401 RAM Replacement: passo 6, immagine 2 di 3 Dell Latitude 5401 RAM Replacement: passo 6, immagine 3 di 3
    • Gently pull the metal arms on both sides of the RAM stick away slightly to release it.

    • The RAM will pop up by a few millimeters.

    • Remove it at an angle and not straight up so you don't damage the socket.

    • Check online to see how to properly dispose of e-waste in your region.

  7. Dell Latitude 5401 RAM Replacement: passo 7, immagine 1 di 2 Dell Latitude 5401 RAM Replacement: passo 7, immagine 2 di 2
    • Insert the new RAM stick into the slot at the same angle that you used to remove the original.

    • Be sure to insert the grooved edge into the socket so the pins line up correctly to avoid damaging the socket and the RAM.

    • Push down on the RAM until you hear a "click".

    • The two metal arms should now hold the RAM in place.

  8. Dell Latitude 5401 RAM Replacement: passo 8, immagine 1 di 1
    • Reconnect the battery cable.

    • Screw the battery back into place.

  9. Dell Latitude 5401 RAM Replacement: passo 9, immagine 1 di 1
    • Using both hands, push the lower cover back onto the laptop.

    • You should hear a "click" when it is correctly attached.

    • Use a small Phillips screwdriver to secure the eight captive screws on the bottom cover.

Conclusione

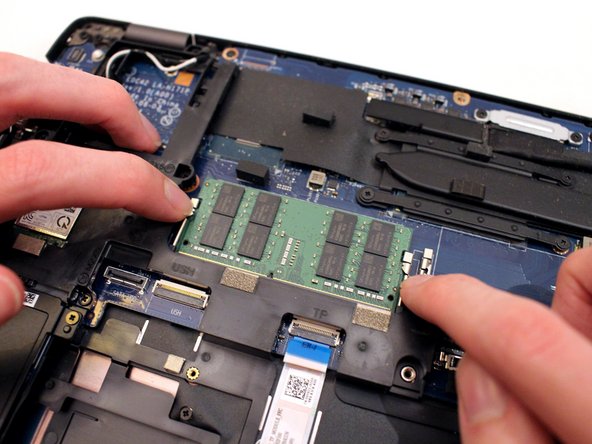
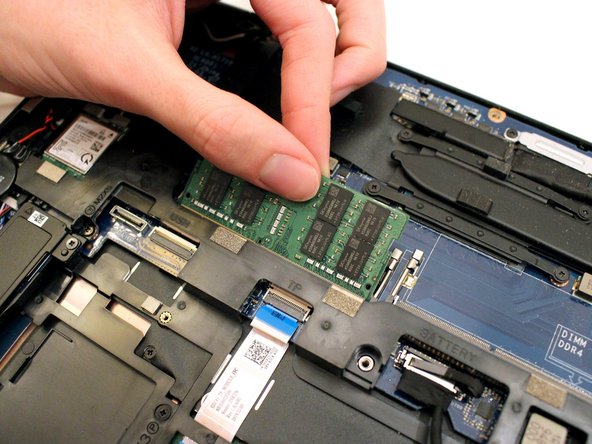
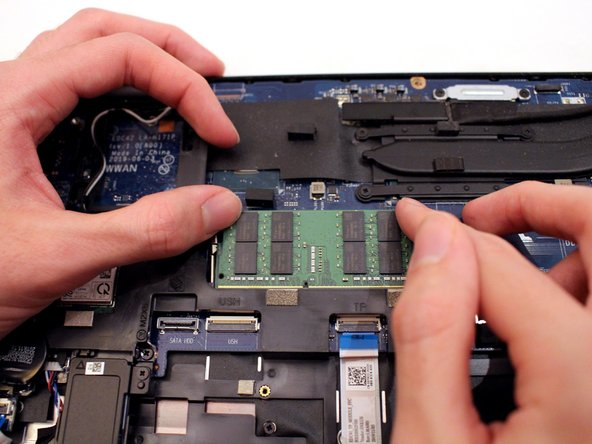
Congratulations, you have successfully replaced your laptop RAM, saved money, and reduced your carbon footprint!

Un'altra persona ha completato questa guida.

0 Commenti

Aggiungi Commento

Visualizza Statistiche:

Ultime 24 Ore: 1

Ultimi 7 Giorni: 4

Ultimi 30 Giorni: 15

Tutti i Tempi: 97