Salta al contenuto principale

Dell Latitude 3380 Display Assembly Replacement

Cosa ti serve

  1. Dell Latitude 3380 Display Assembly Replacement, Back Cover: passo 1, immagine 1 di 2 Dell Latitude 3380 Display Assembly Replacement, Back Cover: passo 1, immagine 2 di 2
    • Turn the laptop over so that the back is facing up.

    • Remove the nine 3 mm screws with a Phillips #0 screwdriver.

  2. Dell Latitude 3380 Display Assembly Replacement: passo 2, immagine 1 di 2 Dell Latitude 3380 Display Assembly Replacement: passo 2, immagine 2 di 2
    • Use an opening tool to pry the back cover away from the laptop.

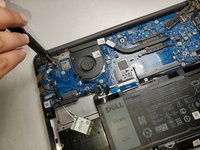
  3. Dell Latitude 3380 Display Assembly Replacement, Display Assembly: passo 3, immagine 1 di 3 Dell Latitude 3380 Display Assembly Replacement, Display Assembly: passo 3, immagine 2 di 3 Dell Latitude 3380 Display Assembly Replacement, Display Assembly: passo 3, immagine 3 di 3
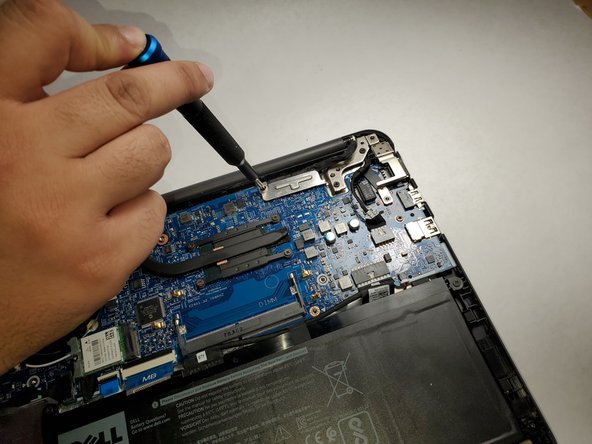
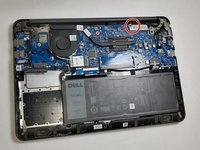
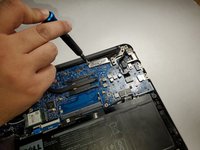
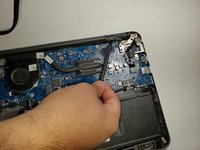
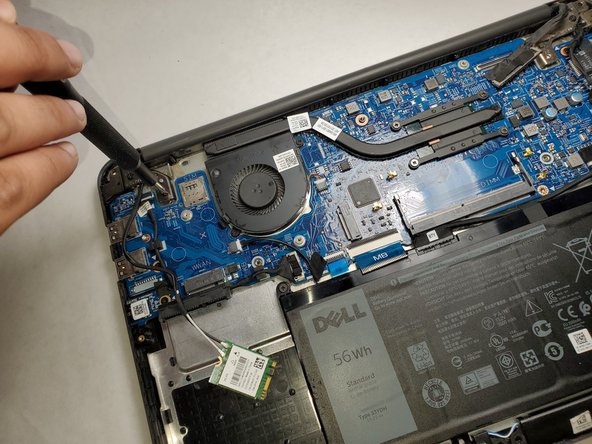
    • Remove the single 3 mm screw from the metal bracket using a Phillips #0 screwdriver.

    • Remove the metal bracket.

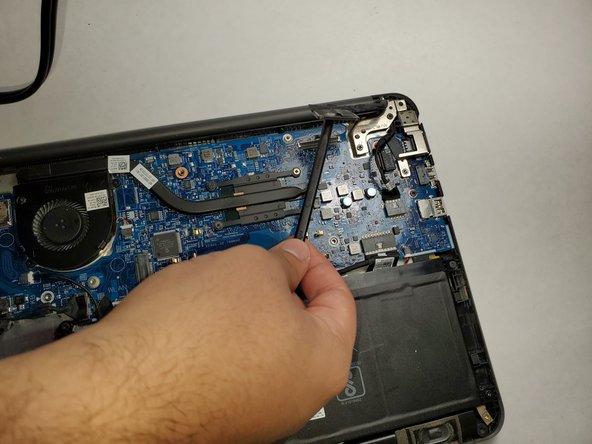
    • Use a spudger to gently detach the connector from the motherboard.

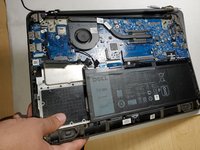
  4. Dell Latitude 3380 Display Assembly Replacement: passo 4, immagine 1 di 3 Dell Latitude 3380 Display Assembly Replacement: passo 4, immagine 2 di 3 Dell Latitude 3380 Display Assembly Replacement: passo 4, immagine 3 di 3
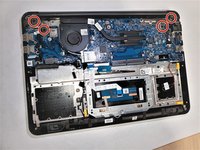
    • Remove the two 3 mm screws (four total) from both sides of the laptop using a Phillips #0 screwdriver.

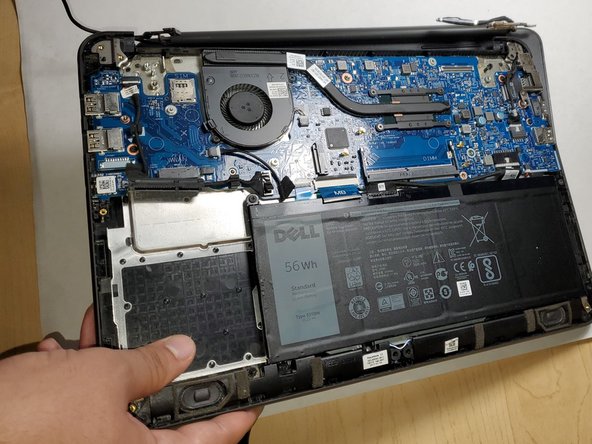
    • Lift up the bottom part of the laptop to separate the display assembly from the rest of the laptop.

Conclusione

To reassemble your device, follow these instructions in reverse order.

Michael Wood

Membro da: 09/02/21

377 Reputazione

3 Guide realizzate

Team

Gateway, Team 1-3, Pee Fall 2021 Membro di Gateway, Team 1-3, Pee Fall 2021

GCC-PEE-F21S1G3

3 Membri

6 Guide realizzate

0 Commenti

Aggiungi Commento

Visualizza Statistiche:

Ultime 24 Ore: 1

Ultimi 7 Giorni: 6

Ultimi 30 Giorni: 14

Tutti i Tempi: 436