Questa versione può contenere modifiche errate. Passa all'ultima istantanea verificata.
Cosa ti serve
-
Questo passaggio è privo di traduzione. Aiuta a tradurlo
-
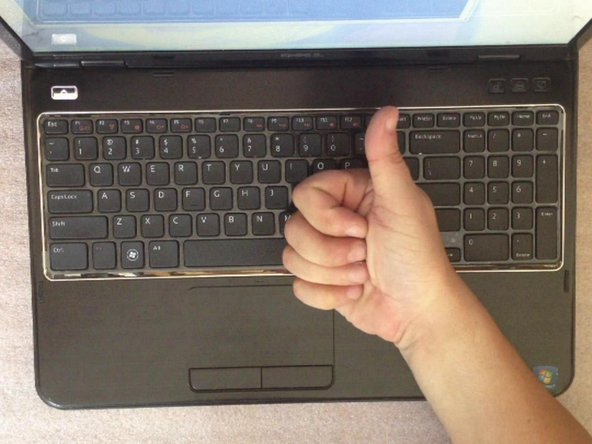
Switch-off the laptop and remove the battery.
-
To remove the keyboard lift it from one side by using cutter. Now open 4x locking clips at the upper side on the keyboard.
-
-
Questo passaggio è privo di traduzione. Aiuta a tradurlo
-
Open the keyboard flex cable connector and remove the KB.
-
Open the RAM memory cover.
-
The DVD drive is held by one screw. After unscrewing, you can remove the drive.
-
-
Questo passaggio è privo di traduzione. Aiuta a tradurlo
-
12x screws M 2,5x5,0
-
4x screws M 2,5x5,0
-
Power switch cable connector
-
Mouse pad cable connector
-
Hot keys cable connector
-
After removing all the screws and opening all the connectors, you can remove the upper case.
-
-
Questo passaggio è privo di traduzione. Aiuta a tradurlo
-
Eject the Card Reader Blanking Plate.
-
Disconnect the LCD display flex cable.
-
Disconnect the WiFi and Bluetooth coaxial cables.
-
The LCD display hings are held by 4x M 2,5x5.0 screws.
-
Now you can remove the LCD display module.
-
-
-
Questo passaggio è privo di traduzione. Aiuta a tradurlo
-
Unscrew 5x M2.5x5.0 screws.
-
Disconnect the Loudspeakers cable connector.
-
Remove the Daughter Bluetooth board.
-
Start removing the mother board by lifting from the right side (near to the DVD drive connector).
-
Be careful, there are connectors between mother board and another two additional small boards (charging port board and USB connectors, WiFi card slot board).
-
-
Questo passaggio è privo di traduzione. Aiuta a tradurlo
-
Remove the Hard Disk drive.
-
Disconnect the Fan cable connector.
-
-
Questo passaggio è privo di traduzione. Aiuta a tradurlo
-
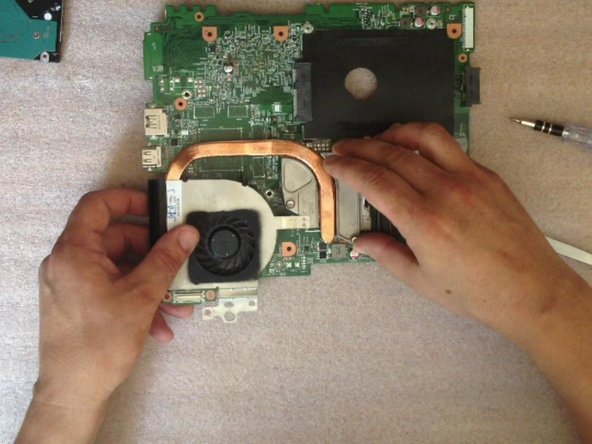
Remove the Heat Sink system.
-
Clean the cooper contact surface.
-
-
Questo passaggio è privo di traduzione. Aiuta a tradurlo
-
Disassemble the Heat Sink system to clean the fan and the radiator from inside.
-
-
Questo passaggio è privo di traduzione. Aiuta a tradurlo
-
Clean the old thermal paste / compose from the CPU.
-
-
Questo passaggio è privo di traduzione. Aiuta a tradurlo
-
Now put a new thermal paste / compose to the CPU. Cover all the surface of the CPU crystal with the thermo-compose.
-
.
-
Annulla: non ho completato questa guida.
Altre 18 persone hanno completato questa guida.
2 Commenti
Which thermal paste would you recommend?
Done! It works, now my laptop is as new!


