Questa versione può contenere modifiche errate. Passa all'ultima istantanea verificata.
Cosa ti serve
-
Questo passaggio è privo di traduzione. Aiuta a tradurlo
-
Rotate the laptop so its bottom is facing up.
-
-
Questo passaggio è privo di traduzione. Aiuta a tradurlo
-
Identify the lock mechanisms holding the battery in place.
-
Slide each button outward with your fingers to disengage the battery.
-
Pull the battery off with your hand to separate it from the laptop.
-
-
-
Questo passaggio è privo di traduzione. Aiuta a tradurlo
-
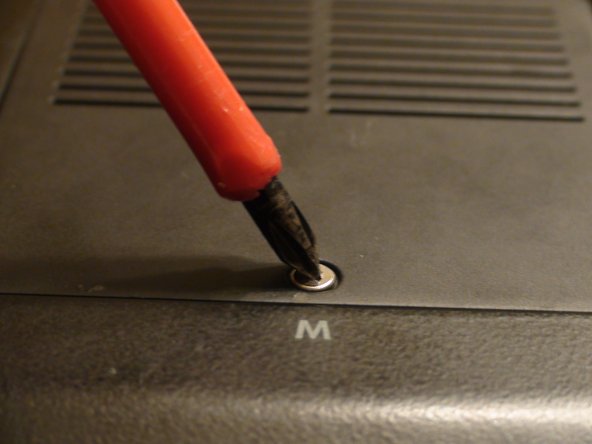
Locate the Phillips #1 screw securing panel M.
-
Remove the screw from panel M with a Phillips #1 screwdriver.
-
-
Questo passaggio è privo di traduzione. Aiuta a tradurlo
-
Pry the panel open with the plastic opening tool.
-
Gently pull with your fingers to remove the panel.
-
-
Questo passaggio è privo di traduzione. Aiuta a tradurlo
-
Identify the metal tabs holding the RAM in place.
-
Gently press outward on the tabs at the same time with your fingers to release the RAM.
-
Gently pull the RAM outward with your fingers to remove it.
-


Annulla: non ho completato questa guida.
Un'altra persona ha completato questa guida.
Team

Cal Poly, Team 15-47, Forte Fall 2012 Membro di Cal Poly, Team 15-47, Forte Fall 2012
CPSU-FORTE-F12S15G47
5 Membri
9 Guide realizzate