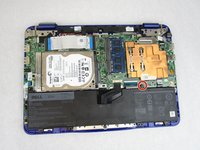
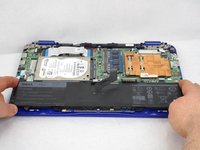
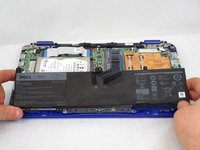
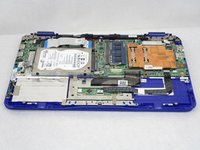
Salta al contenuto principale

Dell Inspiron 11-3168 Hard Drive Replacement

Cosa ti serve

  1. Dell Inspiron 11-3168 Hard Drive Replacement, Battery: passo 1, immagine 1 di 2 Dell Inspiron 11-3168 Hard Drive Replacement, Battery: passo 1, immagine 2 di 2
    • Before you begin, be sure to turn off your laptop and unplug it from the outlet.

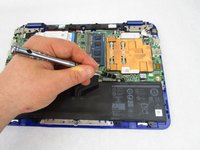
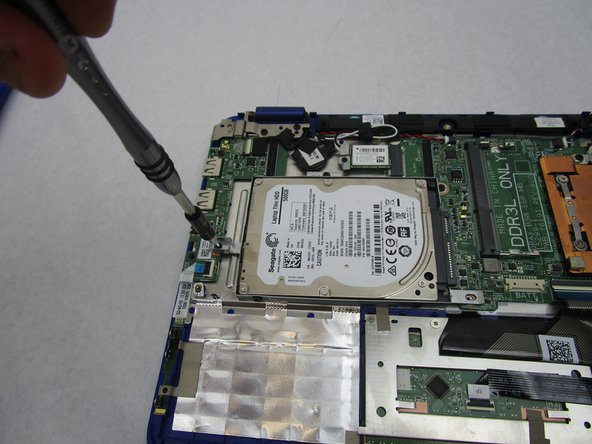
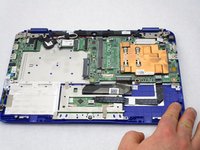
    • Using a Phillips #00 screwdriver, remove all nine 7.5mm screws from the bottom case of the laptop.

  2. Dell Inspiron 11-3168 Hard Drive Replacement: passo 2, immagine 1 di 3 Dell Inspiron 11-3168 Hard Drive Replacement: passo 2, immagine 2 di 3 Dell Inspiron 11-3168 Hard Drive Replacement: passo 2, immagine 3 di 3
    • Remove the bottom case of the laptop by gently prying along the seam with a plastic opening tool.

  3. Dell Inspiron 11-3168 Hard Drive Replacement: passo 3, immagine 1 di 2 Dell Inspiron 11-3168 Hard Drive Replacement: passo 3, immagine 2 di 2
    • Remove the one 7.5mm screw that is holding the battery in place.

  4. Dell Inspiron 11-3168 Hard Drive Replacement: passo 4, immagine 1 di 2 Dell Inspiron 11-3168 Hard Drive Replacement: passo 4, immagine 2 di 2
    • Disconnect the battery cable from its motherboard socket by gently pulling it towards the battery.

    • Pull parallel to the battery, not straight up.

  5. Dell Inspiron 11-3168 Hard Drive Replacement: passo 5, immagine 1 di 3 Dell Inspiron 11-3168 Hard Drive Replacement: passo 5, immagine 2 di 3 Dell Inspiron 11-3168 Hard Drive Replacement: passo 5, immagine 3 di 3
    • Remove the battery.

  6. Dell Inspiron 11-3168 Hard Drive Replacement, Hard Drive: passo 6, immagine 1 di 2 Dell Inspiron 11-3168 Hard Drive Replacement, Hard Drive: passo 6, immagine 2 di 2
    • Unscrew the two 7.5 mm Phillips #00 screws.

  7. Dell Inspiron 11-3168 Hard Drive Replacement: passo 7, immagine 1 di 3 Dell Inspiron 11-3168 Hard Drive Replacement: passo 7, immagine 2 di 3 Dell Inspiron 11-3168 Hard Drive Replacement: passo 7, immagine 3 di 3
    • Lift the hard drive out of the laptop.

Conclusione

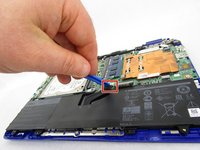
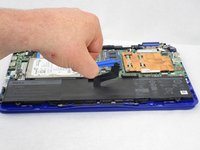
To reassemble your device, follow these instructions in reverse order.

Altre 2 persone hanno completato questa guida.

0 Commenti

Aggiungi Commento

Visualizza Statistiche:

Ultime 24 Ore: 0

Ultimi 7 Giorni: 9

Ultimi 30 Giorni: 40

Tutti i Tempi: 2,434