Salta al contenuto principale
Unisciti alla Community delle riparazioni - Crea un account

Dell Dimension 4600 Optical Drive Replacement

Cosa ti serve

  1. Dell Dimension 4600 Optical Drive Replacement, Side Panel: passo 1, immagine 1 di 1
    • Locate the case cover latch on the back of the computer.

    Chiedi a FixBot
  2. Dell Dimension 4600 Optical Drive Replacement: passo 2, immagine 1 di 1
    • Using your index finger, slide and hold the cover latch down.

    • While holding the latch down, place your other hand flat on the side of the case and firmly shift the side panel to the left until it disengages.

    Chiedi a FixBot
  3. Dell Dimension 4600 Optical Drive Replacement: passo 3, immagine 1 di 1
    • Grab the edge of the panel and slide it away from the case until it is removed.

    Chiedi a FixBot
  4. Dell Dimension 4600 Optical Drive Replacement, Optical Drive: passo 4, immagine 1 di 1
    • Locate the Optical Drive by finding it externally on the case.

    Chiedi a FixBot
  5. Dell Dimension 4600 Optical Drive Replacement: passo 5, immagine 1 di 2 Dell Dimension 4600 Optical Drive Replacement: passo 5, immagine 2 di 2
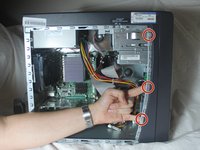
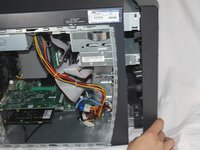
    • Press and hold the three levers located behind the front panel.

    • While holding the levers down, swing open the front panel.

    Chiedi a FixBot
  6. Dell Dimension 4600 Optical Drive Replacement: passo 6, immagine 1 di 1
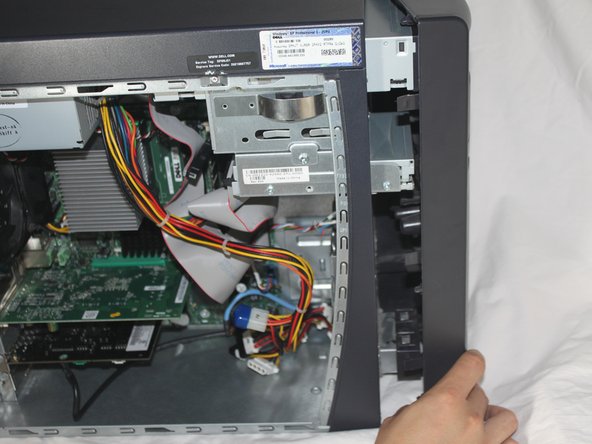
    • Swing the front of the case open until it separates from the main case.

    Chiedi a FixBot
  7. Dell Dimension 4600 Optical Drive Replacement: passo 7, immagine 1 di 3 Dell Dimension 4600 Optical Drive Replacement: passo 7, immagine 2 di 3 Dell Dimension 4600 Optical Drive Replacement: passo 7, immagine 3 di 3
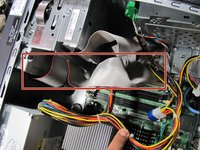
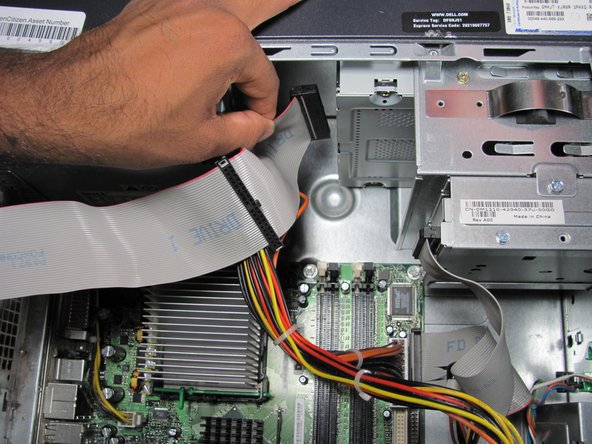
    • Lay the computer flat on it's side so that you are looking down on all of the components.

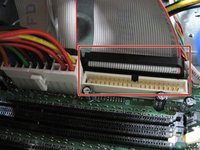
    • Locate the Drive 1 cable and where it is connected to the motherboard.

    Chiedi a FixBot
  8. Dell Dimension 4600 Optical Drive Replacement: passo 8, immagine 1 di 1
    • Grasp the end of the Drive 1 cable connected to the motherboard and firmly pull upwards until it is removed.

    Chiedi a FixBot
  9. Dell Dimension 4600 Optical Drive Replacement: passo 9, immagine 1 di 2 Dell Dimension 4600 Optical Drive Replacement: passo 9, immagine 2 di 2
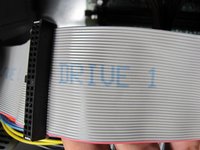
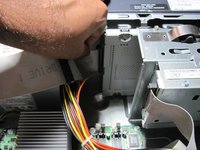
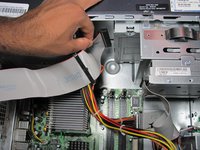
    • Locate the end of the Drive 1 cable connected to the optical drive.

    • Grasp the cable and pull firmly to disconnect it from the optical drive.

    Chiedi a FixBot
  10. Dell Dimension 4600 Optical Drive Replacement: passo 10, immagine 1 di 2 Dell Dimension 4600 Optical Drive Replacement: passo 10, immagine 2 di 2
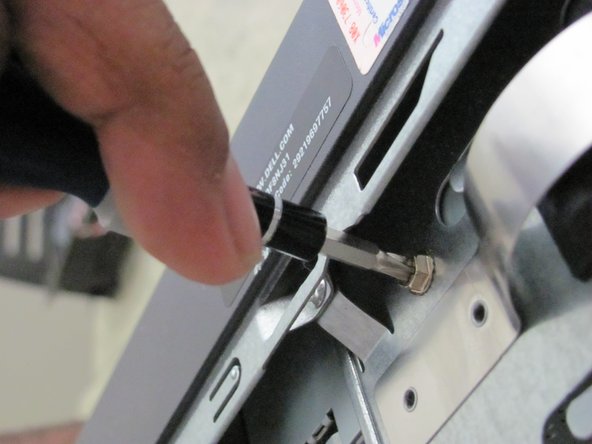
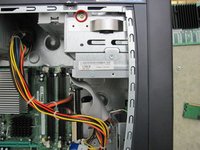
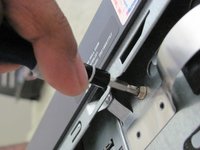
    • Locate the screw on the optical drive.

    • Remove the 7.7 mm screw by using a Phillips #2 screw-driver.

    Chiedi a FixBot
  11. Dell Dimension 4600 Optical Drive Replacement: passo 11, immagine 1 di 1
    • Remove the optical drive by sliding it out of the front of the case.

    Chiedi a FixBot
Conclusione

To reassemble your device, follow these instructions in reverse order.

Altre 13 persone hanno completato questa guida.

Eugene

Membro da: 10/12/11

216 Reputazione

Una guida realizzata

Team

Cal Poly, Team 6-10, Regan Fall 2011 Membro di Cal Poly, Team 6-10, Regan Fall 2011

CPSU-REGAN-F11S6G10

4 Membri

11 guide realizzate

0Commenti sulla guida

Aggiungi Commento

Visualizza Statistiche:

Ultime 24 Ore: 2

Ultimi 7 Giorni: 17

Ultimi 30 Giorni: 95

Tutti i Tempi: 7,219