Salta al contenuto principale

Dell Adamo 13 Keyboard Replacement

Cosa ti serve

  1. Dell Adamo 13 Keyboard Replacement, Battery: passo 1, immagine 1 di 1
    • There is no external access to the battery. Please make sure the at the battery has been drained or disabled through BIOS before beginning.

    • Flip the device over.

  2. Dell Adamo 13 Keyboard Replacement: passo 2, immagine 1 di 1
    • Remove the bottom cover by unsnapping the clips around the edge of the computer.

    • You may hear a slight pop when you pull the cover off.

  3. Dell Adamo 13 Keyboard Replacement: passo 3, immagine 1 di 1
    • Disconnect orange film wire harness from the slot it is connected to.

    • The bottom cover and battery are one piece and will be replaced as a unit.

    • Remove the battery from the device.

  4. Dell Adamo 13 Keyboard Replacement, Motherboard: passo 4, immagine 1 di 1
    • Using the Phillips #0 screwdriver, remove six 2 mm screws securing the fan and motherboard to the device.

  5. Dell Adamo 13 Keyboard Replacement: passo 5, immagine 1 di 3 Dell Adamo 13 Keyboard Replacement: passo 5, immagine 2 di 3 Dell Adamo 13 Keyboard Replacement: passo 5, immagine 3 di 3
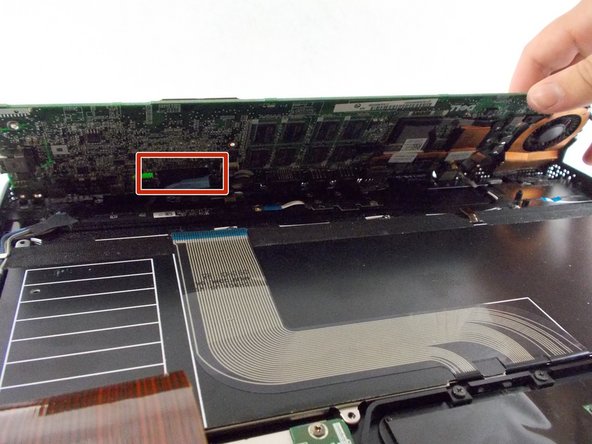
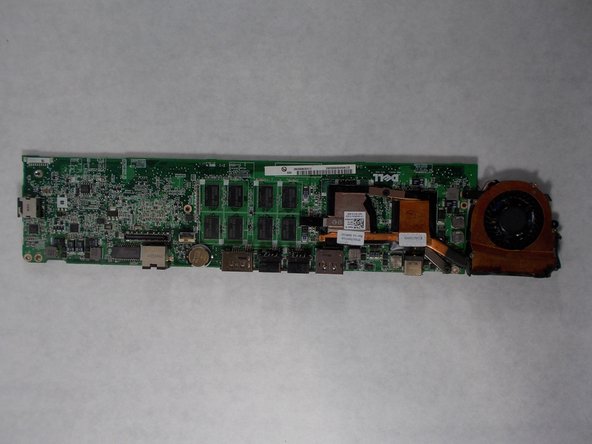
    • Remove all the connections to the circuit board on top and underneath.

    • Use caution when removing connections to prevent damage.

    • Remove the motherboard from the device.

  6. Dell Adamo 13 Keyboard Replacement, Keyboard: passo 6, immagine 1 di 1
    • Using the Phillips #0 screwdriver, remove eight 2 mm screws securing the keypad to the device.

  7. Dell Adamo 13 Keyboard Replacement: passo 7, immagine 1 di 2 Dell Adamo 13 Keyboard Replacement: passo 7, immagine 2 di 2
    • Gently lift the keypad out of the laptop mainframe.

Conclusione

To reassemble your device, follow these instructions in reverse order.

Tyler Pourmand

Membro da: 10/25/21

85 Reputazione

1 Guida realizzata

Team

0 Commenti

Aggiungi Commento

Visualizza Statistiche:

Ultime 24 Ore: 1

Ultimi 7 Giorni: 1

Ultimi 30 Giorni: 2

Tutti i Tempi: 144