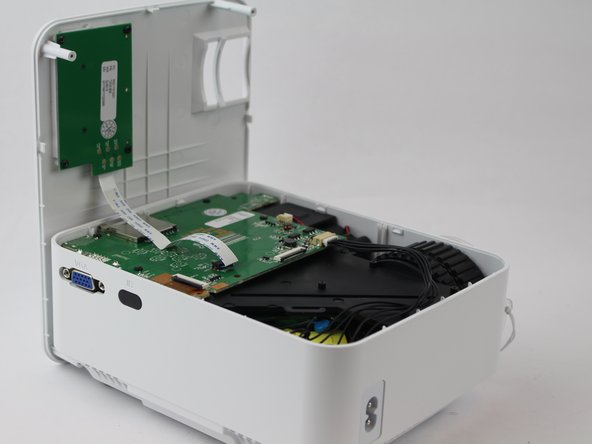
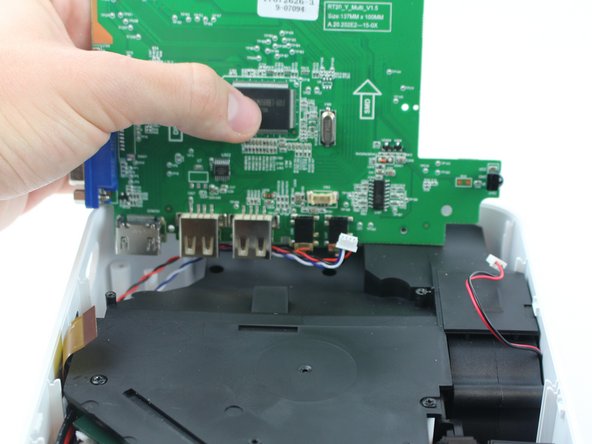
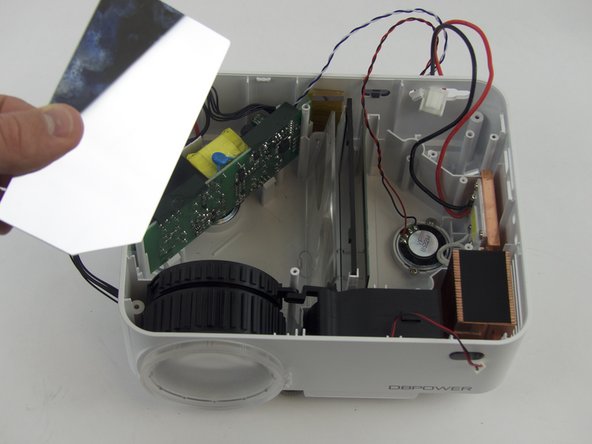
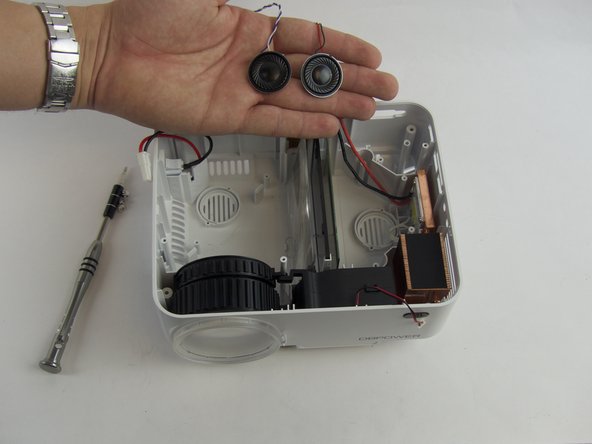
Salta al contenuto principale

DBPOWER T20 Speaker Replacement

Cosa ti serve

  1. DBPOWER T20 Speaker Replacement, DBPOWER T20 Disassembly: passo 1, immagine 1 di 1
    • Flip the device and lay flat.

  2. DBPOWER T20 Speaker Replacement: passo 2, immagine 1 di 1
    • Remove the four (9 mm) screws with a PH2 screwdriver.

    • Remove the two (7 mm) located with a PH2 screwdriver.

  3. DBPOWER T20 Speaker Replacement: passo 3, immagine 1 di 3 DBPOWER T20 Speaker Replacement: passo 3, immagine 2 di 3 DBPOWER T20 Speaker Replacement: passo 3, immagine 3 di 3
    • Flip the device over and pry the top off with a plastic opening tool.

  4. DBPOWER T20 Speaker Replacement: passo 4, immagine 1 di 1
    • Remove the ribbon cable connecting the motherboard to the button control board by gently pulling it from its connector.

  5. DBPOWER T20 Speaker Replacement: passo 5, immagine 1 di 2 DBPOWER T20 Speaker Replacement: passo 5, immagine 2 di 2
    • Remove four (6 mm) screws connecting the motherboard using a J0 screwdriver.

  6. DBPOWER T20 Speaker Replacement: passo 6, immagine 1 di 3 DBPOWER T20 Speaker Replacement: passo 6, immagine 2 di 3 DBPOWER T20 Speaker Replacement: passo 6, immagine 3 di 3
    • Remove the two cables connected to the motherboard: black power cable and the red/black fan cable.

    • the black cable requires more force to remove than the other cables.

  7. DBPOWER T20 Speaker Replacement: passo 7, immagine 1 di 2 DBPOWER T20 Speaker Replacement: passo 7, immagine 2 di 2
    • Lift the black latch on the ZIF connector and remove the ribbon cable that attaches the digitizer to the motherboard.

  8. DBPOWER T20 Speaker Replacement: passo 8, immagine 1 di 1
    • Raise motherboard by lifting sideways and then up to avoid the ports.

  9. DBPOWER T20 Speaker Replacement: passo 9, immagine 1 di 2 DBPOWER T20 Speaker Replacement: passo 9, immagine 2 di 2
    • Remove wires attaching the piezoelectric speakers to the motherboard.

  10. DBPOWER T20 Speaker Replacement: passo 10, immagine 1 di 2 DBPOWER T20 Speaker Replacement: passo 10, immagine 2 di 2
    • Remove the five screws securing the black plastic cover with a J0 screwdriver.

    • Lift up and out to remove.

  11. DBPOWER T20 Speaker Replacement, Speaker: passo 11, immagine 1 di 2 DBPOWER T20 Speaker Replacement, Speaker: passo 11, immagine 2 di 2
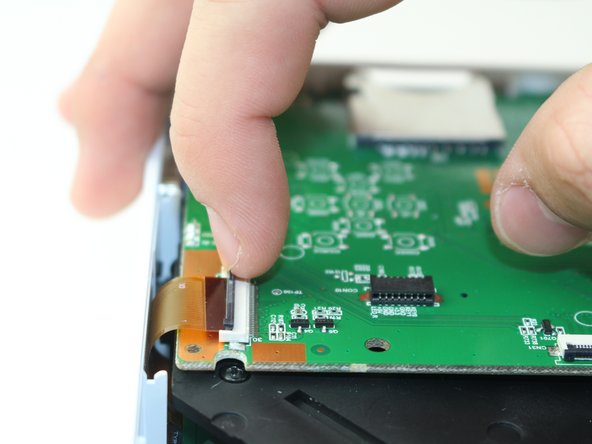
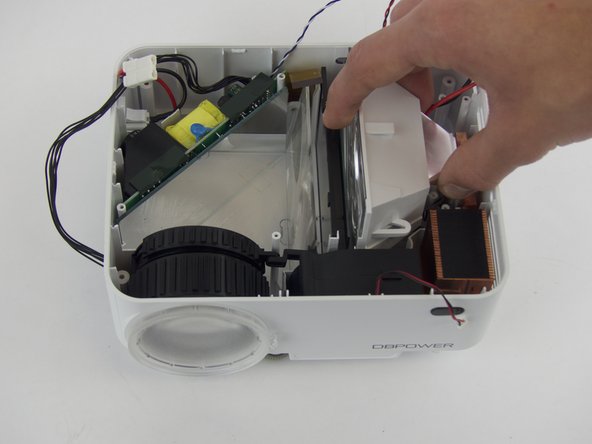
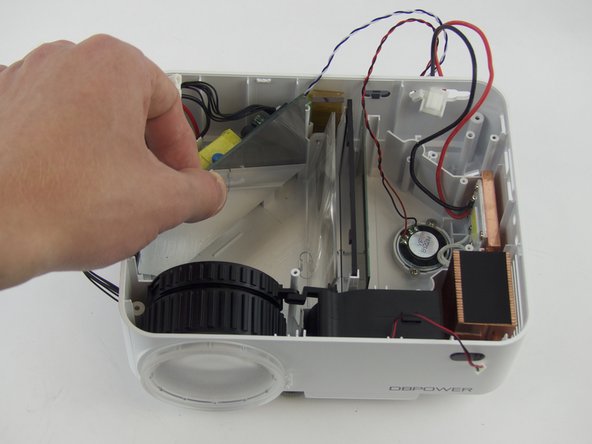
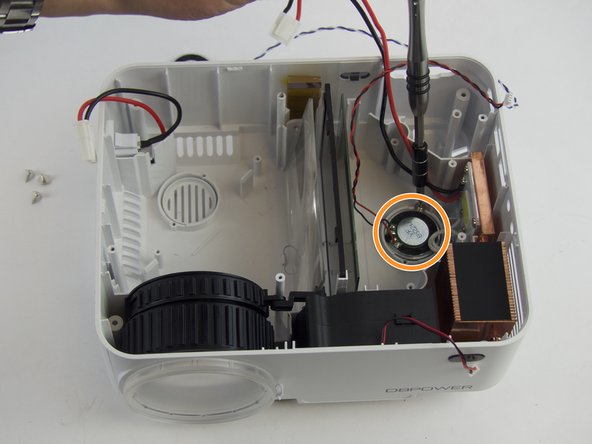
    • Remove the two (3 mm) screws connecting the bracket down and pull out the reflector, using a J0 Philips Head Screwdriver.

  12. DBPOWER T20 Speaker Replacement: passo 12, immagine 1 di 3 DBPOWER T20 Speaker Replacement: passo 12, immagine 2 di 3 DBPOWER T20 Speaker Replacement: passo 12, immagine 3 di 3
    • Slide the mirror straight up to remove.

  13. DBPOWER T20 Speaker Replacement: passo 13, immagine 1 di 3 DBPOWER T20 Speaker Replacement: passo 13, immagine 2 di 3 DBPOWER T20 Speaker Replacement: passo 13, immagine 3 di 3
    • Slide out the power source and disconnect its cables from the power jack and the light.

  14. DBPOWER T20 Speaker Replacement: passo 14, immagine 1 di 3 DBPOWER T20 Speaker Replacement: passo 14, immagine 2 di 3 DBPOWER T20 Speaker Replacement: passo 14, immagine 3 di 3
    • Remove the screws holding down the first speaker with a J0 screwdriver.

    • Remove the screws holding down the second speaker down.

Conclusione

To reassemble your device, follow these instructions in reverse order.

Altre 2 persone hanno completato questa guida.

Ryan Goldin

Membro da: 02/15/18

245 Reputazione

1 Guida realizzata

Team

USF Tampa, Team S16-G2, Boczar Spring 2018 Membro di USF Tampa, Team S16-G2, Boczar Spring 2018

USFT-BOCZAR-S18S16G2

5 Membri

5 Guide realizzate

0 Commenti

Aggiungi Commento

Visualizza Statistiche:

Ultime 24 Ore: 0

Ultimi 7 Giorni: 2

Ultimi 30 Giorni: 4

Tutti i Tempi: 425