Questa guida ha delle modifiche più recenti. Passa all'ultima versione non verificata.
Introduzione
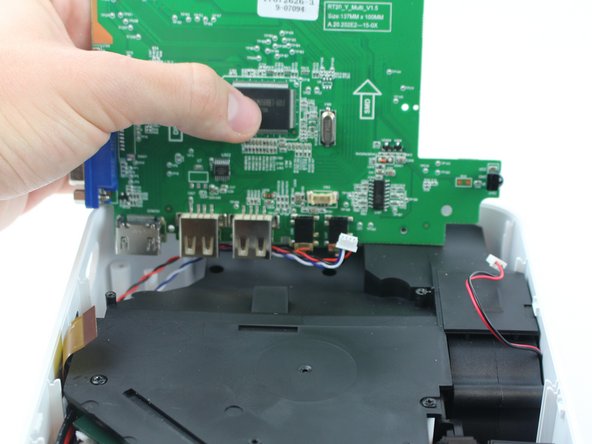
Simply pull the lamp out once you remove the screws. This should not require much force so if the lamp is not coming out, make sure you took out all the screws in the steps leading up to the removal.
Cosa ti serve


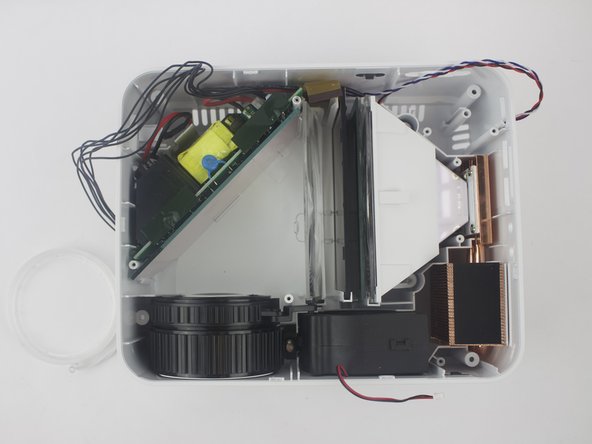


To reassemble your device, follow these instructions in reverse order.
To reassemble your device, follow these instructions in reverse order.
Annulla: non ho completato questa guida.
Altre 4 persone hanno completato questa guida.
Team

USF Tampa, Team S16-G2, Boczar Spring 2018 Membro di USF Tampa, Team S16-G2, Boczar Spring 2018
USFT-BOCZAR-S18S16G2
5 Membri
5 Guide realizzate
6 Commenti
The part that is being removed is NOT the LED lamp. My interest is replacing the actual LED lamp that sits behind the plastic part that is being removed. My projector image started to have a tan cast to it near the top left portion of the screen due to overheating. I am just assuming that it is the actual LED that is overheating and need replacing. The article is very good otherwise. Please add where replacement parts can be obtained.
Thank you very much, I appreciate the ability to get a look without having to open it up
Where can i buy the lamp?
Merci pour ce tuto! =) ça ma permis de nettoyer la lentille qui était pleine de poussière!