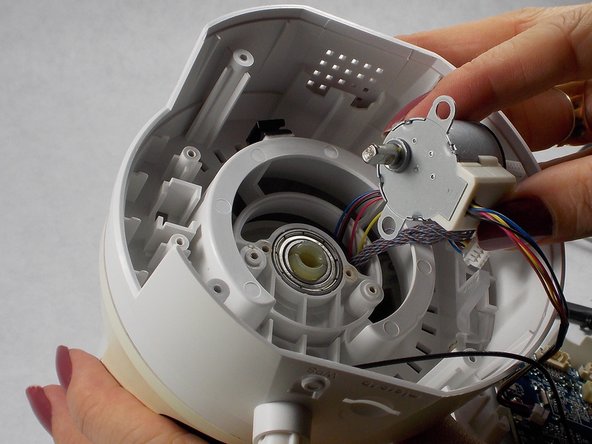
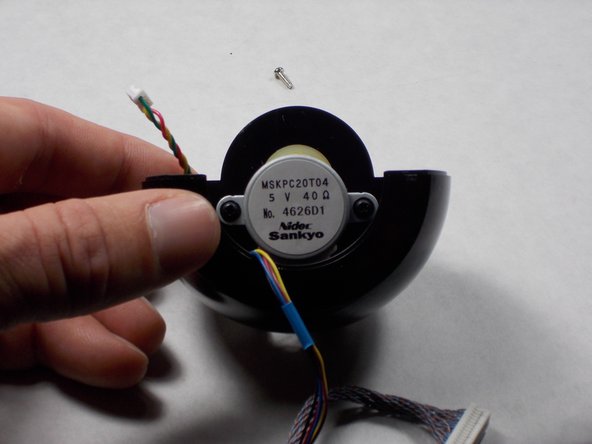
Salta al contenuto principale

D-Link DCS-5222L Motor Replacement

Cosa ti serve

  1. D-Link DCS-5222L Motor Replacement, Motors: passo 1, immagine 1 di 3 D-Link DCS-5222L Motor Replacement, Motors: passo 1, immagine 2 di 3 D-Link DCS-5222L Motor Replacement, Motors: passo 1, immagine 3 di 3
    • Remove the four rubber feet on the bottom of the camera with tweezers.

    • Remove the four screws using a Phillips #1 screwdriver.

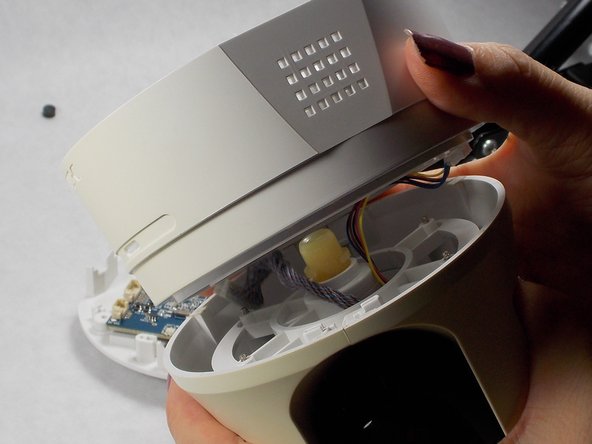
    • Remove the lower piece of the camera body.

  2. D-Link DCS-5222L Motor Replacement: passo 2, immagine 1 di 2 D-Link DCS-5222L Motor Replacement: passo 2, immagine 2 di 2
    • Remove the motherboard and bottom of the camera body.

    • Disconnect the five cables from the motherboard using tweezers.

  3. D-Link DCS-5222L Motor Replacement: passo 3, immagine 1 di 2 D-Link DCS-5222L Motor Replacement: passo 3, immagine 2 di 2
    • Use a #1 Phillips screwdriver to remove the two 7mm screws holding the motor in place.

  4. D-Link DCS-5222L Motor Replacement: passo 4, immagine 1 di 2 D-Link DCS-5222L Motor Replacement: passo 4, immagine 2 di 2
    • Using your hands, separate the bottom of the body from the upper portion.

  5. D-Link DCS-5222L Motor Replacement: passo 5, immagine 1 di 2 D-Link DCS-5222L Motor Replacement: passo 5, immagine 2 di 2
    • To remove the top of the camera you must push in the black tabs using the spudger. There are 3 tabs per side.

    • While pushing in the tabs, you can now lift the top black portion of the camera using your hands.

  6. D-Link DCS-5222L Motor Replacement: passo 6, immagine 1 di 2 D-Link DCS-5222L Motor Replacement: passo 6, immagine 2 di 2
    • With a little wiggle, the camera module will come free from the body.

    • Unscrew the two 7mm screws on the camera using a #1 Phillips screwdriver.

  7. D-Link DCS-5222L Motor Replacement: passo 7, immagine 1 di 2 D-Link DCS-5222L Motor Replacement: passo 7, immagine 2 di 2
    • Pry apart the camera housing with your fingers to reveal the second motor.

  8. D-Link DCS-5222L Motor Replacement: passo 8, immagine 1 di 1
    • Unscrew the two 6mm screws holding the motor in place with a #1 Phillips screwdriver.

Conclusione

To reassemble your device, follow these instructions in reverse order.

Un'altra persona ha completato questa guida.

Jason Munyon

Membro da: 10/30/18

268 Reputazione

2 Guide realizzate

Team

2 Commenti

Where can I buy new motor?

Michael Williams - Replica

I do not know, I purchased a “for Parts” camera on e-bay for $15.00 and used the motor from that unit.

Ed Wheelbarger - Replica

Aggiungi Commento

Visualizza Statistiche:

Ultime 24 Ore: 0

Ultimi 7 Giorni: 1

Ultimi 30 Giorni: 11

Tutti i Tempi: 696