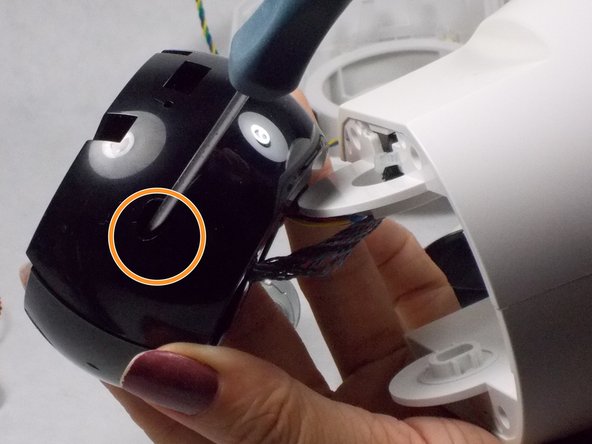
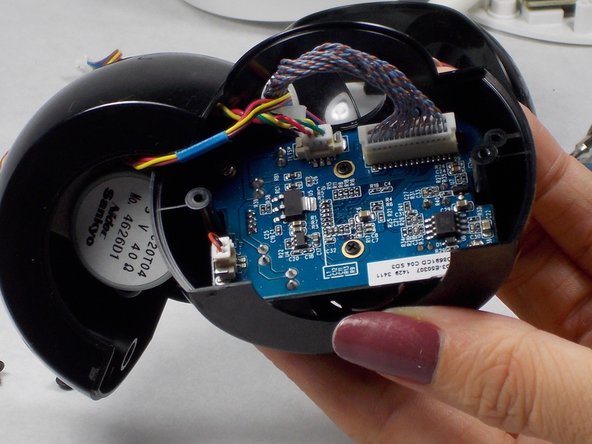
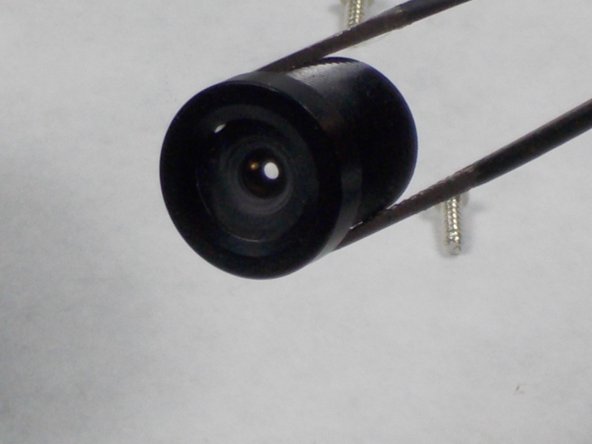
Salta al contenuto principale

D-Link DCS-5222L Lens Replacement

Cosa ti serve

  1. D-Link DCS-5222L Lens Replacement, Lens: passo 1, immagine 1 di 3 D-Link DCS-5222L Lens Replacement, Lens: passo 1, immagine 2 di 3 D-Link DCS-5222L Lens Replacement, Lens: passo 1, immagine 3 di 3
    • Remove the four rubber feet with tweezers to access the screws.

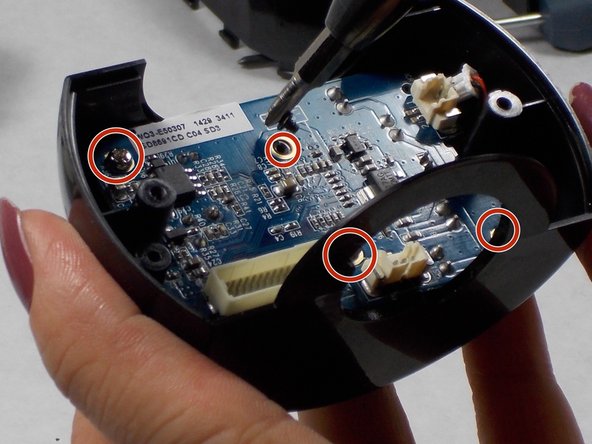
    • Remove all four 7mm screws by using a #1 Phillips screwdriver.

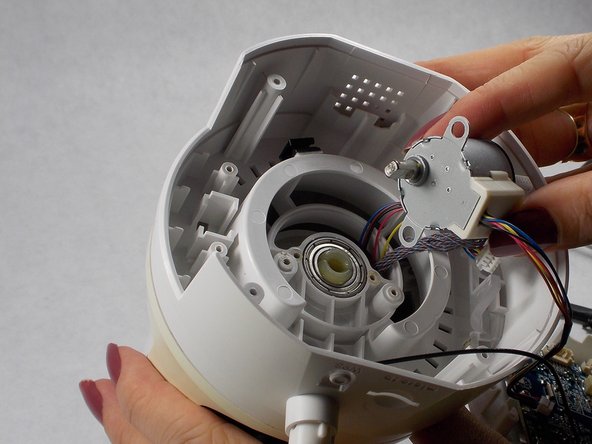
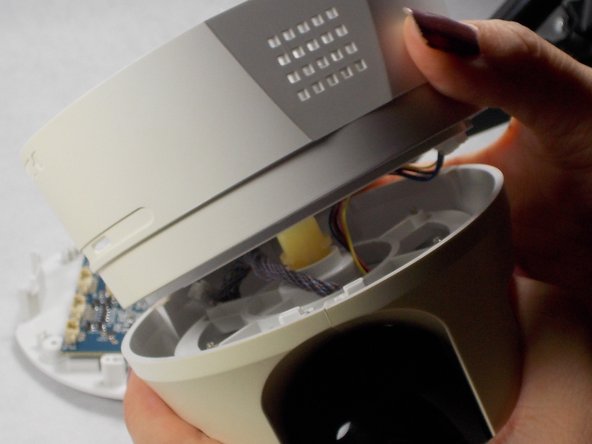
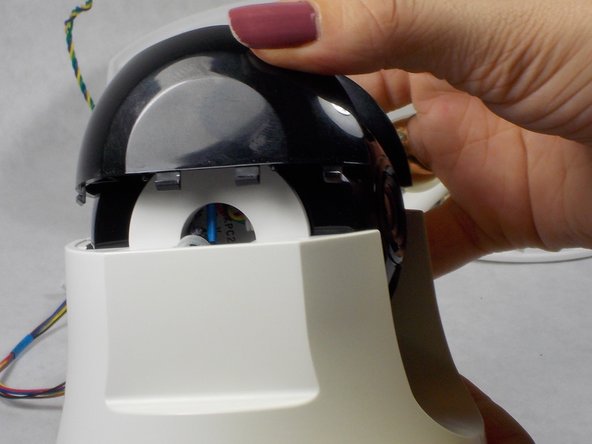
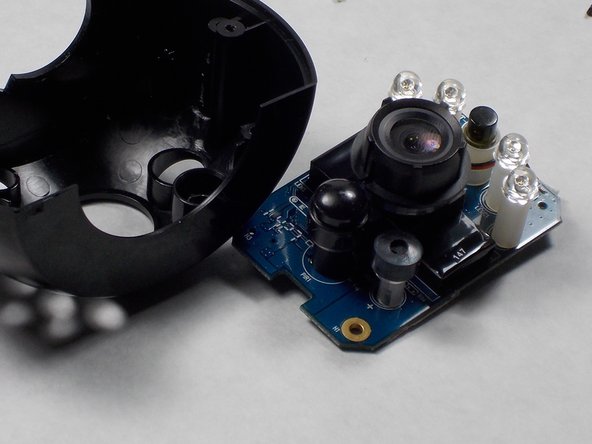
    • Then, with your hands, pull off the lower part of the camera body.

  2. D-Link DCS-5222L Lens Replacement: passo 2, immagine 1 di 3 D-Link DCS-5222L Lens Replacement: passo 2, immagine 2 di 3 D-Link DCS-5222L Lens Replacement: passo 2, immagine 3 di 3
    • On the base motherboard, there are five connecting cables. Disconnect all of them from the motherboard gently using safety tweezers.

    • Do not cut or damage the cables.

    • Disconnecting the antenna cable from motherboard is not necessary.

  3. D-Link DCS-5222L Lens Replacement: passo 3, immagine 1 di 3 D-Link DCS-5222L Lens Replacement: passo 3, immagine 2 di 3 D-Link DCS-5222L Lens Replacement: passo 3, immagine 3 di 3
    • Remove the two 7mm screws holding the motor using a #1 Phillips screwdriver.

    • Pull off the motor and lift away the midbody of the camera using your hands.

  4. D-Link DCS-5222L Lens Replacement: passo 4, immagine 1 di 2 D-Link DCS-5222L Lens Replacement: passo 4, immagine 2 di 2
    • Separate the black camera shroud from the upper body by prying loose the tabs with a plastic opening tool or spudger.

    • Use your hands to wiggle the shroud free.

  5. D-Link DCS-5222L Lens Replacement: passo 5, immagine 1 di 3 D-Link DCS-5222L Lens Replacement: passo 5, immagine 2 di 3 D-Link DCS-5222L Lens Replacement: passo 5, immagine 3 di 3
    • Use a #1 Phillips screwdriver to unscrew the four 5mm screws on both sides of the black camera housing to separate it from white body.

    • Unscrew the two 7mm #1 Phillips screws on both sides of the camera housing to open it.

  6. D-Link DCS-5222L Lens Replacement: passo 6, immagine 1 di 3 D-Link DCS-5222L Lens Replacement: passo 6, immagine 2 di 3 D-Link DCS-5222L Lens Replacement: passo 6, immagine 3 di 3
    • Gently disconnect the three cables from the small motherboard using safety tweezers.

    • Use a #0 Phillips screwdriver to remove the two black 2mm screws and a #1 Phillips screwdriver to remove the 2 silver 6mm screws.

    • Separate the board from the black housing.

  7. D-Link DCS-5222L Lens Replacement: passo 7, immagine 1 di 3 D-Link DCS-5222L Lens Replacement: passo 7, immagine 2 di 3 D-Link DCS-5222L Lens Replacement: passo 7, immagine 3 di 3
    • Using your fingers, remove the focus adjustment ring.

    • Twist the lens to unscrew it from the camera module.

    • Replace the broken lens with new one and reassemble all parts of the camera respectively.

Conclusione

To reassemble your device, follow these instructions in reverse order.

Un'altra persona ha completato questa guida.

Team

0 Commenti

Aggiungi Commento

Visualizza Statistiche:

Ultime 24 Ore: 0

Ultimi 7 Giorni: 5

Ultimi 30 Giorni: 9

Tutti i Tempi: 929