Questa versione può contenere modifiche errate. Passa all'ultima istantanea verificata.
Cosa ti serve
-
Questo passaggio è privo di traduzione. Aiuta a tradurlo
-
Remove the back panel by using the plastic opening tool to carefully pry around the panel's edges.
-
-
Questo passaggio è privo di traduzione. Aiuta a tradurlo
-
Disconnect the ribbon cable located near the edge of the motherboard in the bottom right corner of the device.
-
-
Questo passaggio è privo di traduzione. Aiuta a tradurlo
-
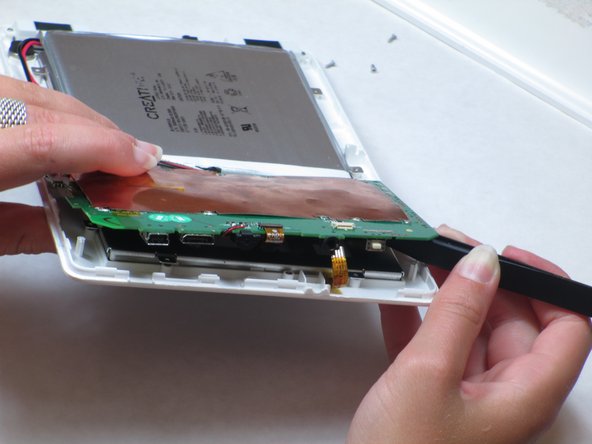
Lift up the motherboard carefully.
-
Remove the tape on top of the strip. Use tweezers or pliers to pull on the strip and unplug it.
-
-
Questo passaggio è privo di traduzione. Aiuta a tradurlo
-
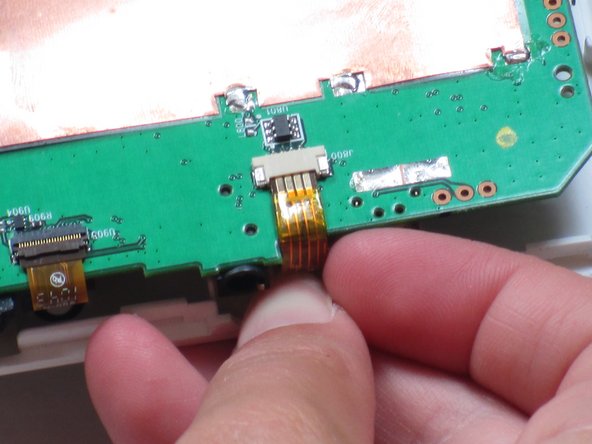
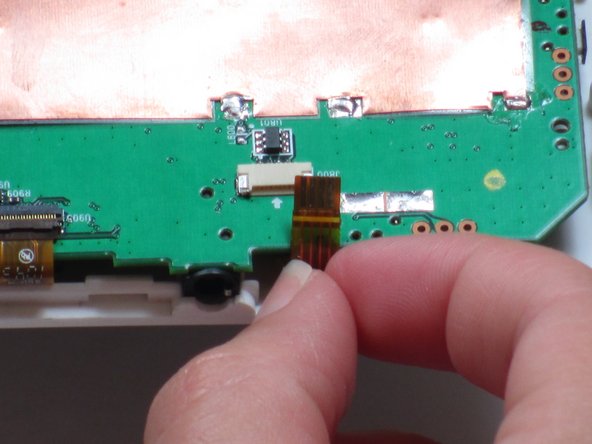
Lift up the motherboard and locate the ribbon cable (burnt orange-colored strip) centered on top of the motherboard.
-
Unplug the ribbon cable using your fingers to pull up on the flap.
-
-
Questo passaggio è privo di traduzione. Aiuta a tradurlo
-
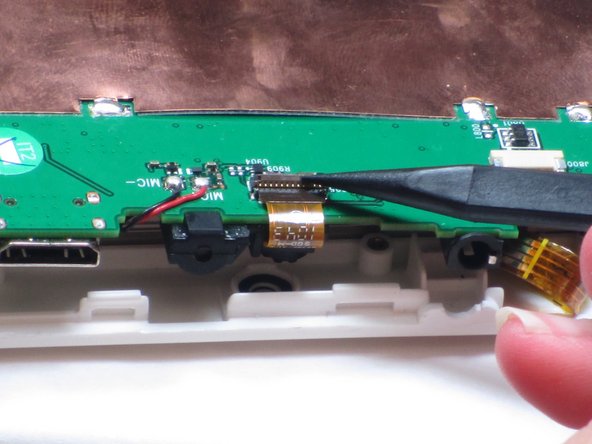
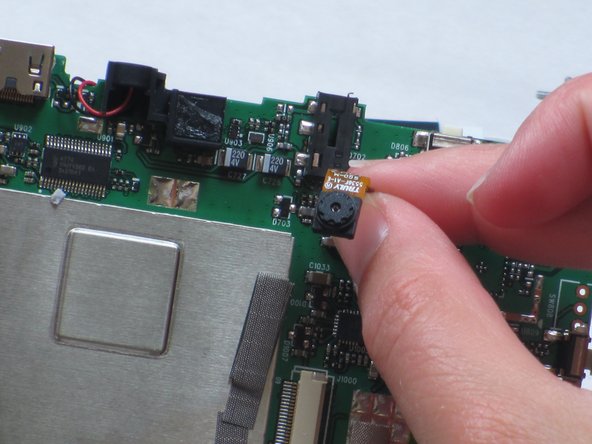
Use a spudger to pry the camera away from the rubber camera mount.
-
Remove the broken camera and use electronic-friendly adhesive to attach a new camera.
-


Annulla: non ho completato questa guida.
Altre 2 persone hanno completato questa guida.
Team

Cal Poly, Team 14-10, Maness Spring 2013 Membro di Cal Poly, Team 14-10, Maness Spring 2013
CPSU-MANESS-S13S14G10
4 Membri
13 Guide realizzate