Questa guida ha delle modifiche più recenti. Passa all'ultima versione non verificata.
Introduzione
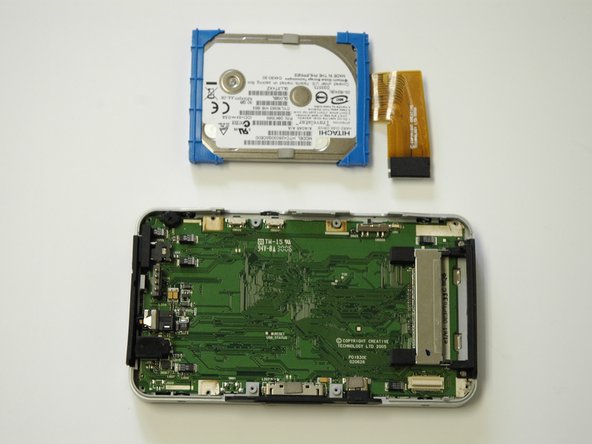
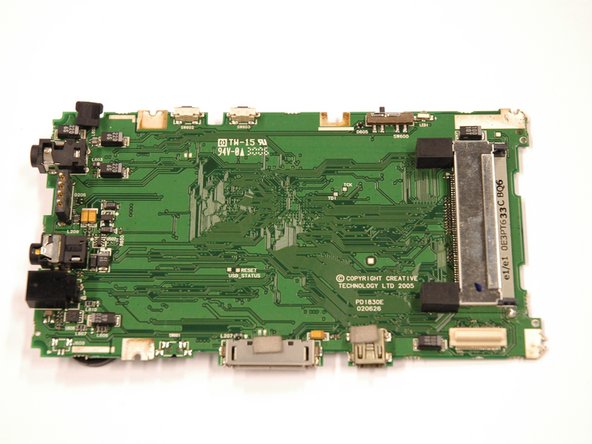
This guide will show you how to access the motherboard and speaker on your device.
Cosa ti serve
-
-
Push the black button and slide the battery casing to the left simultaneously, until the battery is completely separated from the device.
-
-
-
Remove the two screws (2.5 mm) on the top and bottom of the device using a Phillips #0 screwdriver.
-
-
-
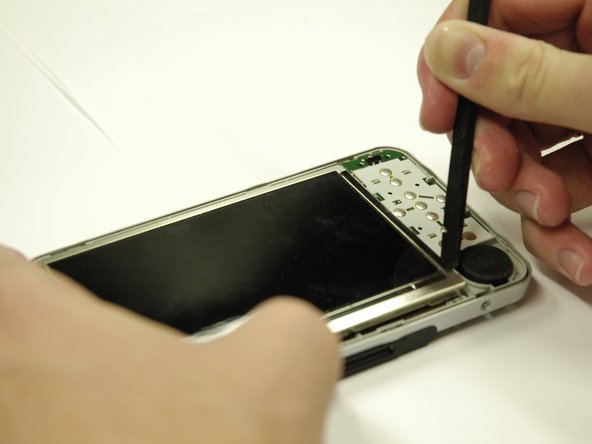
Use a spudger to separate the metal tabs that hold the screen in place on the right side.
-
-
-
-
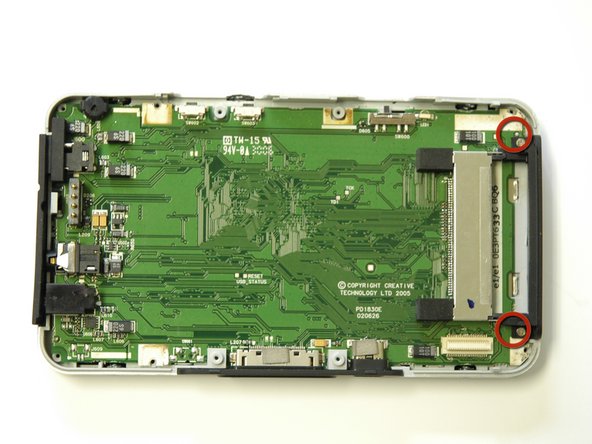
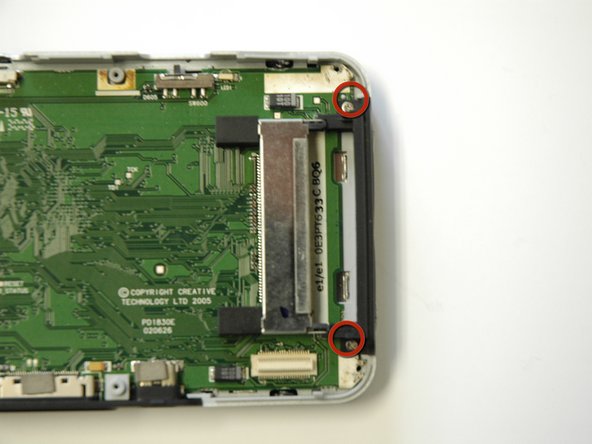
Remove the 2 screws (3.5 mm) on the Compact Flash insert, located on the left hand side, with a Phillips #000 screwdriver.
-
-
-
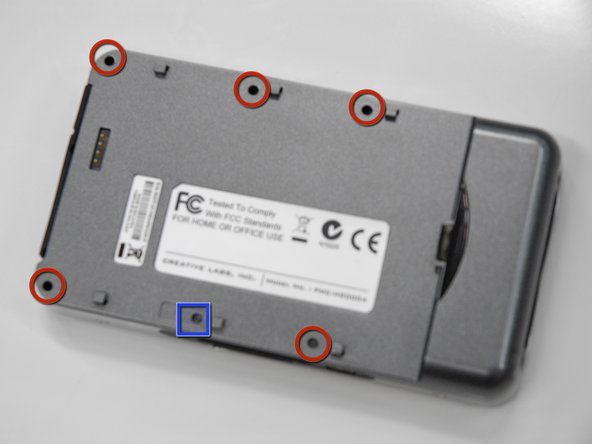
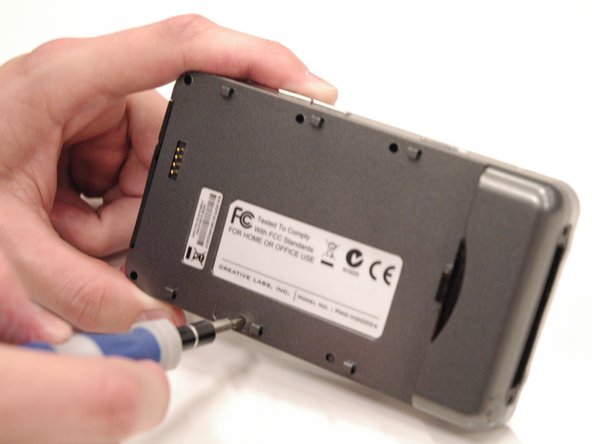
Remove 4 screws (3.5 mm) on the metal cover with a Phillips #0.
-
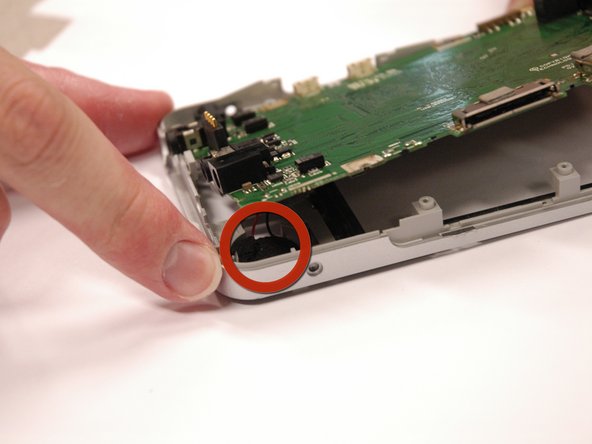
Lift the metal cover off.
-
-
-
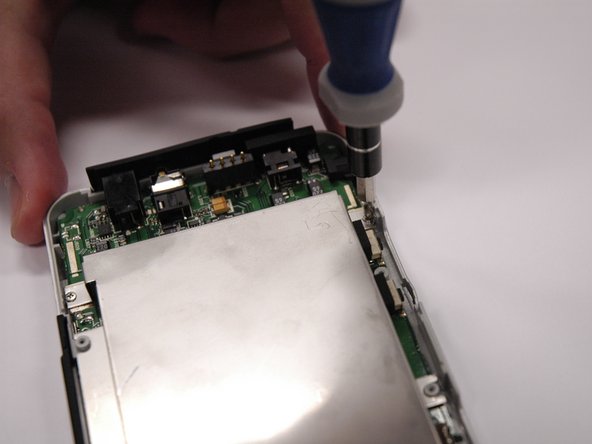
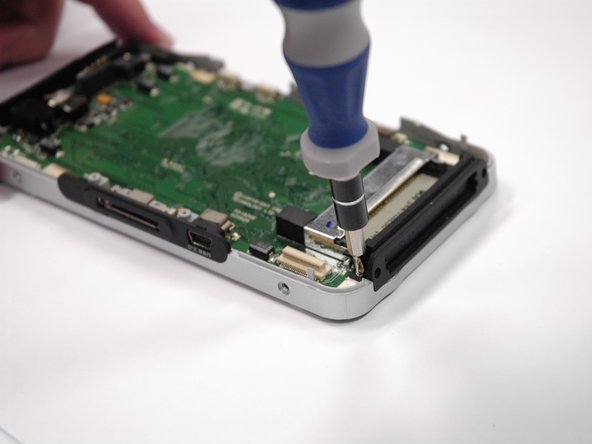
Remove 2 screws (3.5 mm) on the black compact flash input using a Phillips #0.
-


To reassemble your device, follow these instructions in reverse order.
To reassemble your device, follow these instructions in reverse order.
Annulla: non ho completato questa guida.
Altre 2 persone hanno completato questa guida.

Team

Cal Poly, Team 17-2, Regan Spring 2013 Membro di Cal Poly, Team 17-2, Regan Spring 2013
CPSU-REGAN-S13S17G2
4 Membri
8 Guide realizzate
2 Commenti
If the main board on vision w hard disk connector has 44 pins as vision m has but the vision w has a zif 40 pin ribbon in to the hard disk.it make me belive that it is possible to use a zif connector style hard disk on vision M to with the hard disk cable from vision w?Or does i miss something?i want to try to use a 1.8 hard disk with around 100 GB capacity on vision M if possible