Questa guida ha delle modifiche più recenti. Passa all'ultima versione non verificata.
Introduzione
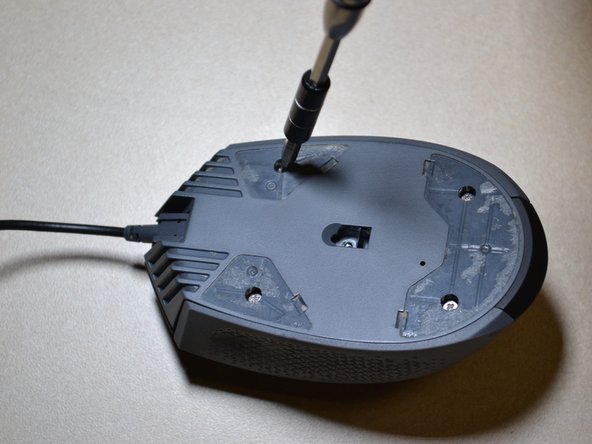
If the optical sensor on the bottom of your Corsair Katar mouse is not operating correctly, this guide will show you how to replace it.
Cosa ti serve
-
-
-
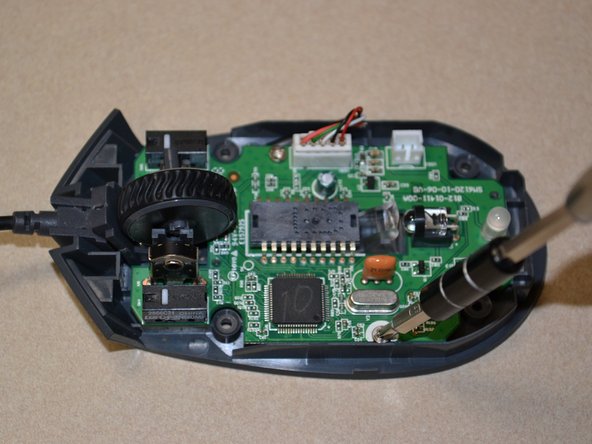
Use the JIS 0 screwdriver to remove the two 5mm screws on the motherboard.
-
-
-
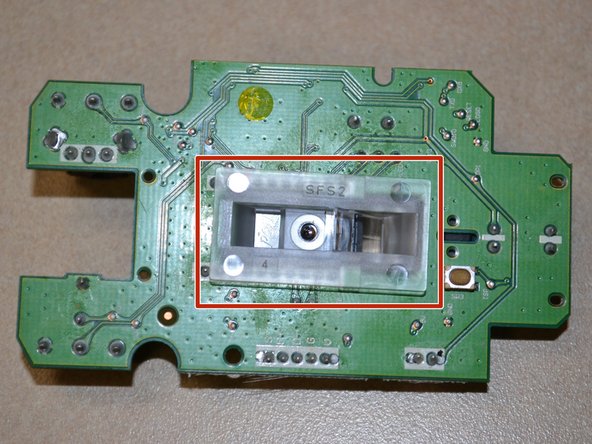
Flip the motherboard over and remove the clear plastic cover from the bottom of the board.
-


To reassemble your device, follow these instructions in reverse order.
To reassemble your device, follow these instructions in reverse order.

Team

UW Tacoma, Team S1-G3, Cardinal Summer 2018 Membro di UW Tacoma, Team S1-G3, Cardinal Summer 2018
UWT-CARDINAL-SU18S1G3
3 Membri
12 Guide realizzate