Questa versione può contenere modifiche errate. Passa all'ultima istantanea verificata.
Cosa ti serve
-
-
Questo passaggio è privo di traduzione. Aiuta a tradurlo
-
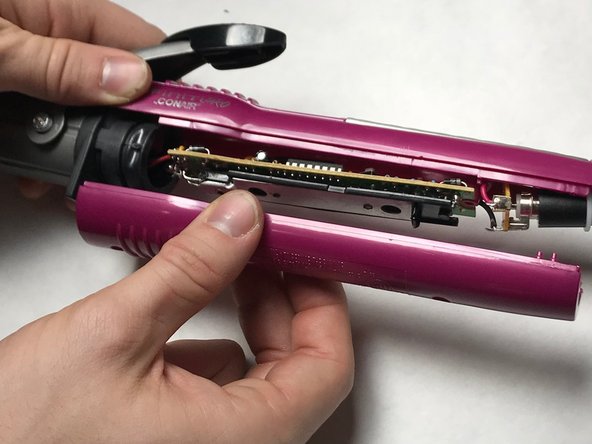
Pry off the housing using a plastic spudger.
-


Team

IUPUI, Team S7-G5, Baechle Fall 2017 Membro di IUPUI, Team S7-G5, Baechle Fall 2017
IUPUI-BAECHLE-F17S7G5
3 Membri
5 Guide realizzate
3 Commenti
Where do I find the cords needed for the repair I've looked everywhere
I also couldn’t find the needed cord.
I'm surprised that anyone won a prize for these instructions when they've left out the source of their replacement cord.
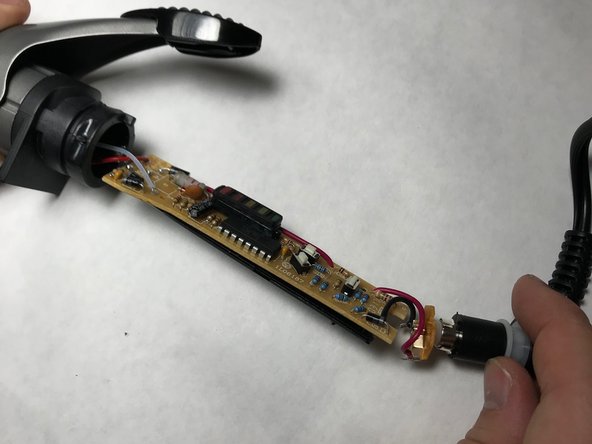
The replacement power cords are apparently mythical by this time, and I think that Global Beauty bit the dust as well. But if you disassemble the swivel (the part with the sliding electrical contacts) you may notice that the "male" portion of the swivel assembly looks like you could dig or drill out the broken wires and solder in the inner wires of the existing power cord, which will render the cord a bit shorter. You'll also need some sort of flexible strain relief, and I think that the old one could be cut off the discarded portion of the old power cord and glued (with cyanoacrylate, or Super Glue) back onto the cord.