Questa guida ha delle modifiche più recenti. Passa all'ultima versione non verificata.
Introduzione
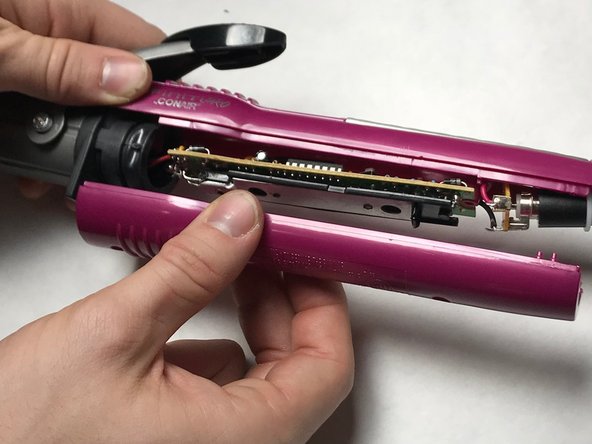
This guide will show how to replace the barrel heating element. It requires the housing, power cord and motherboard to be removed beforehand.
Cosa ti serve
-
-
-
Heat up your soldering gun and desolder the red wire from the motherboard as shown.
-
-
-
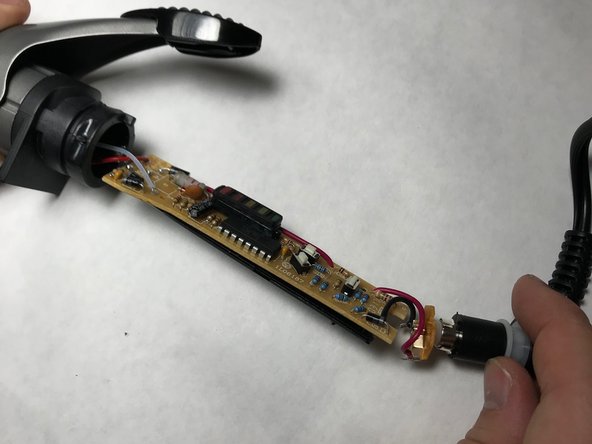
With your soldering gun, desolder the white wire from the motherboard as shown.
-
-
-
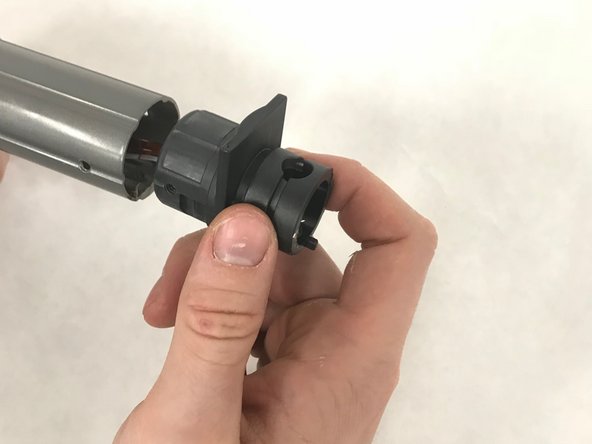
Remove the heating element mount. This will free up the heating element barrel for replacement.
-


To reassemble your device, follow these instructions in reverse order.
To reassemble your device, follow these instructions in reverse order.
Annulla: non ho completato questa guida.
Altre 3 persone hanno completato questa guida.
Team

IUPUI, Team S7-G5, Baechle Fall 2017 Membro di IUPUI, Team S7-G5, Baechle Fall 2017
IUPUI-BAECHLE-F17S7G5
3 Membri
5 Guide realizzate