Introduzione
I tasti appiccicosi della tastiera sono un problema comune con i notebook MacBook, di solito derivante da fuoriuscite di bevande, briciole di cibo o altre sostanze che alzareno i tasti. Fortunatamente, con questa guida, è una soluzione facile.
Se la pulizia della tastiera non risolve il problema, iFixit vende Tastiere e parti di ricambio per MacBook Pro e anche [link|MacBook Air Keyboards|Tastiere e parti
Cosa ti serve
-
-
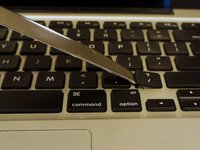
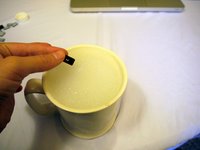
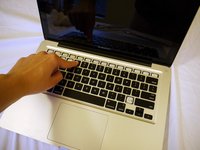
Prima di iniziare, assicurati di spegnere completamente il tuo computer.
-
Clicca sulla mela nell' angolo in alto a sinistra dello schermo del tuo computer. Apparirà un menù a tendina.
-
Clicca su "Spegni".
-
-
-
-
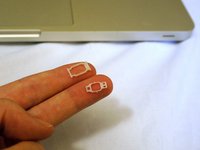
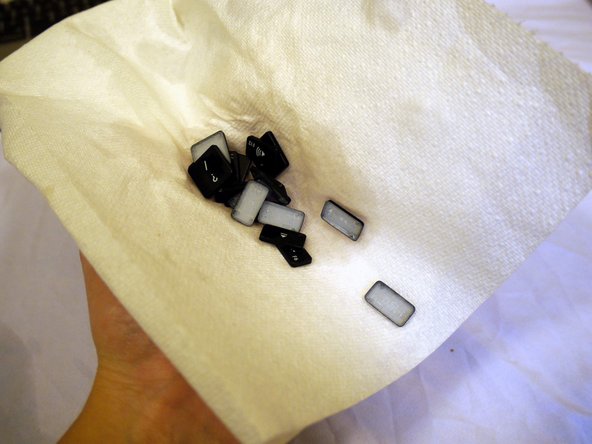
Se durante la rimozione del tasto una delle 2 parti in plastica esce dalla tastiera, non ti preoccupare. Questi elementi sono chiamati supporti dei tasti e sono molto semplici da rimettere in sede.
-
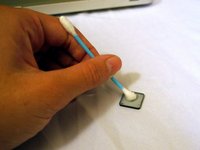
Se una delle 2 parti del supporto è ancora nella tastiera, rimuovilo, così avrai entrambi i pezzi in mano.
-
Guarda la seconda figura e allinea i 2 pezzi. Poi premili uno contro l' altro. Dovresti sentire un leggero click.
-
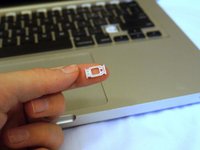
Con lo stesso allineamento della seconda figura, metti il supporto nella cavità della tastiera da dove lo hai estratto e premi per rimetterlo in sede.
-


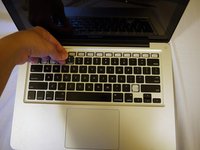
Speriamo che ora tu abbia risolto il problema delle chiavi appiccicose sul tuo MacBook. È una buona idea fare una pulizia leggera e una manutenzione sulla tastiera di tanto in tanto. iFixit's Electronics Cleaning Bundle e Precision Cleaning Kit sono ottimi per evitare tasti appiccicosi e generalmente mantenere l'interno e l'esterno dell'elettronica.
Annulla: non ho completato questa guida.
Altre 188 persone hanno completato questa guida.
Un ringraziamento speciale a questi traduttori:
100%


Questi traduttori ci stanno aiutando ad aggiustare il mondo! Vuoi partecipare?
Inizia a tradurre ›
Team

Cal Poly, Team 24-6, Green Winter 2015 Membro di Cal Poly, Team 24-6, Green Winter 2015
CPSU-GREEN-W15S24G6
4 Membri
16 Guide realizzate
57Commenti sulla guida
YOU ROCK THANK YOU
(I'm going to type "S" a few times to demonstrate how well this helped me!
SSSSSsssssssssssssSSSSSSSSSSSSSSSsssssSSS
Ugh it frustrates me that the author doesn't comprehensibly guide you through the complexities of taking keys off and on your keyboard. They are delicate and fit together elegantly. You should really elaborate before going and telling people to yank their keys off.
I disagree. He specified what to use, how to put them back on, etc. It's clear and precise!
Anyway I'm going to try this tonight so we'll see how it goes!
kaymay -
I'd just buy a new keyboard and fit it. Would take a lot less time!