Introduzione
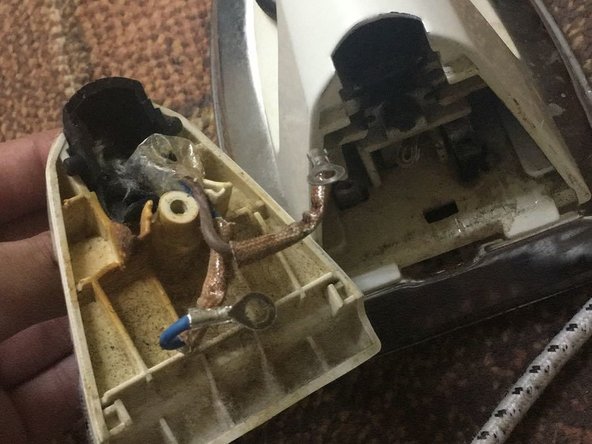
This guide will provide the process of heating elements of clothe iron. The heating elements of a clothe iron can stop working as a result of breaking or burning out in the process of ironing clothes. When a heating element is not working, the iron won't heat up. Unfortunately, one cannot repair most of these elements but there is usually the option of replacing them.
Cosa ti serve
-
-
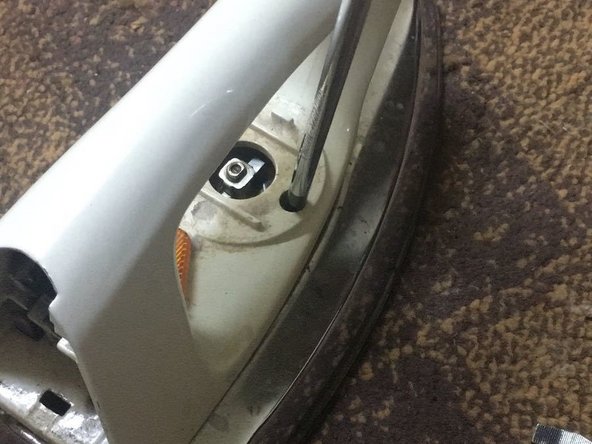
Plug in the iron box and electric cord and bottom surface if the iron heats up or not.
-
-


To reassemble your device, follow these instructions in reverse order
To reassemble your device, follow these instructions in reverse order
Annulla: non ho completato questa guida.
Altre 4 persone hanno completato questa guida.
Team

Eastern Washington University, Team S2-G2, Crane Summer 2018 Membro di Eastern Washington University, Team S2-G2, Crane Summer 2018
EWU-CRANE-SU18S2G2
2 Membri
2 Guide realizzate
2 Commenti
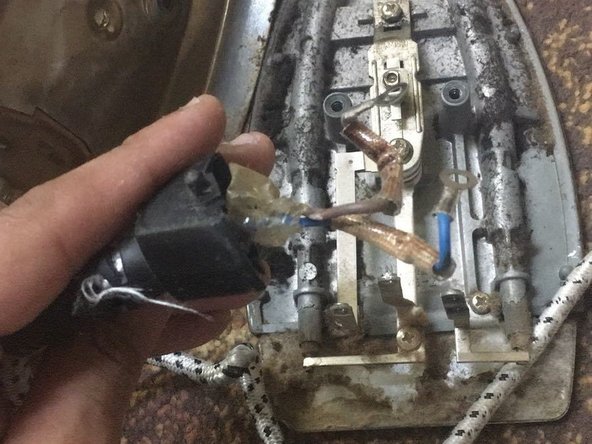
The backwards "RU" on the old thermostat means it is a UL tested device ('recognized'). You should replace it with a UL tested device.