Questa guida ha delle modifiche più recenti. Passa all'ultima versione non verificata.
Introduzione
This guide shows the user how to take out the logic board, and therefore have the opportunity to replace a defective board.
Cosa ti serve
-
-
Unscrew the six screws on the casing. Two are on the bottom as pictured; two more are on each side of the camera.
-
-
-
Find the line that separates the casing into its two halves. Hold each half separately, and gently pull apart.
-
Note that there is a small metal clip holding the two halves together. It might help to press down on the back half (indicated) while pulling upward slightly on the front half.
-
-
-
-
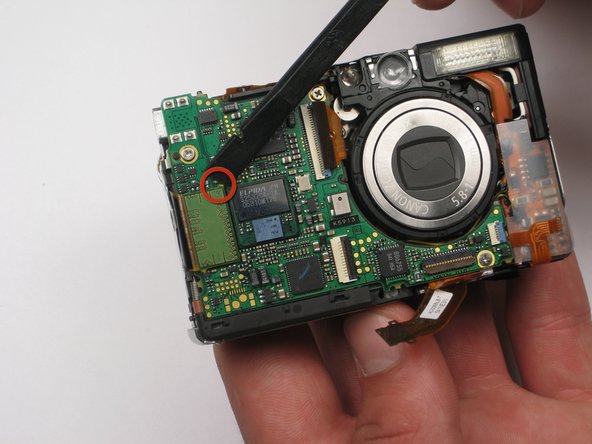
Remove the LCD cable by gently prying the hinge open with a spudger or your finger. The cable should easily slide out.
-


To reassemble your device, follow these instructions in reverse order.
To reassemble your device, follow these instructions in reverse order.
Team

Cal Poly, Team 25-85, Amido Spring 2010 Membro di Cal Poly, Team 25-85, Amido Spring 2010
CPSU-AMIDO-S10S25G85
4 Membri
5 Guide realizzate