Salta al contenuto principale

Canon PowerShot SD400 LCD Replacement

Cosa ti serve

  1. Canon PowerShot SD400 LCD Replacement, Battery: passo 1, immagine 1 di 2 Canon PowerShot SD400 LCD Replacement, Battery: passo 1, immagine 2 di 2
    • Slide the battery cover open (indicated by the red box).

  2. Canon PowerShot SD400 LCD Replacement: passo 2, immagine 1 di 1
    • Push in the orange clip (indicated by the red box) to eject the battery.

  3. Canon PowerShot SD400 LCD Replacement: passo 3, immagine 1 di 1
    • Insert the charged battery back into the slot (indicated by the red box).

    • Close the cover.

  4. Canon PowerShot SD400 LCD Replacement, LCD: passo 4, immagine 1 di 3 Canon PowerShot SD400 LCD Replacement, LCD: passo 4, immagine 2 di 3 Canon PowerShot SD400 LCD Replacement, LCD: passo 4, immagine 3 di 3
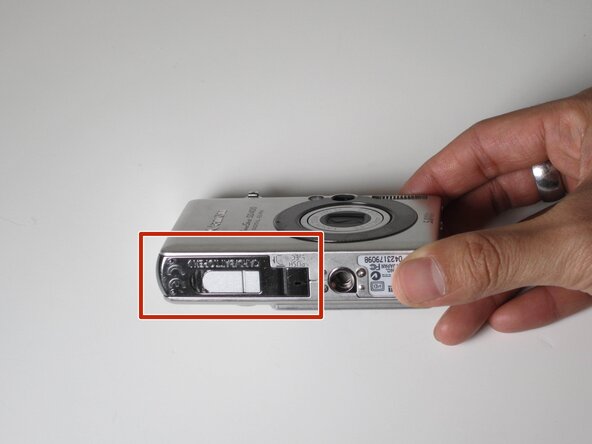
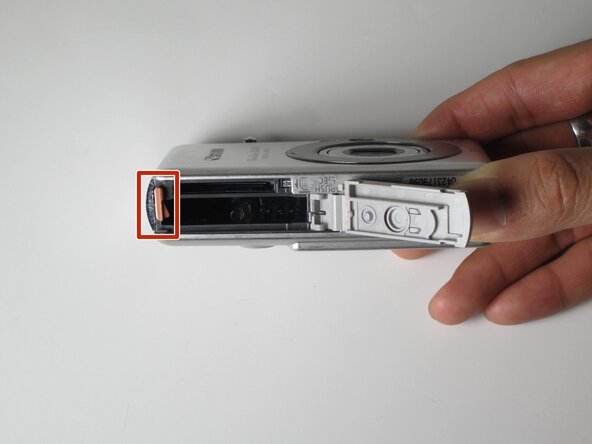
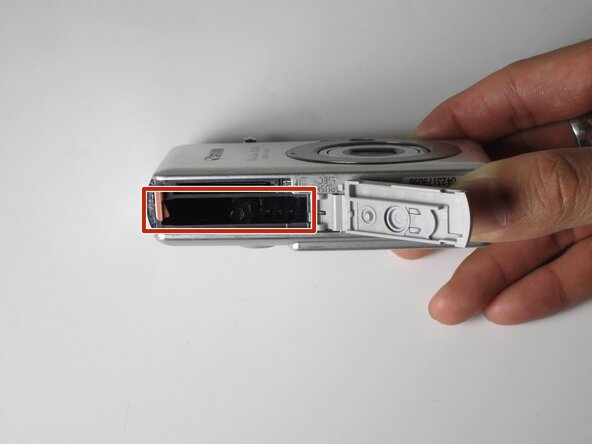
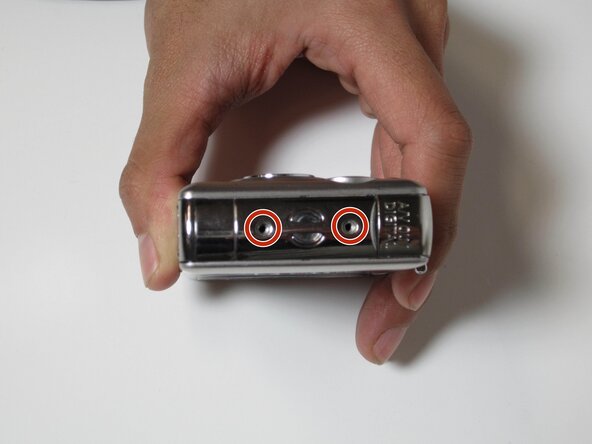
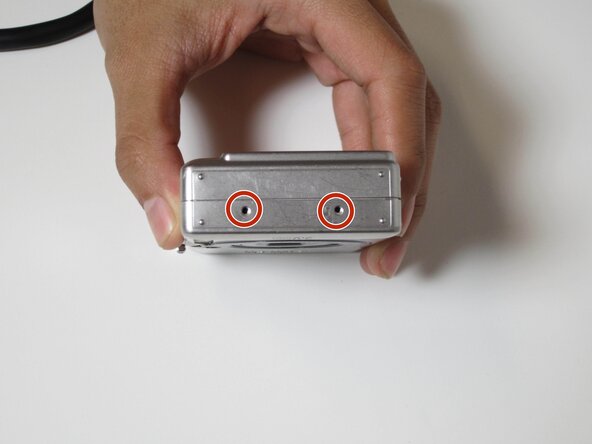
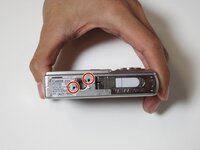
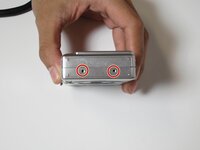
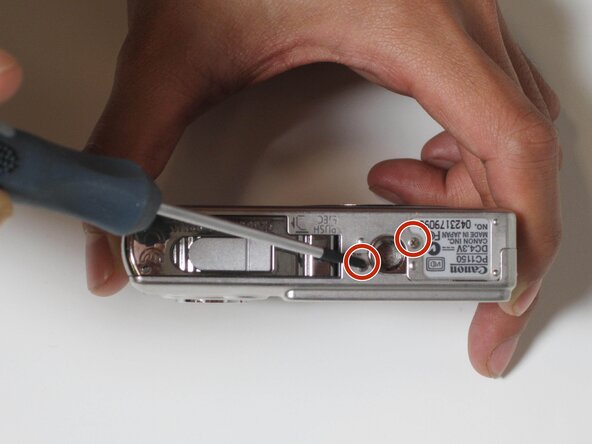
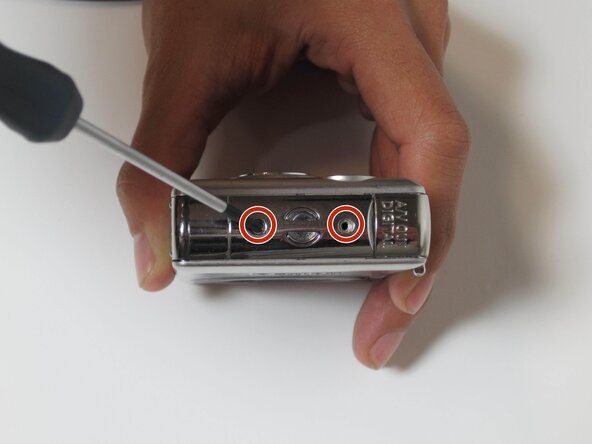
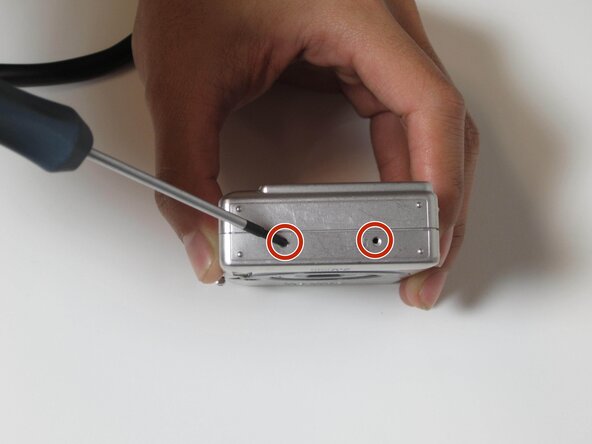
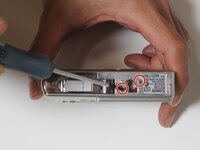
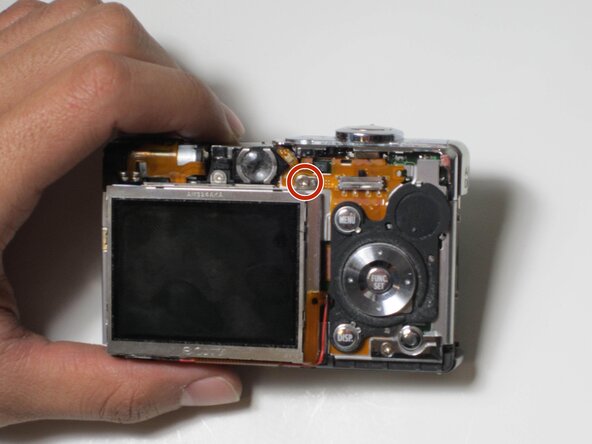
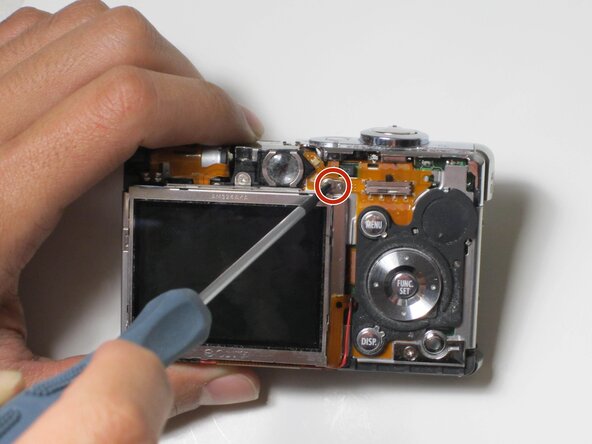
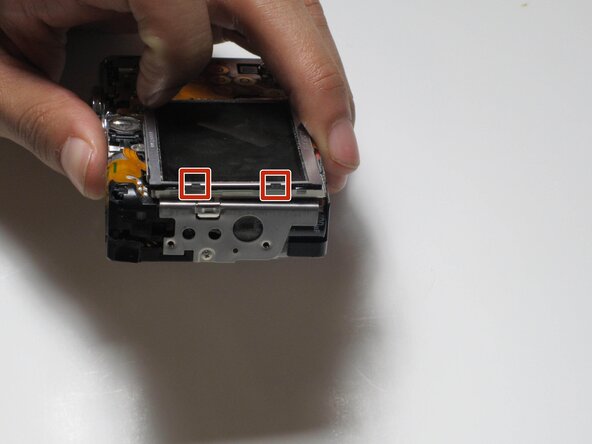
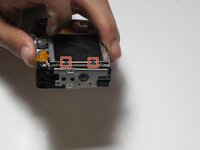
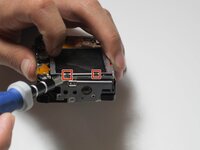
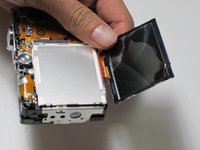
    • Locate these six screws that need to be removed to open the camera’s housing. These screws can be found on the bottom and both sides of the camera.

  5. Canon PowerShot SD400 LCD Replacement: passo 5, immagine 1 di 3 Canon PowerShot SD400 LCD Replacement: passo 5, immagine 2 di 3 Canon PowerShot SD400 LCD Replacement: passo 5, immagine 3 di 3
    • Using the screwdriver, carefully remove the exterior screws and place them in a safe location to avoid misplacing them.

  6. Canon PowerShot SD400 LCD Replacement: passo 6, immagine 1 di 2 Canon PowerShot SD400 LCD Replacement: passo 6, immagine 2 di 2
    • Locate the interior screw that is above the top right of the LCD screen.

    • Remove the screw using the screwdriver.

  7. Canon PowerShot SD400 LCD Replacement: passo 7, immagine 1 di 3 Canon PowerShot SD400 LCD Replacement: passo 7, immagine 2 di 3 Canon PowerShot SD400 LCD Replacement: passo 7, immagine 3 di 3
    • Locate the two clips on the left side of the LCD screen.

    • Carefully insert the tip of a flat-head screwdriver under the two clips of the LCD screen.

    • Slowly lift the screen using the flat-head screwdriver.

    • Potential for device damage Lift the screen gently to avoid any damage.

Conclusione

To reassemble your device, follow these instructions in reverse order.

Altre 2 persone hanno completato questa guida.

Team

James Madison, Team 1-1, Allen Fall 2011 Membro di James Madison, Team 1-1, Allen Fall 2011

JMU-ALLEN-F11S1G1

4 Membri

4 Guide realizzate

1Commento della guida

Do you carry a lcd screen for the Powershot sd400?

Jesus Licon - Replica

Aggiungi Commento

Visualizza Statistiche:

Ultime 24 Ore: 2

Ultimi 7 Giorni: 4

Ultimi 30 Giorni: 12

Tutti i Tempi: 3,625