Salta al contenuto principale
Canon PowerShot A540 LCD Screen Replacement

Canon PowerShot A540 LCD Screen Replacement

Carley Fuller

Carley Fuller e 4 altri collaboratori

Ultimo aggiornamento il May 7, 2024

10 - 15 minuti
Facile

Introduzione

Vai al passo 1

If your LCD screen is cracked, broken, unresponsive, or otherwise damaged, you may need to replace it. After removing the back cover, you will have access to the LCD screen to replace it.

Cosa ti serve

Strumenti

Mostra di più…

  1. Canon PowerShot A540 LCD Screen Replacement, Back Cover: passo 1, immagine 1 di 2 Canon PowerShot A540 LCD Screen Replacement, Back Cover: passo 1, immagine 2 di 2
    • Turn off the camera.

    • Turn the camera upside-down and press the tab to release the battery cover. Remove the batteries.

  2. Canon PowerShot A540 LCD Screen Replacement: passo 2, immagine 1 di 1
    • Turn the camera upside down to view the "Card/Batt. Open" Cover.

    • Use a Phillips head #000 screwdriver to remove the three (3) 4.0 mm screws.

  3. Canon PowerShot A540 LCD Screen Replacement: passo 3, immagine 1 di 1
    • Open "Card/Batt. Open" Cover.

    • Remove the one (1) 5.0 mm screw with the Phillips head #000 screwdriver.

  4. Canon PowerShot A540 LCD Screen Replacement: passo 4, immagine 1 di 1
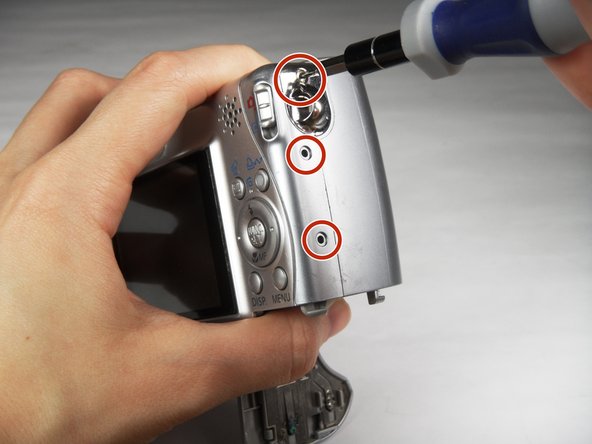
    • Turn the camera to the right side of the LCD screen.

    • Remove the three (3) 4.0 mm screws with the Phillips head #000 screwdriver.

  5. Canon PowerShot A540 LCD Screen Replacement: passo 5, immagine 1 di 3 Canon PowerShot A540 LCD Screen Replacement: passo 5, immagine 2 di 3 Canon PowerShot A540 LCD Screen Replacement: passo 5, immagine 3 di 3
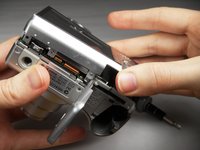
    • Gently remove the back cover.

    • Start at the bottom at the corner of the "Card/Batt. Open" Cover.

    • Then move onto the other edges and the top.

    • It may be tight at the top!

  6. Canon PowerShot A540 LCD Screen Replacement, LCD Screen: passo 6, immagine 1 di 2 Canon PowerShot A540 LCD Screen Replacement, LCD Screen: passo 6, immagine 2 di 2
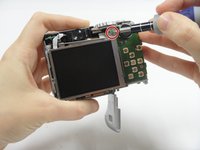
    • Turn the camera to view the back.

    • Remove the one (1) 3.0 mm screw on the top right corner of the screen.

    • There is a small metal bar that rests on this frame. Keep it with the screws that have been removed from the camera.

  7. Canon PowerShot A540 LCD Screen Replacement: passo 7, immagine 1 di 2 Canon PowerShot A540 LCD Screen Replacement: passo 7, immagine 2 di 2
    Attrezzo utilizzato in questo passaggio:
    Tweezers
    $4.99
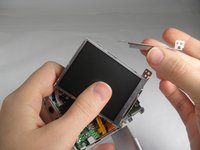
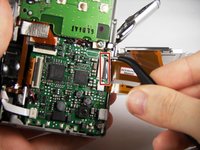
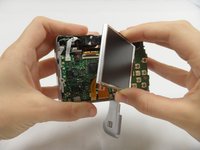
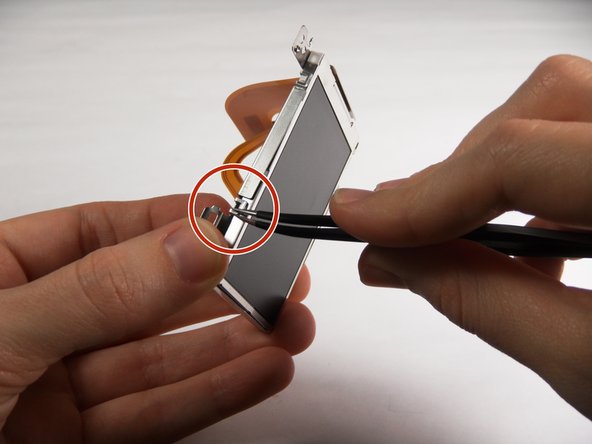
    • Lift the LCD Screen off of the back to view the attached ribbon cables.

    • Use tweezers to flip the black bar up.

  8. Canon PowerShot A540 LCD Screen Replacement: passo 8, immagine 1 di 3 Canon PowerShot A540 LCD Screen Replacement: passo 8, immagine 2 di 3 Canon PowerShot A540 LCD Screen Replacement: passo 8, immagine 3 di 3
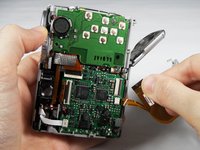
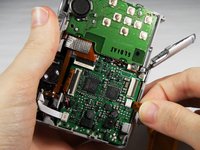
    • Gently pull the big ribbon out.

    • Gently pull the small ribbon out.

    • The small ribbon does not have a bar like the big ribbon.

  9. Canon PowerShot A540 LCD Screen Replacement: passo 9, immagine 1 di 2 Canon PowerShot A540 LCD Screen Replacement: passo 9, immagine 2 di 2
    • Use tweezers at the top left of the LCD Screen to wedge the top left of the Outer Frame loose.

    • Use your thumb to hold the Outer Frame open.

    • Use the tweezers at the top right of the LCD Screen to wedge the top right of the Outer Frame loose.

  10. Canon PowerShot A540 LCD Screen Replacement: passo 10, immagine 1 di 2 Canon PowerShot A540 LCD Screen Replacement: passo 10, immagine 2 di 2
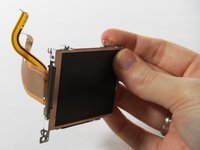
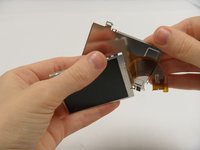
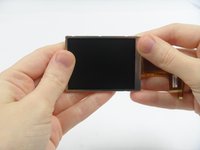
    • Slide the LCD Screen out from the Outer Frame.

Conclusione

To reassemble your device, follow these instructions in reverse order.

Altre 2 persone hanno completato questa guida.

Carley Fuller

Membro da: 03/23/15

434 Reputazione

3 Guide realizzate

Team

Baylor, Team 7-12, Williams Spring 2015 Membro di Baylor, Team 7-12, Williams Spring 2015

BU-WILLIAMS-S15S7G12

3 Membri

20 Guide realizzate

1Commento della guida

I wish to purchase a new screen. Where? I feel capable of repair per these instructions and a u tube video.

Geo Schou - Replica

Aggiungi Commento

Visualizza Statistiche:

Ultime 24 Ore: 0

Ultimi 7 Giorni: 3

Ultimi 30 Giorni: 21

Tutti i Tempi: 1,049